I’m going to do a series of posts on photography because well, I think it needs to be explained. Simply. For those of you who did not major in the arts or photography and want to know how you can achieve good quality pictures, this series of posts is for you. Too many of us (myself included) have been or are stuck in the world of filters (Instagram, vscocam, and other apps of lesser quality). Filters can be used but they should be used sparingly and should not detract from the overall quality of the picture. Trust me, when I look at my filtered pictures from years past I cringe. But eventually I saw the light and I hope you will too!


All of these pictures you’re looking at were taken with my iPhone 5s. If you’re using an older iPhone model your pictures probably won’t turn out as well (trust me, my iPhone 4 pictures were horrid). The newer iPhones have an advanced camera that uses a more advanced lens, like the kind you would find in a professional camera. This allows you to make things go in and out of focus, achieving that “professional” look. But you don’t need advanced technology to achieve good lighting. With the iPhone, you just need to know what kind of light you’re looking for and when to shoot. It’s as simple as that. Flash is a big no-no and so is any type of artificial light that would give your pictures an orange hue. I want to specify, this applies to your everyday pictures, food photography etc. I wouldn’t advocate that you shoot someone’s wedding with an iPhone 5s!
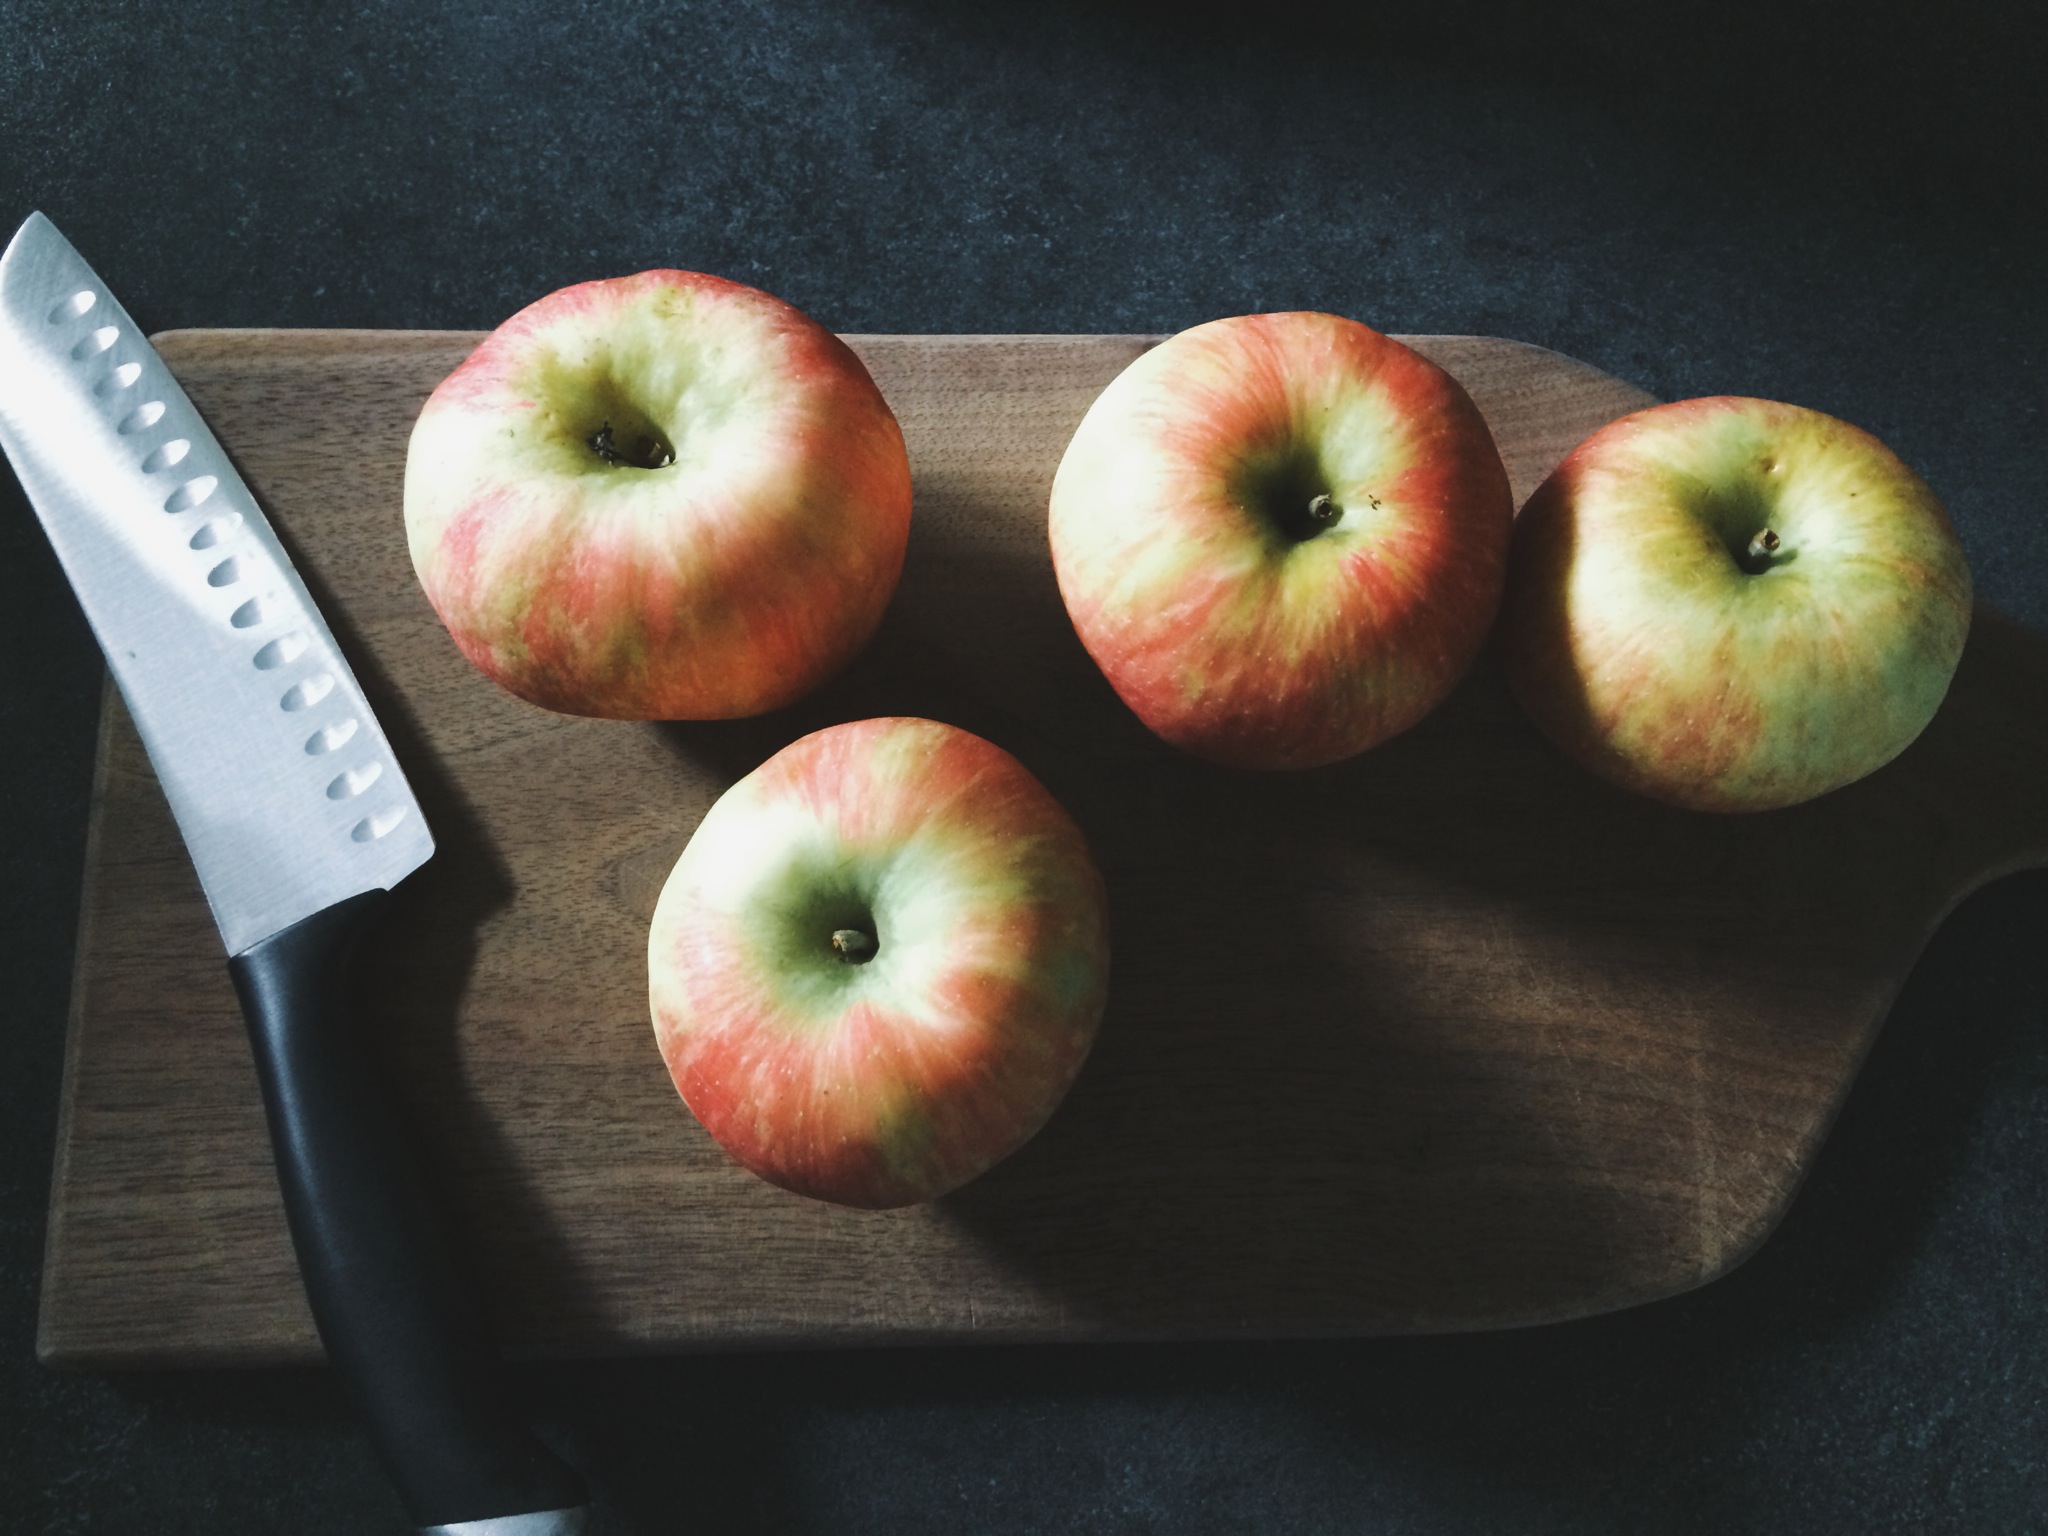
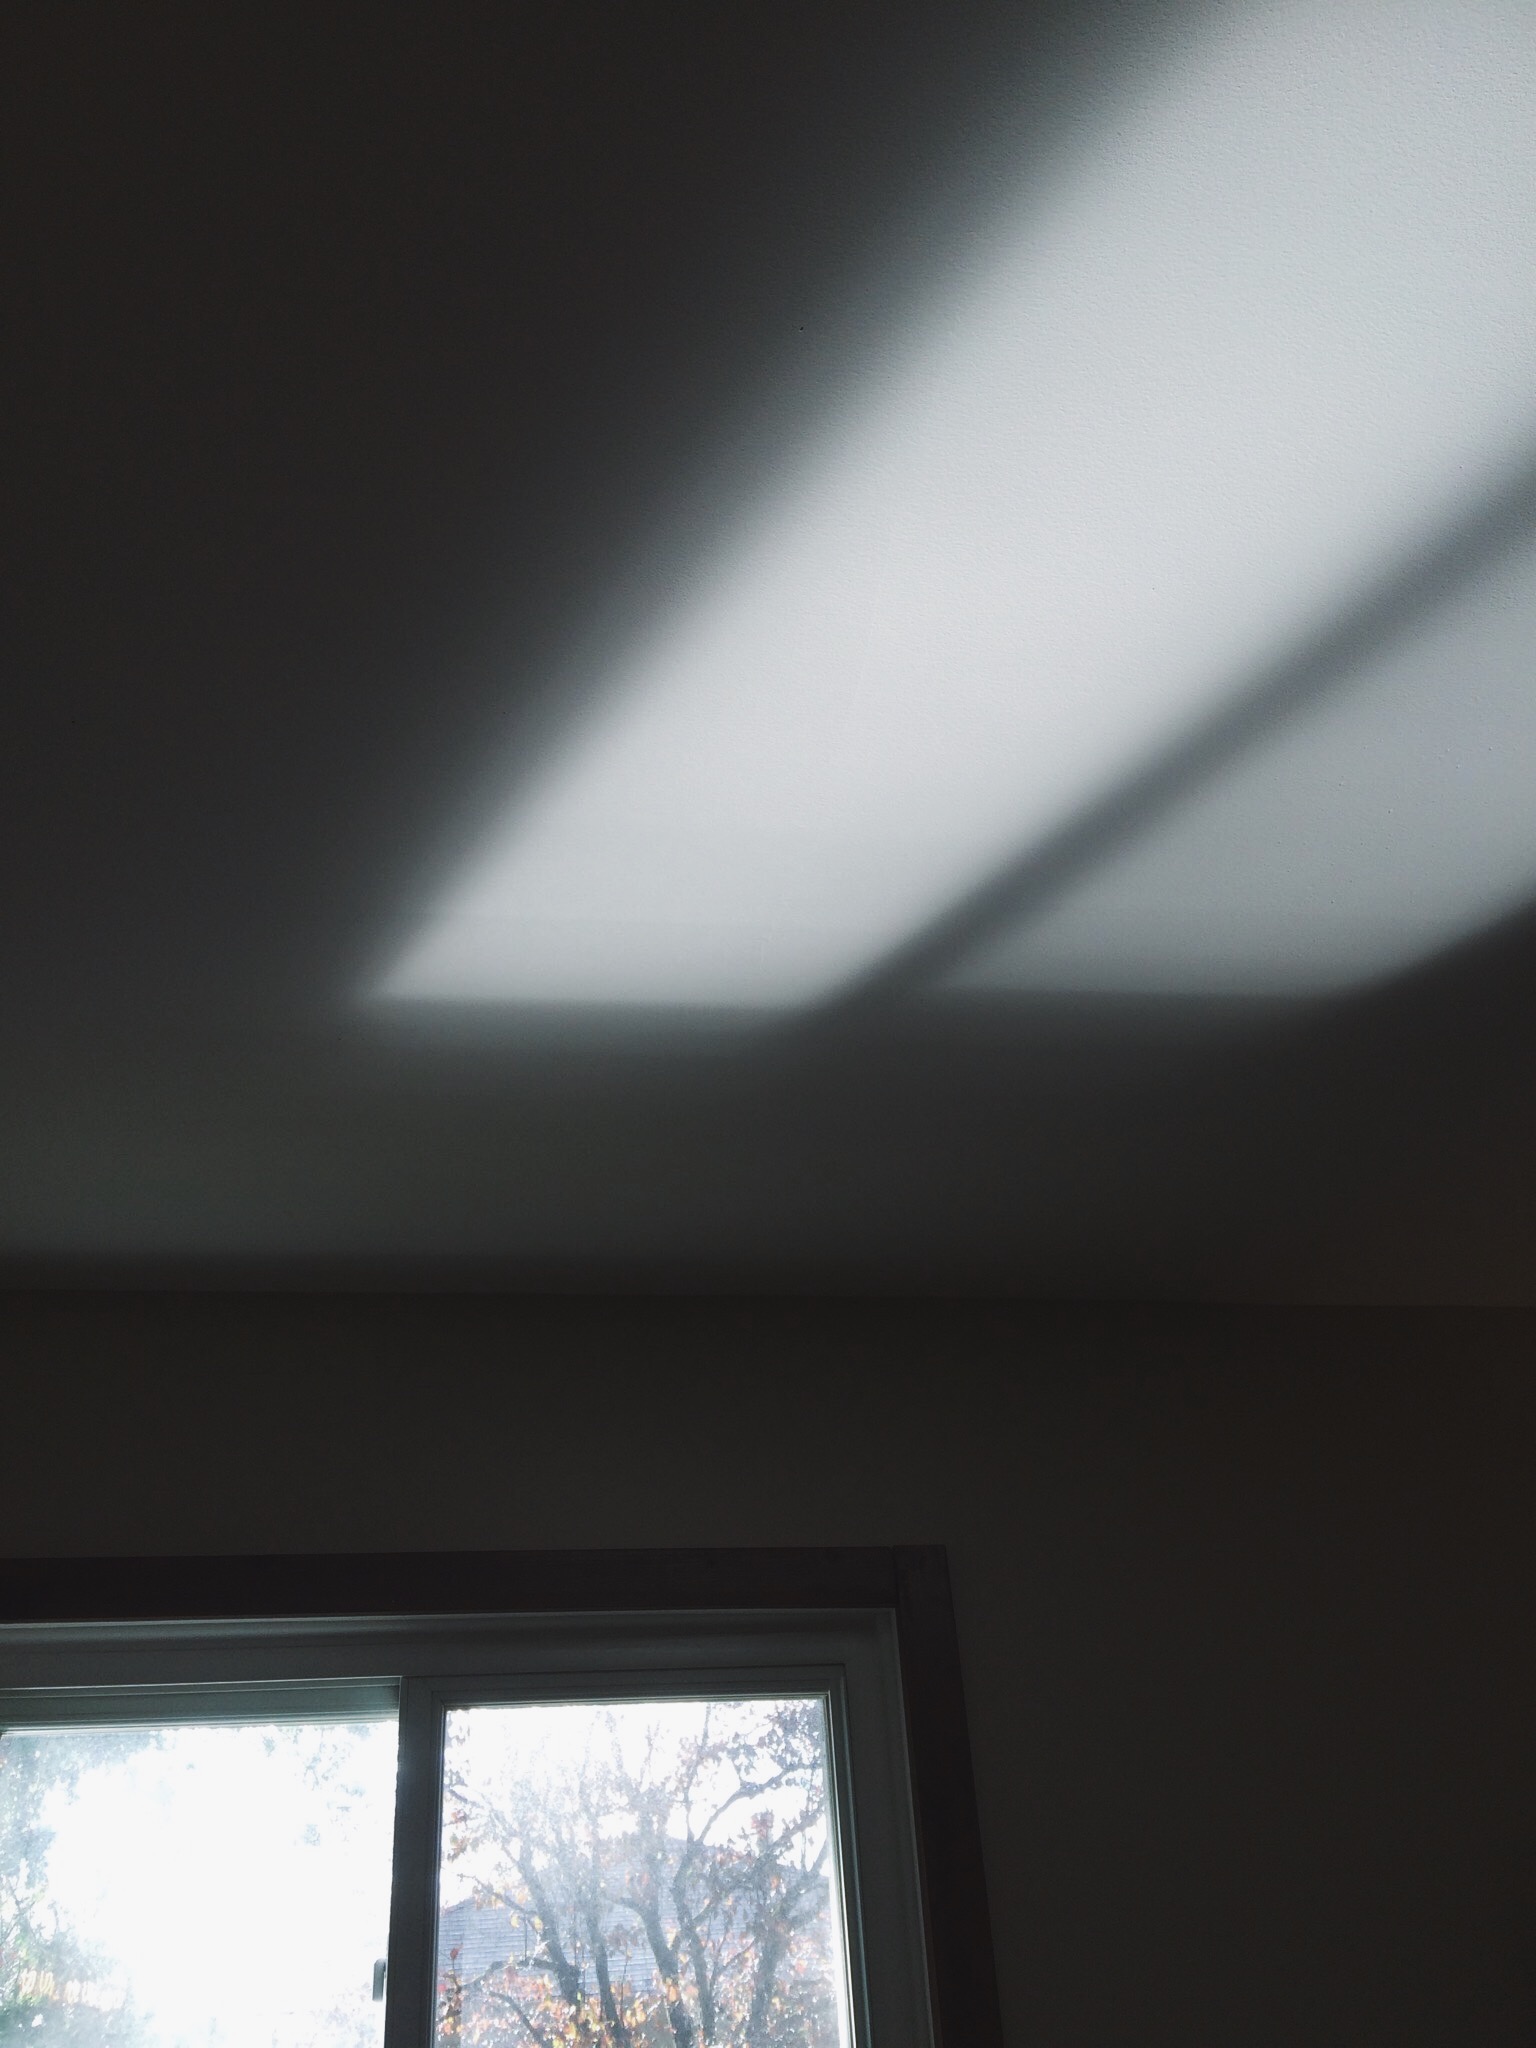
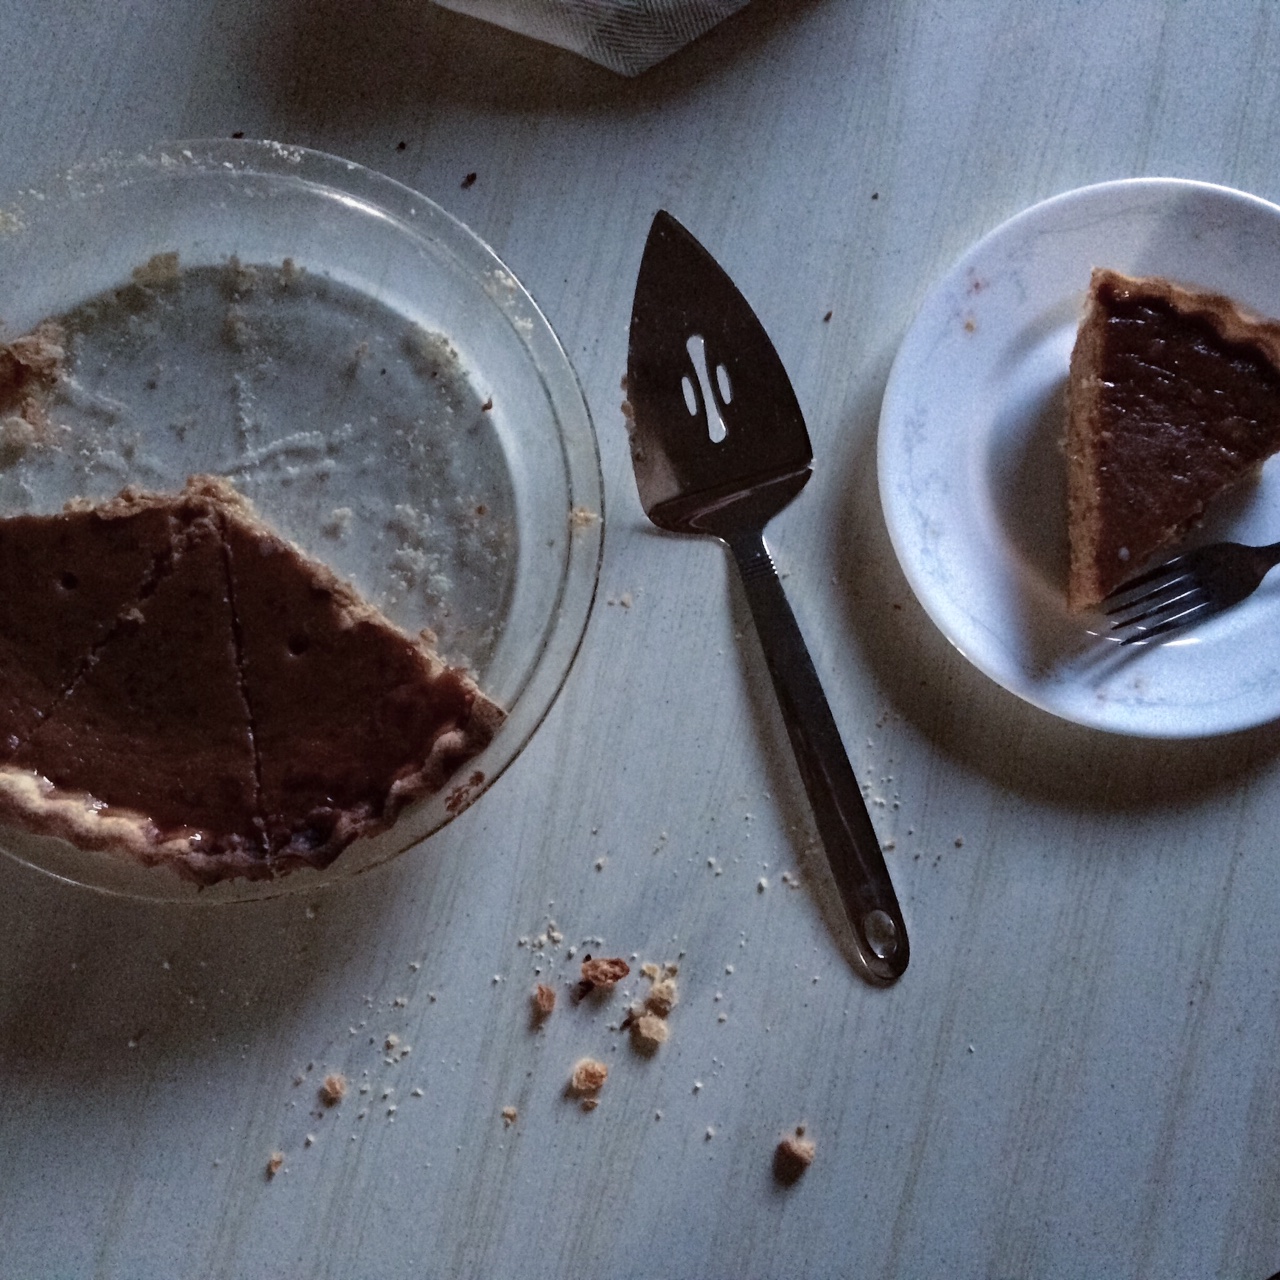
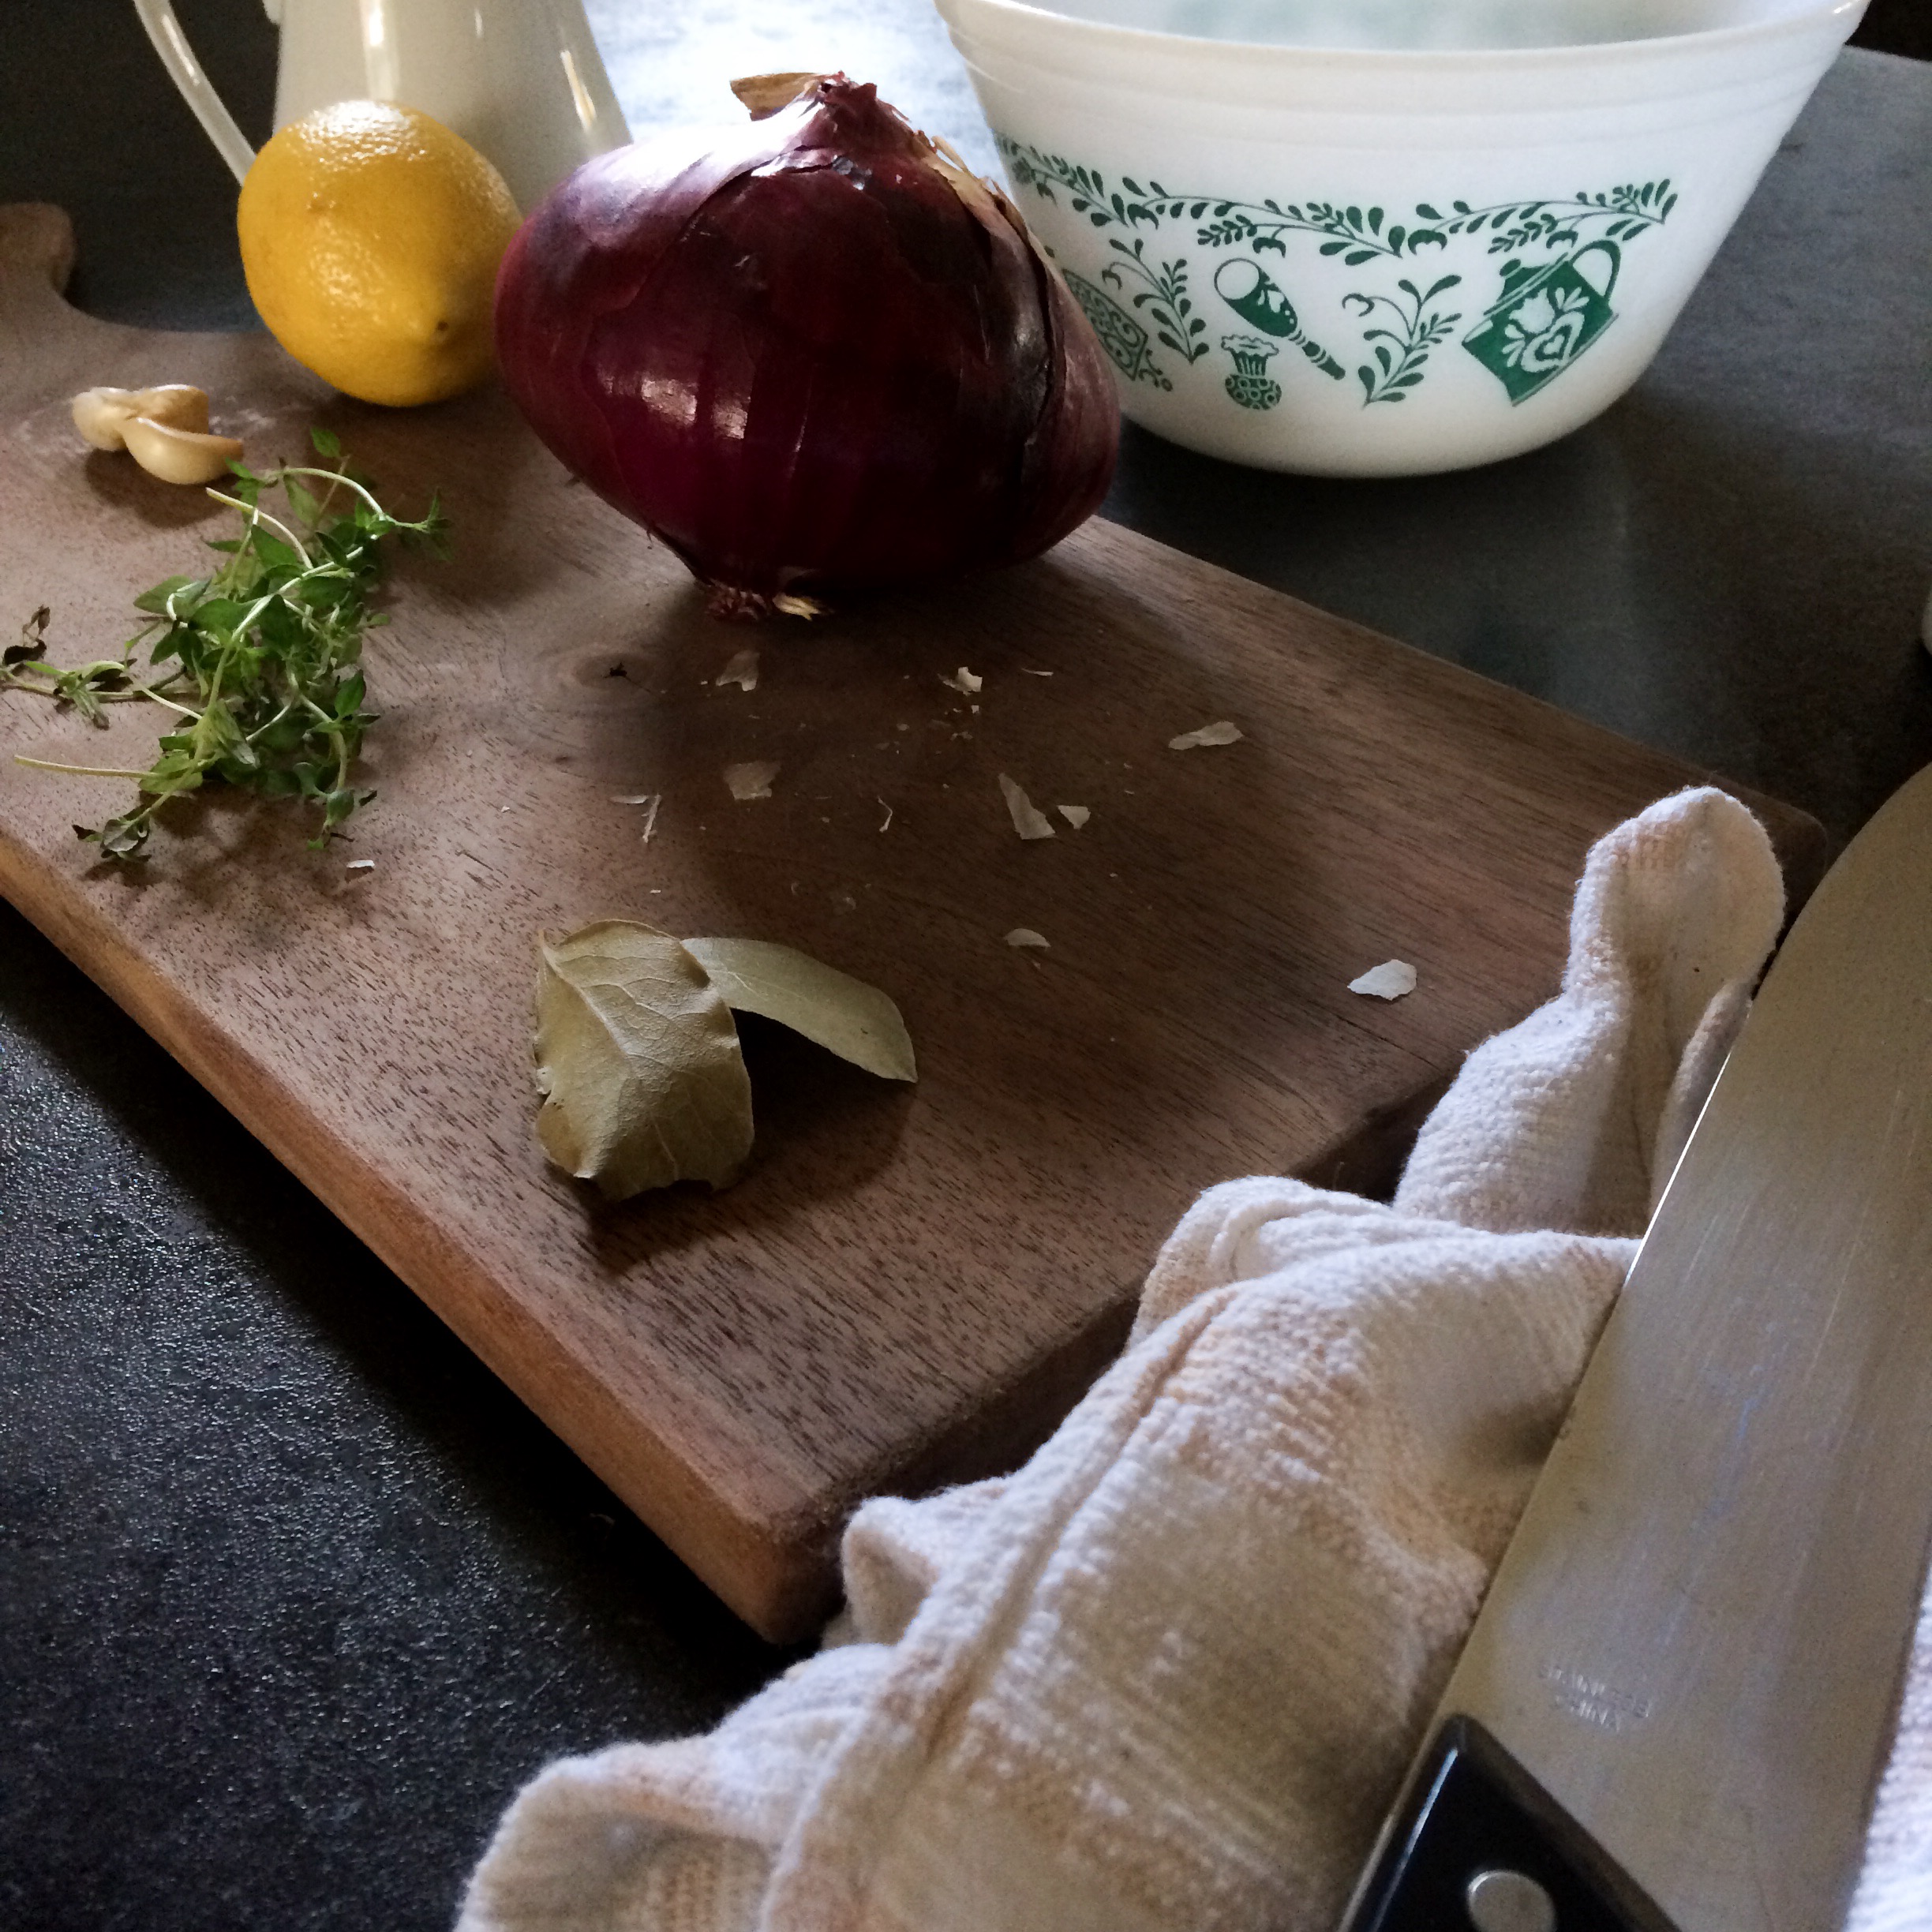
I tend to really like low light, as you can see in most of the pictures I have on here. The shadows really give the picture depth and texture. Find what kind of light you like and pursue it! I usually try to shoot before 9 in the morning or between 3-5 in the evening. But again, it depends on the type of lighting you’re trying to achieve. When I made pumpkin pie, I shot those pictures before 9 because I wanted very soft morning light with deeper shadows. The two pictures of Homemade Applesauce and Apple Cider Baked Chicken were taken later in the day between 3-5 giving the picture a more rustic look. The last picture on here of the Apple Galette was actually taken not by natural light, but at 9pm under a fluorescent light. I like this result because it looks bright and clean.

The main point I want you to take away from this is that you don’t need a fancy camera to get great pictures. Using natural light is the best (and not to mention cost free!) way to improve the look of your photos. So stop hiding behind filters and get some natural light! Your photos will thank you for it. Obviously, I am not a photography expert so if you want a more in depth explanation I suggest you check out Pia Jane Bijkerk’s post on her photography methods.
Thanks so much for taking the time to read this! If you have any photography tips you would like to pass my way I would love to hear them! Stay tuned for the next post in the series where I talk about camera angles. Until then, have fun experimenting with natural light!
Adele


One thought on “Photography Made Simple: Using Natural Light To Your Advantage”