Lifestyle Photography | How To Make Your Photos Come Alive

I am a visual artist. Not with a brush or chisel, but with a camera. I mostly capture food scenes, still lifes, and areas of my home. Basically anything that catches my eye and is inspiring to me. I am drawn to the small, quiet scenes at home because they happen in our everyday lives. There is something inspiring about that; a quiet cup of tea, a cozy moment at home, or baking a loaf of bread. Some of them are staged, and some of them I photograph just as they are.

I recently took a class on Skill Share by Marte Marie Forsberg entitled Lifestyle Photography: Capturing Food, Flavors, Conversation. For those of you who don’t know what Skill Share is, it is an online platform where people can teach classes, sometimes for a nominal fee, sometimes for free, and students can watch their videos and get practice with various projects. Besides the class being free, Marte was able to share her experience as a self-taught photographer. If you are at all interested in this topic, you can sign up for free on Skill Share!

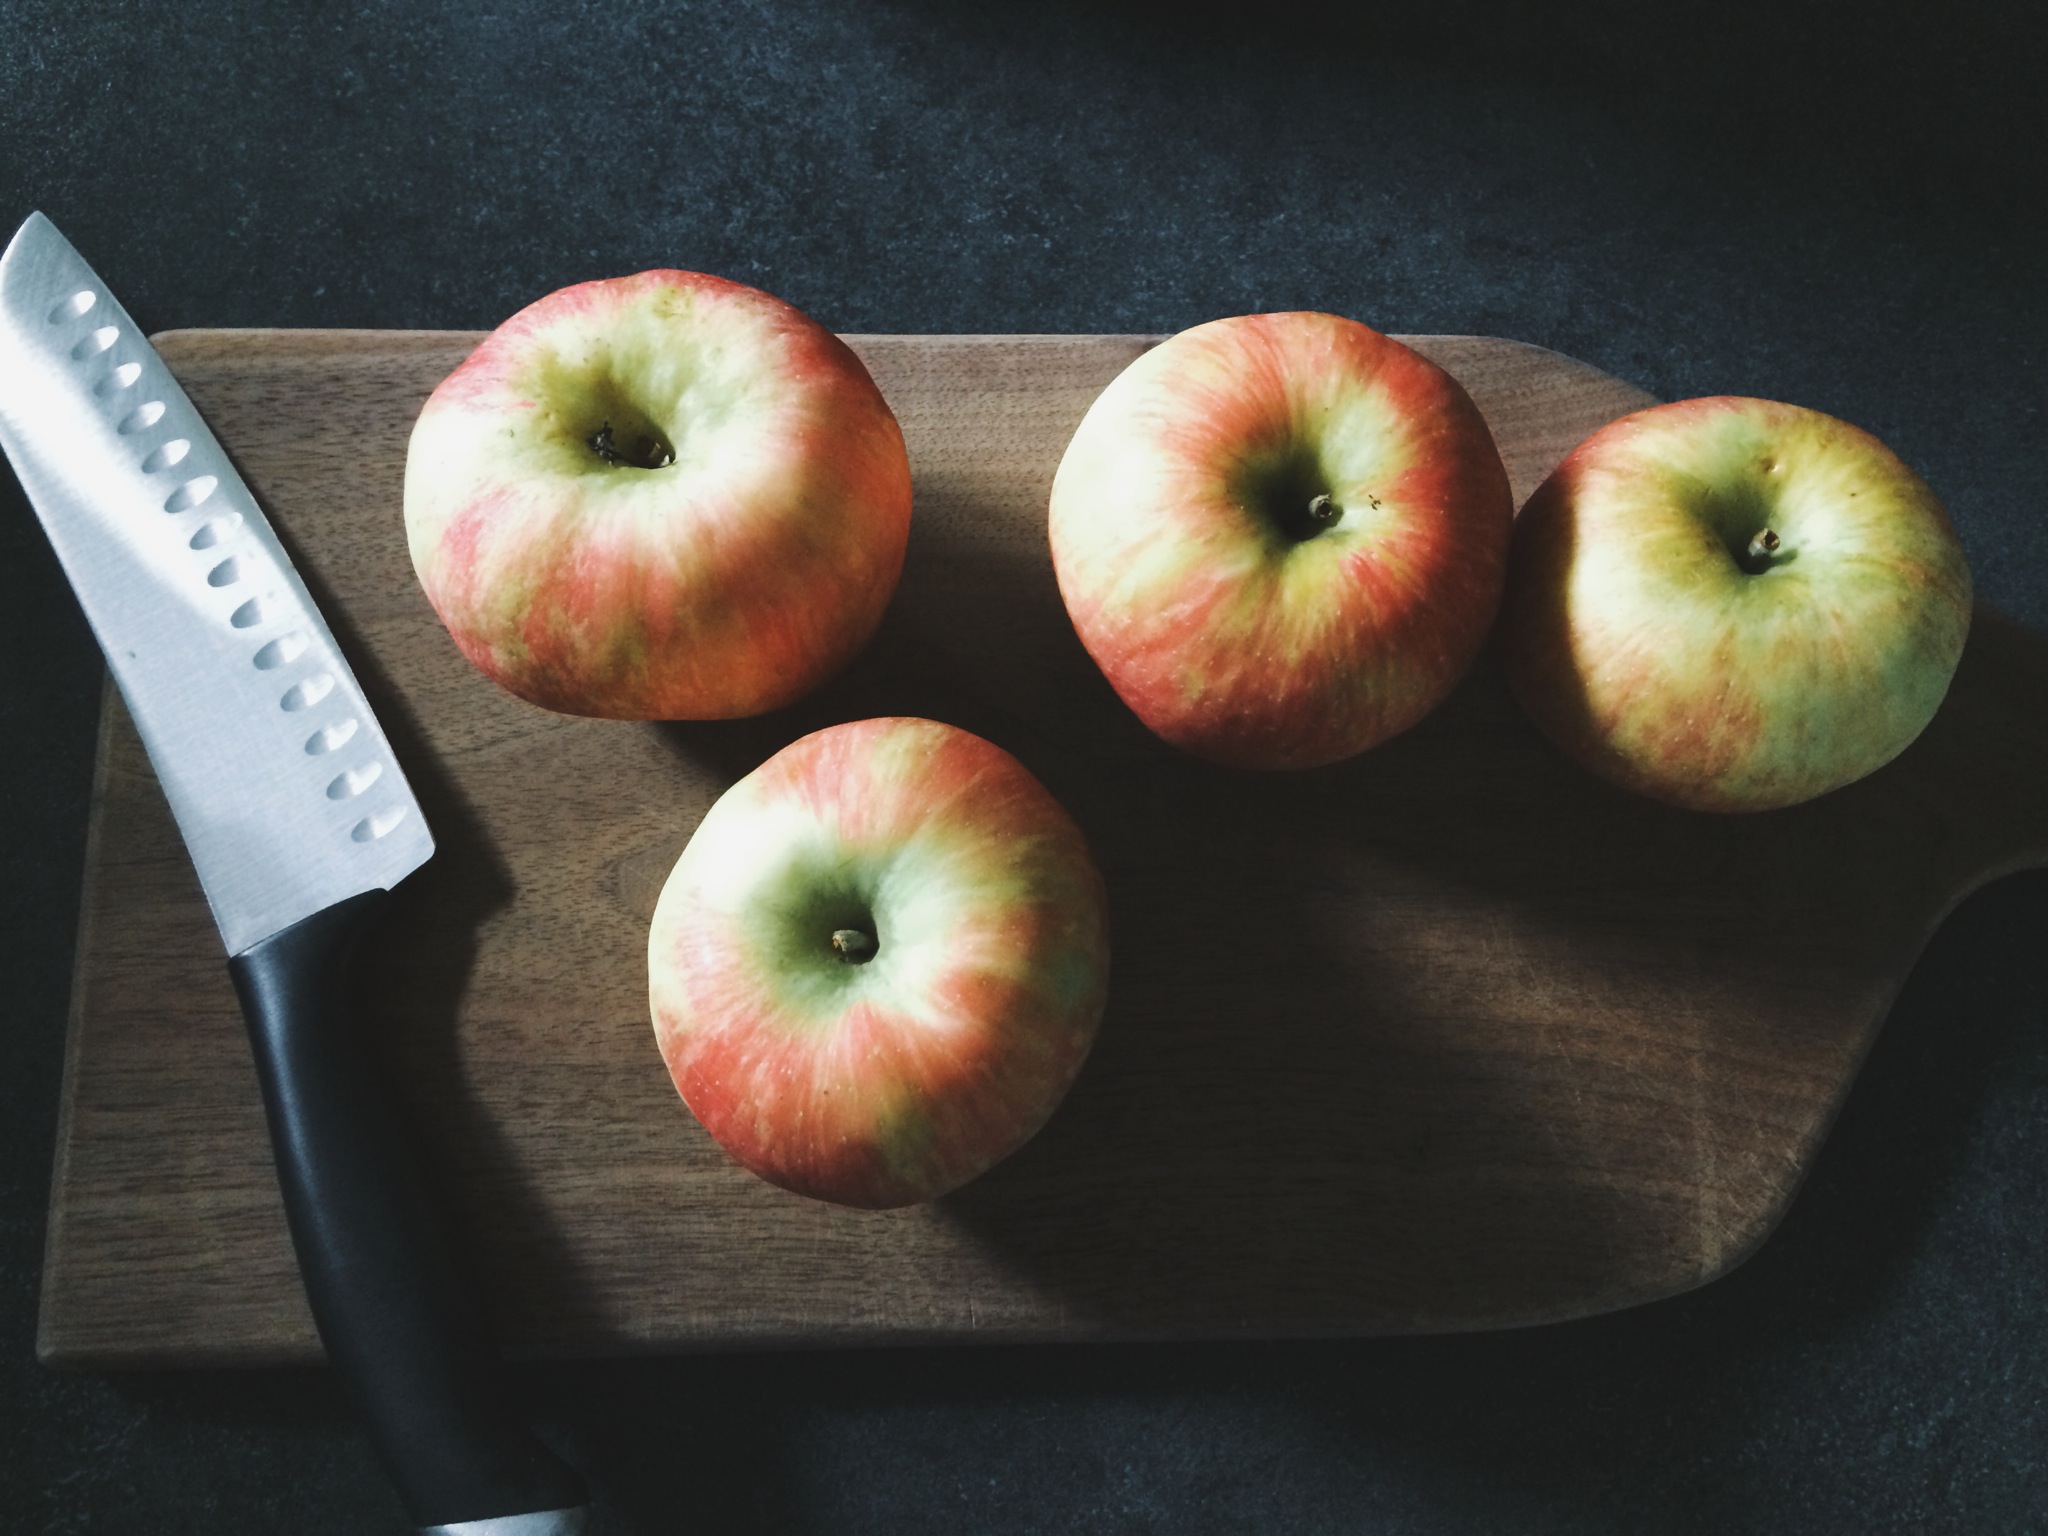
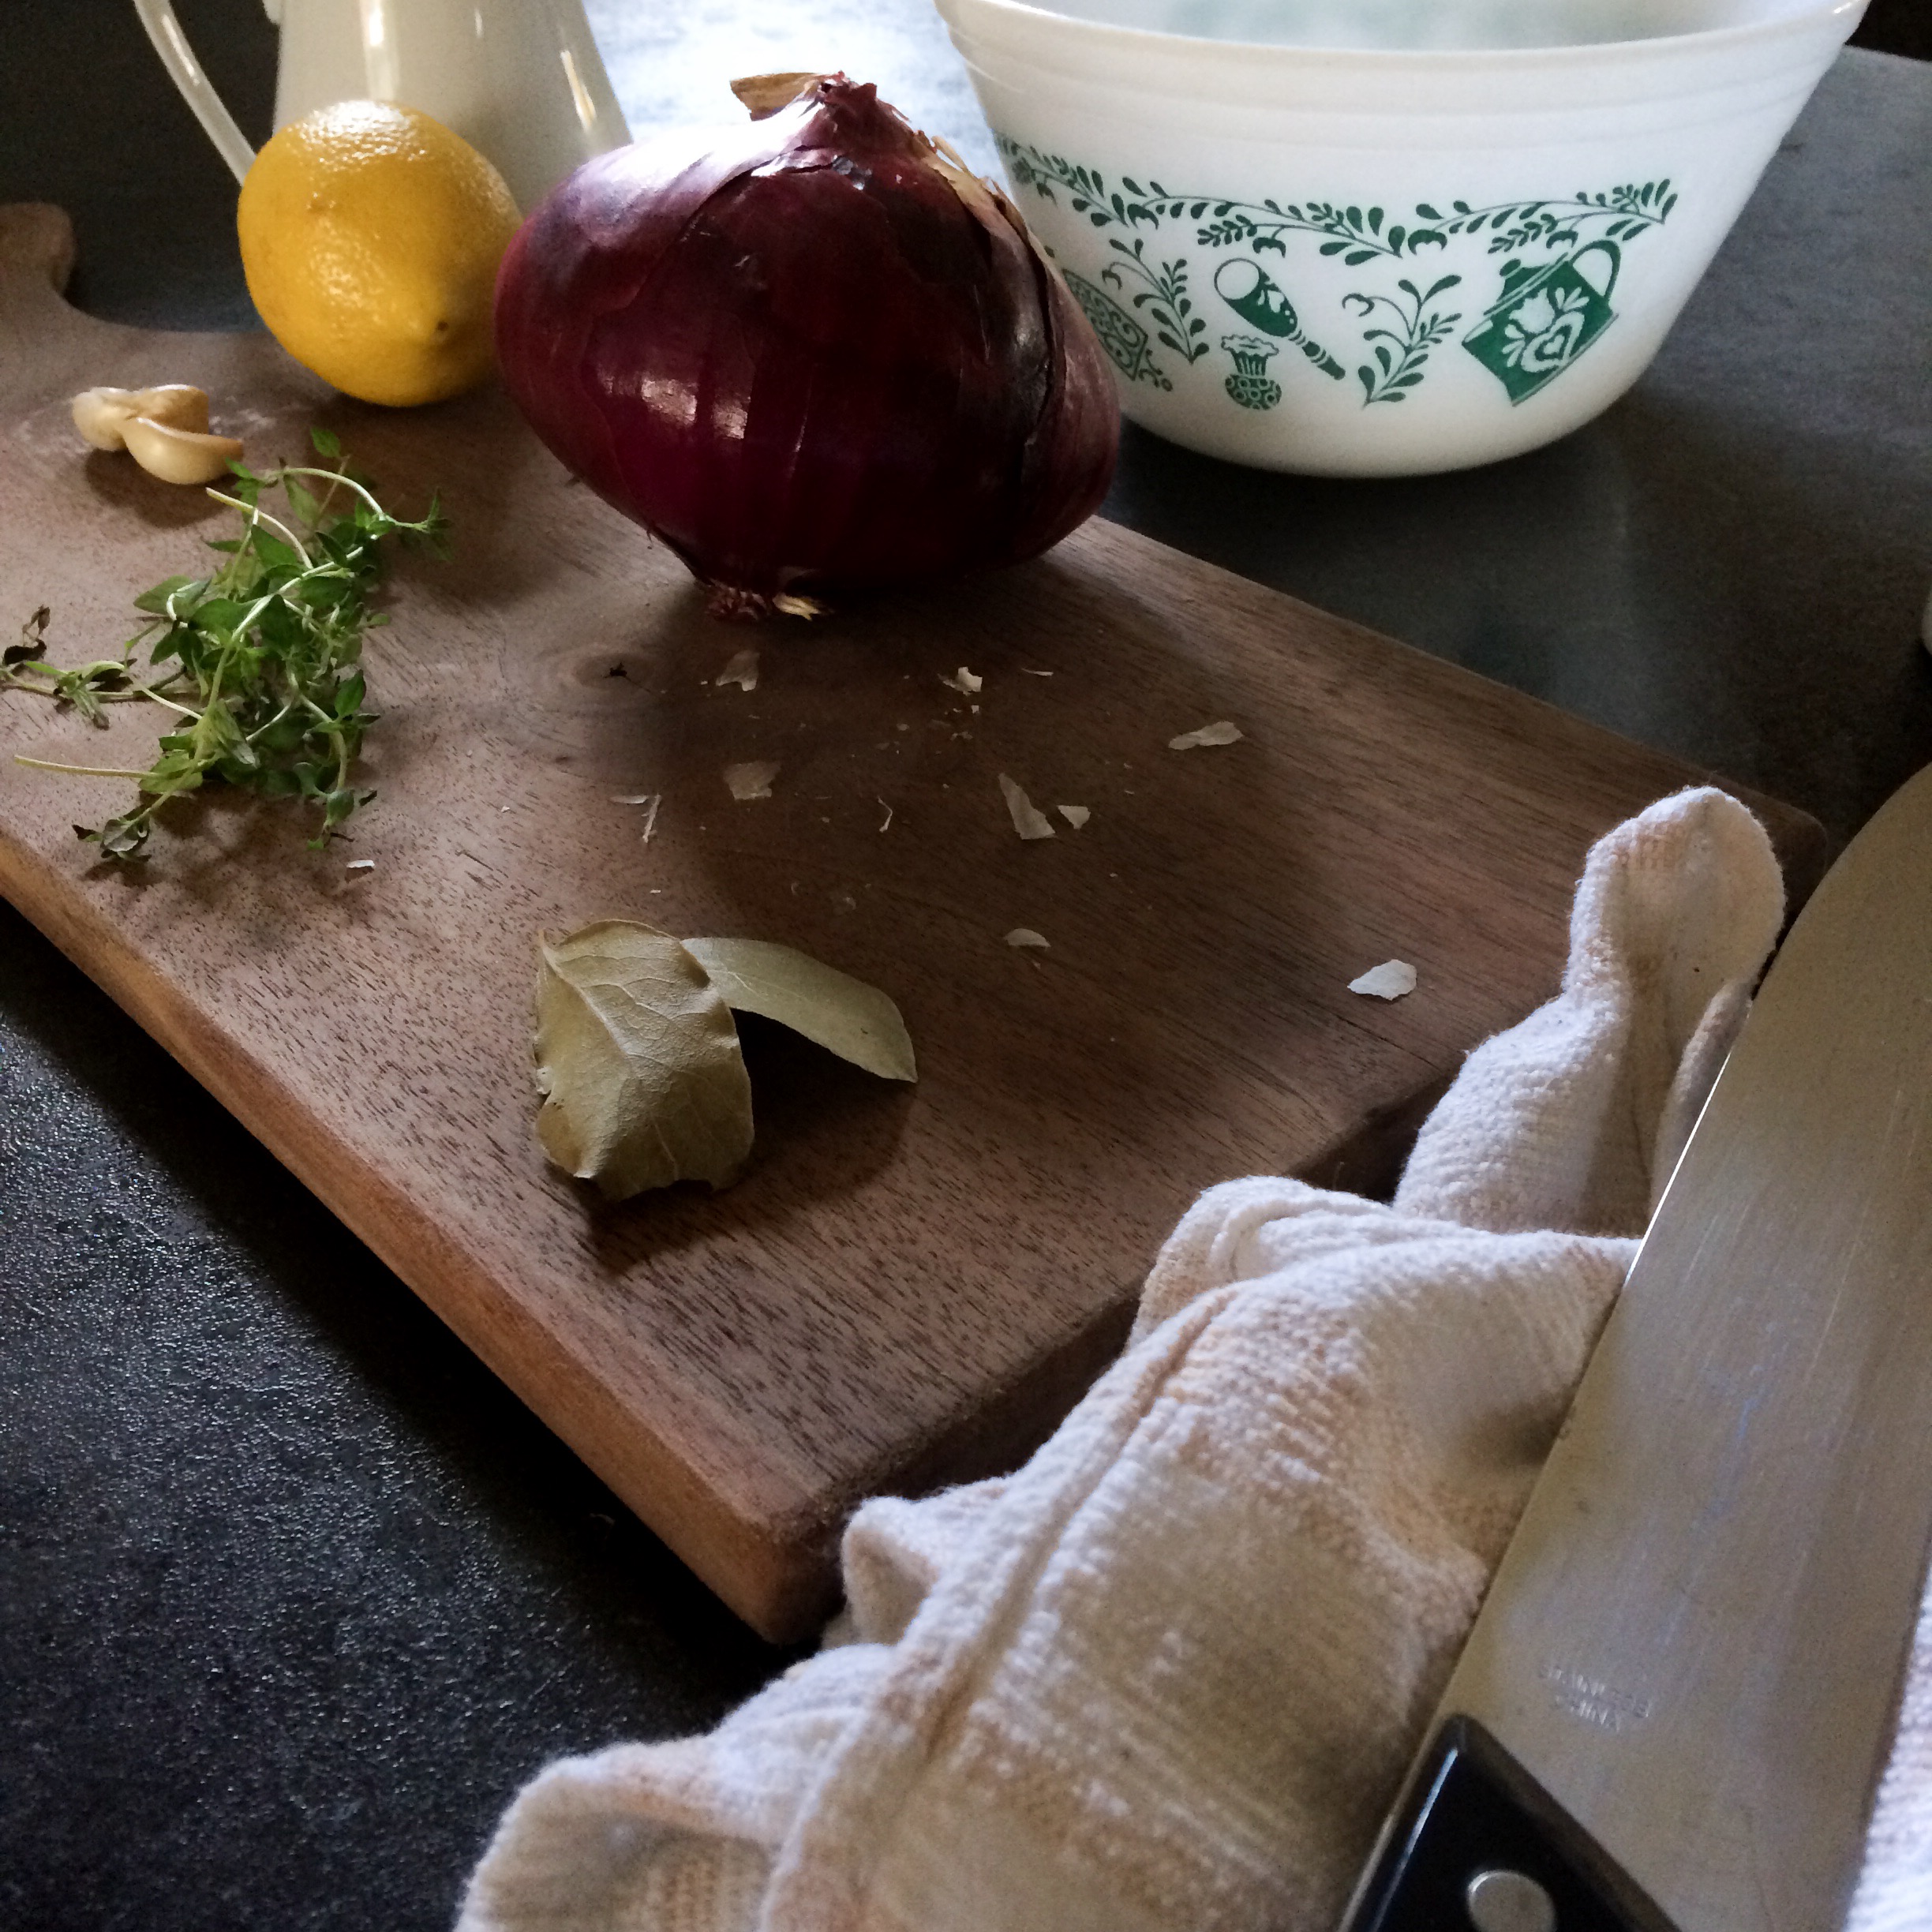
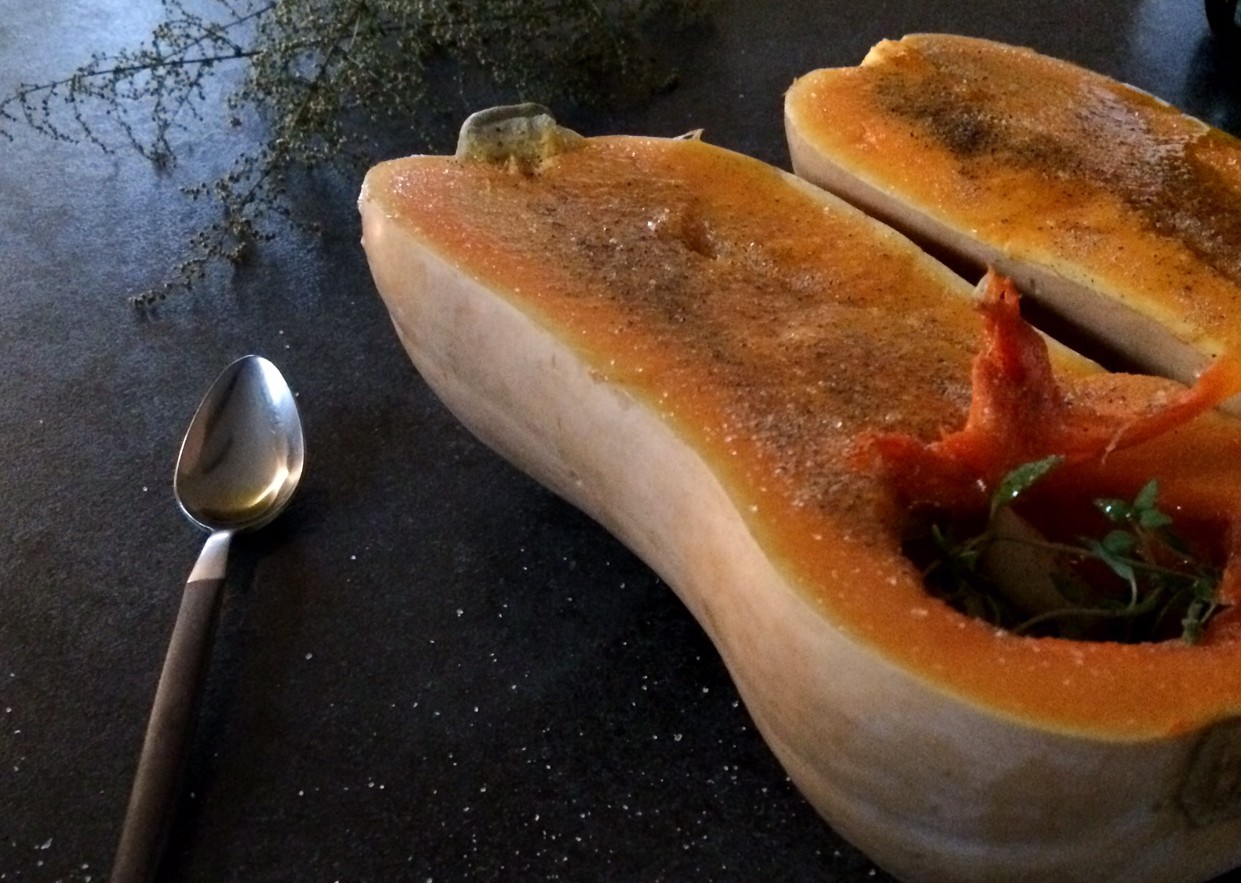
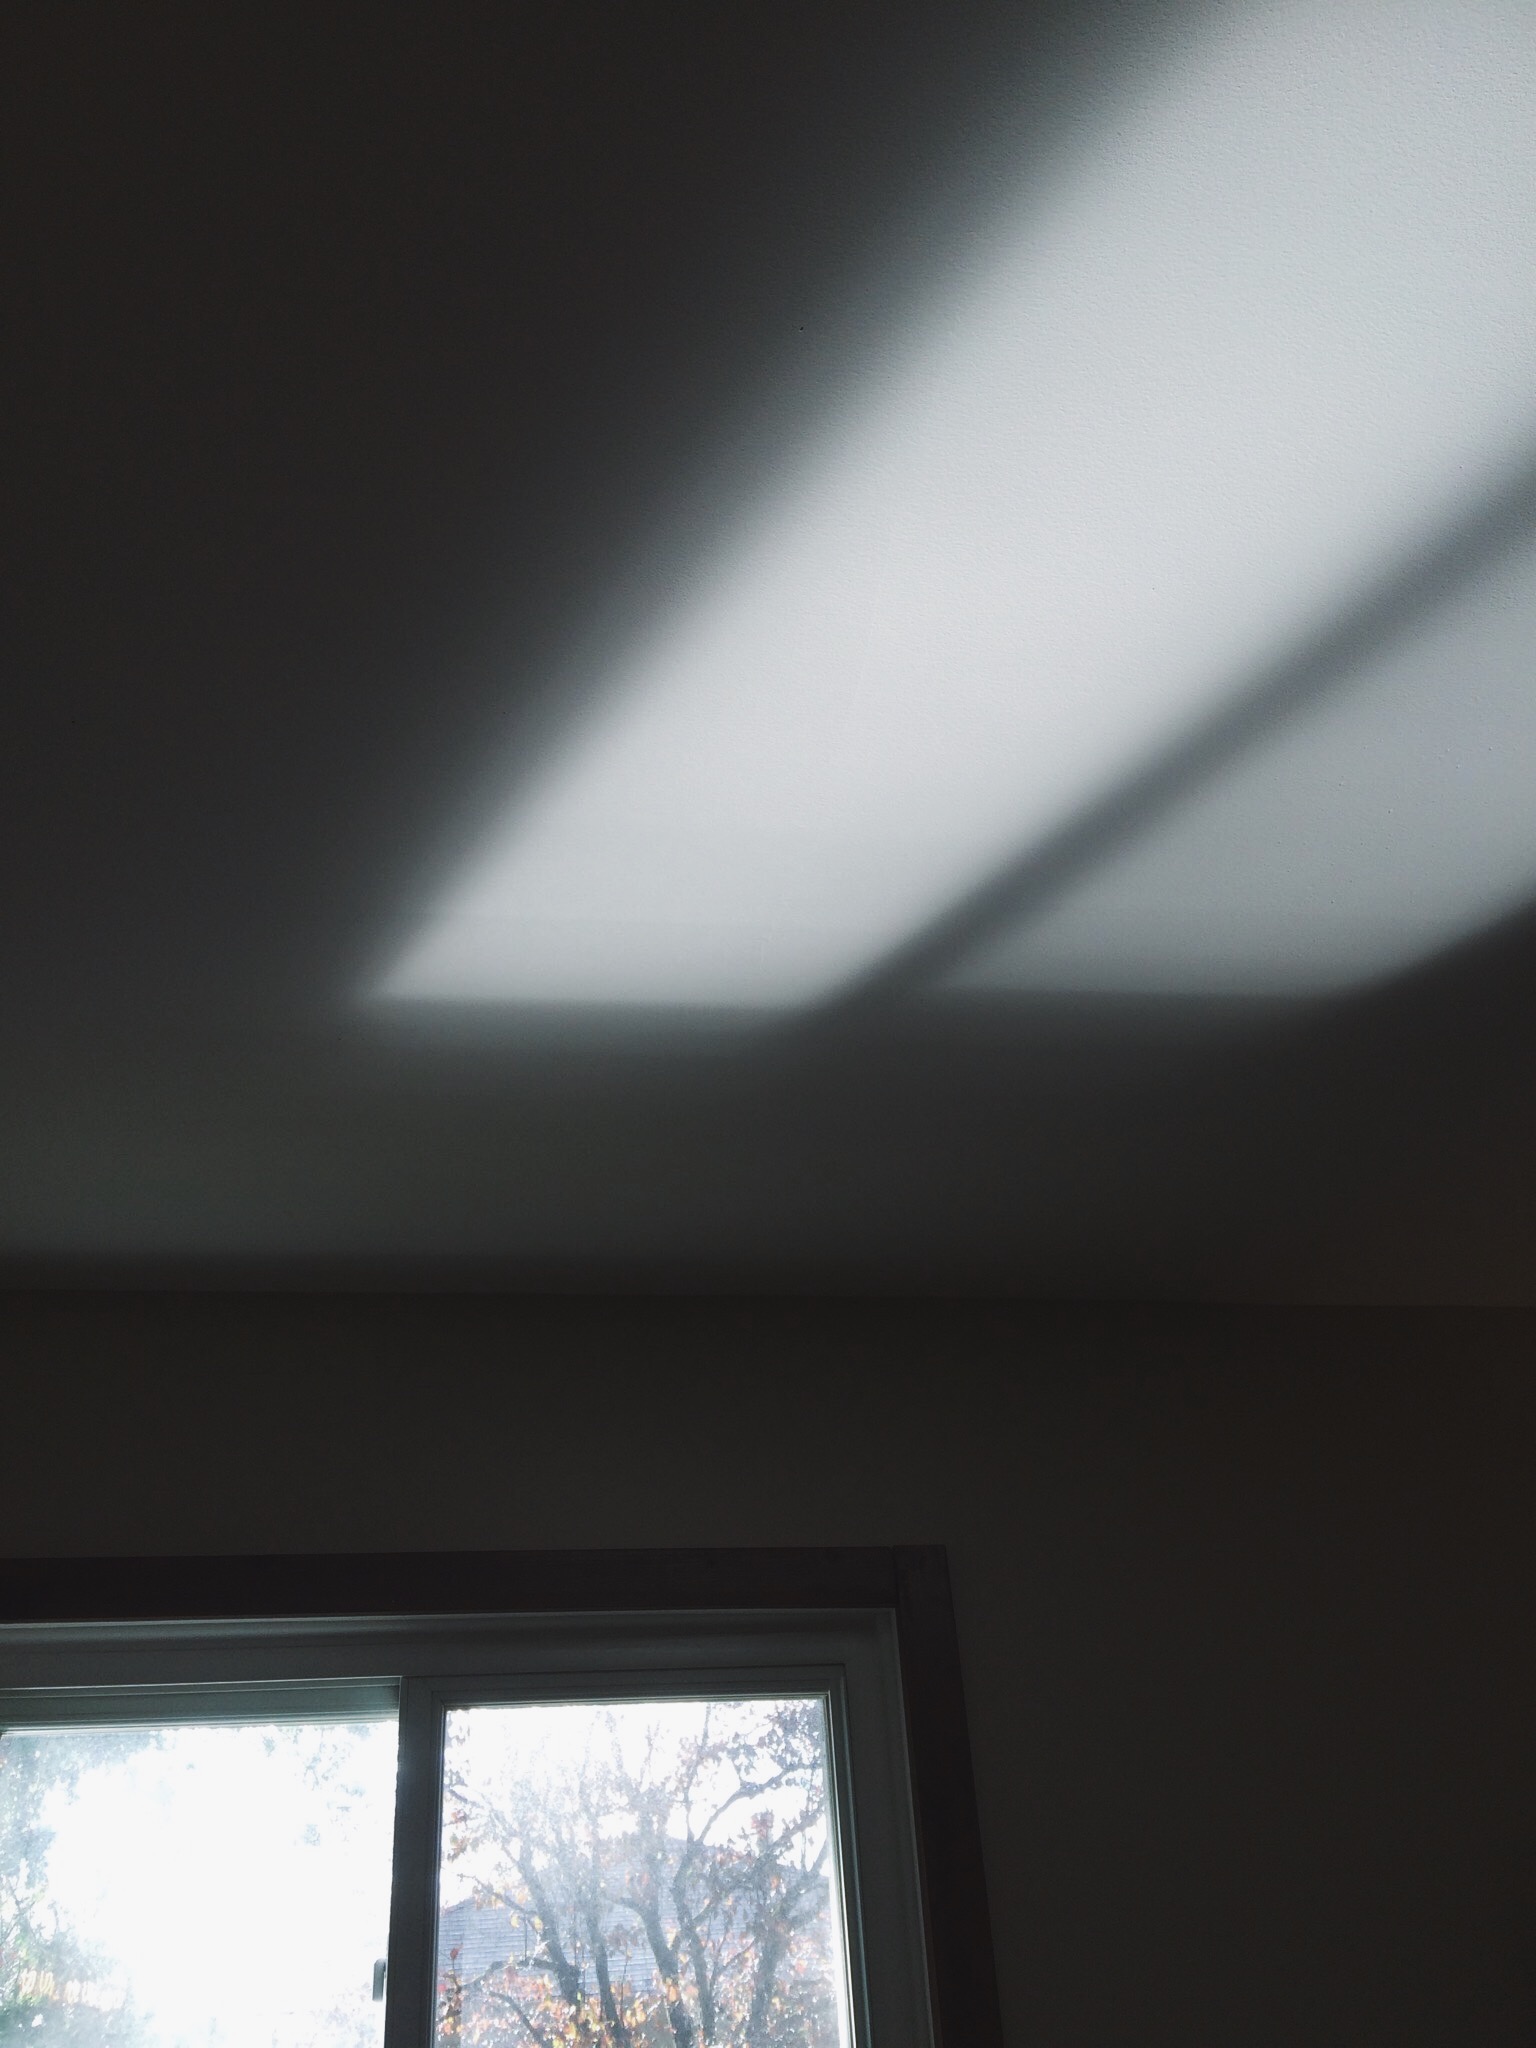
Marte suggests coming up with a story behind your picture. Not that you tell that story to your viewers, but it is merely implied. This will make your photos come alive. I find it easier for me to think about what mood or feeling I want to convey. A simple way to achieve this is to use natural light (you should always use natural light). In general, I’m drawn to shadows and the contrast between light and dark; particularly in the winter months when the days are shorter and the light is softer. It just creates a moody scene that is more indicative of the winter months.

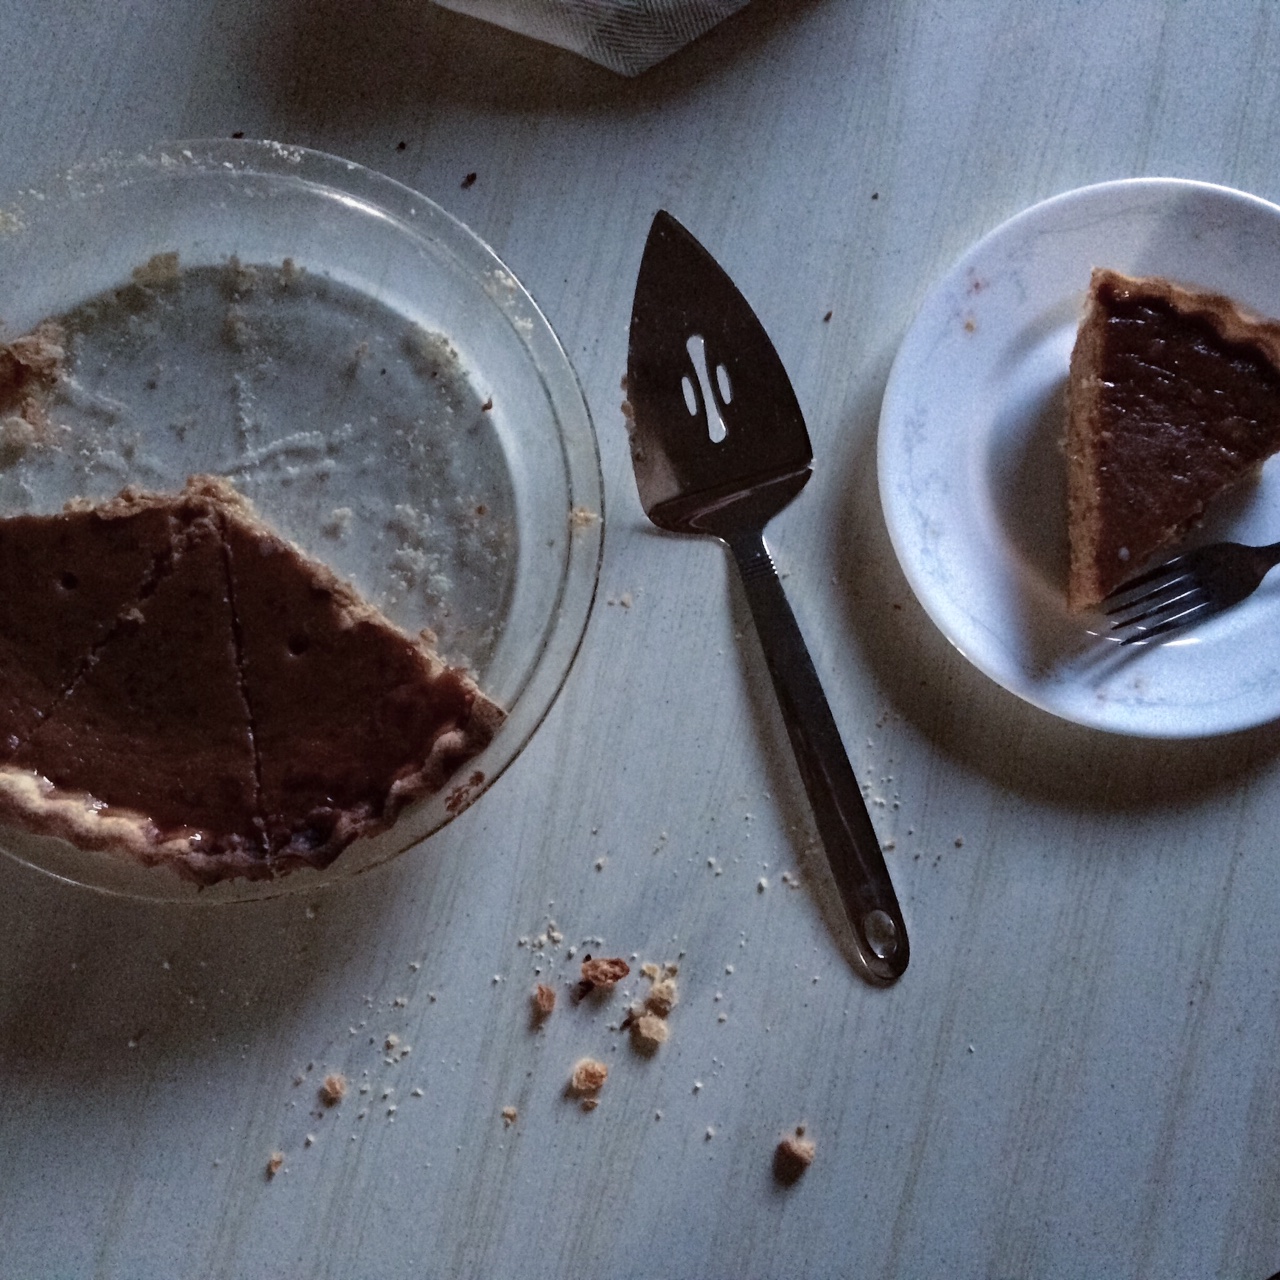
You can also use props; something that makes sense in the picture, enhances it, but doesn’t detract from the story. Adding a human element is always a bonus. Reach your hand in the frame and grab a fork or a cup. Your photo now looks lived in, someone is there. What about the food? Does your scene take place before the eating, midway, or after? My favorite is either midway or after; crumbs lying carelessly on the table or a napkin haphazardly thrown on the table, not neatly folded because  someone excused themselves too hurriedly. Someone has been there.

Processed with VSCOcam with a8 preset

Processed with VSCOcam with a8 preset

Processed with VSCOcam with a8 preset

Marte’s project to the class was Afternoon Tea. Capture what afternoon tea looks like to you in three pictures. Well, I’ve never been a big fan of tea. Not that I don’t like it, I just never got into it much. So I submitted what coffee time looks like to me. These series of pictures you can also find on my coffee and cranberry orange scones post, including a recipe. My coffee time is just like their tea time over in England – a moment to be savored, enjoyed, and slowed down. A soft light poured through the window as we enjoyed our wintery treat. It was just two friends enjoying one another’s company, gathering around scones and coffee – that’s what I wanted to capture, the essence of it all.

Sometimes an inspiring photo is right there in front of your lens already, other times you have to convince your audience a little bit more. Maybe the lighting needs adjusted or maybe you need some props and styling in there. Maybe you need to shoot at a different angle. If you don’t get that feeling you’re envisioning after you take the picture don’t worry, continue to troubleshoot until you’ve achieved the proper mood. It’s not easy and it takes practice, but it sure is fun to experiment with!

If you would like to get practice at this, I encourage you to sign up for Marte’s class! Of course you can do it on your own but you will get feedback from Marte and other classmates if you enroll in the class. So go out there and capture afternoon tea or coffee until January 11th and you have a chance to be featured on Marte’s Instagram feed, among other things! Above all, have fun with it and enjoy the scene you’re creating.

Advertisement

Photography Made Simple {Part 2}: Camera Angles

Besides using natural light to your advantage, using camera angles is another way to make your photos come alive and seem more appealing. Camera angles can highlight something you want to show, or hide a flaw. When I am shooting food, I try to get every angle possible and then see what picture(s) looks best. I’ll start directly overhead and work my way down. Usually if I am shooting in low light, the angle looks better than being directly overhead because the light skims the top and creates nice shadows. But again, it’s all about what you like and what looks the most visually appealing.

Processed with VSCOcam with a8 presetcropped-img_2036.jpg

The pictures above were taken directly overhead. The light doesn’t really skim the top but just sits on top. Any of these, however, can be shot at an angle to get a different perspective and sense of depth.

stylingIMG_1979

The above shots are probably my favorite. In these, the light skims the top creating deep shadows. This creates depth where they might otherwise be flat. This is another free and easy way to improve the look of your photos.

Using both light and angles to your advantage are simple tricks that will take your photos to the next level. It doesn’t require fancy equipment, just old fashioned know-how and a good eye.

Adele

Photography Made Simple: Using Natural Light To Your Advantage

light and shadows

I’m going to do a series of posts on photography because well, I think it needs to be explained. Simply. For those of you who did not major in the arts or photography and want to know how you can achieve good quality pictures, this series of posts is for you. Too many of us (myself included) have been or are stuck in the world of filters (Instagram, vscocam, and other apps of lesser quality). Filters can be used but they should be used sparingly and should not detract from the overall quality of the picture. Trust me, when I look at my filtered pictures from years past I cringe. But eventually I saw the light and I hope you will too!

pumpkin pieIMG_2175

IMG_2149IMG_2156

All of these pictures you’re looking at were taken with my iPhone 5s. If you’re using an older iPhone model your pictures probably won’t turn out as well (trust me, my iPhone 4 pictures were horrid). The newer iPhones have an advanced camera that uses a more advanced lens, like the kind you would find in a professional camera. This allows you to make things go in and out of focus, achieving that “professional” look. But you don’t need advanced technology to achieve good lighting. With the iPhone, you just need to know what kind of light you’re looking for and when to shoot. It’s as simple as that. Flash is a big no-no and so is any type of artificial light that would give your pictures an orange hue. I want to specify, this applies to your everyday pictures, food photography etc. I wouldn’t advocate that you shoot someone’s wedding with an iPhone 5s!

Processed with VSCOcam with a8 preset

I tend to really like low light, as you can see in most of the pictures I have on here. The shadows really give the picture depth and texture. Find what kind of light you like and pursue it! I usually try to shoot before 9 in the morning or between 3-5 in the evening. But again, it depends on the type of lighting you’re trying to achieve. When I made pumpkin pie, I shot those pictures before 9 because I wanted very soft morning light with deeper shadows. The two pictures of Homemade Applesauce and Apple Cider Baked Chicken were taken later in the day between 3-5 giving the picture a more rustic look. The last picture on here of the Apple Galette was actually taken not by natural light, but at 9pm under a fluorescent light. I like this result because it looks bright and clean.

stylingProcessed with VSCOcam with a8 preset

The main point I want you to take away from this is that you don’t need a fancy camera to get great pictures. Using natural light is the best (and not to mention cost free!) way to improve the look of your photos. So stop hiding behind filters and get some natural light! Your photos will thank you for it. Obviously, I am not a photography expert so if you want a more in depth explanation I suggest you check out Pia Jane Bijkerk’s post on her photography methods.

Thanks so much for taking the time to read this! If you have any photography tips you would like to pass my way I would love to hear them! Stay tuned for the next post in the series where I talk about camera angles. Until then, have fun experimenting with natural light!

Adele