For the past couple of years we have had what seems like an endless store of deer meat. My Fiancé got a deer a few years back and although I’ve tried to use it up any way I can, we still have a lot left over. This is a wonderful predicament to be in because it means I don’t have to buy meat from the grocery store. There is a veil between us and how our food is prepared and once that veil was lifted from my eyes, I was disgusted. Meat is by far one of the worst of the food industry – wreaking havoc on human health and the environment. If I can find a way around the system, I’m all for it.
Hunting for meat is wholesome and natural. It’s what people had to do in order to survive the winter. Now we don’t have to work for our food anymore. It is practically handed to us in the form of fast food and factory farms that make food production a science. I wish I could say I live a truly minimal lifestyle, only living off the land. But deer meat is one item I can say is nice to have loads of in the freezer at my disposal. If the apocalypse happened, we would be set (with meat anyway).
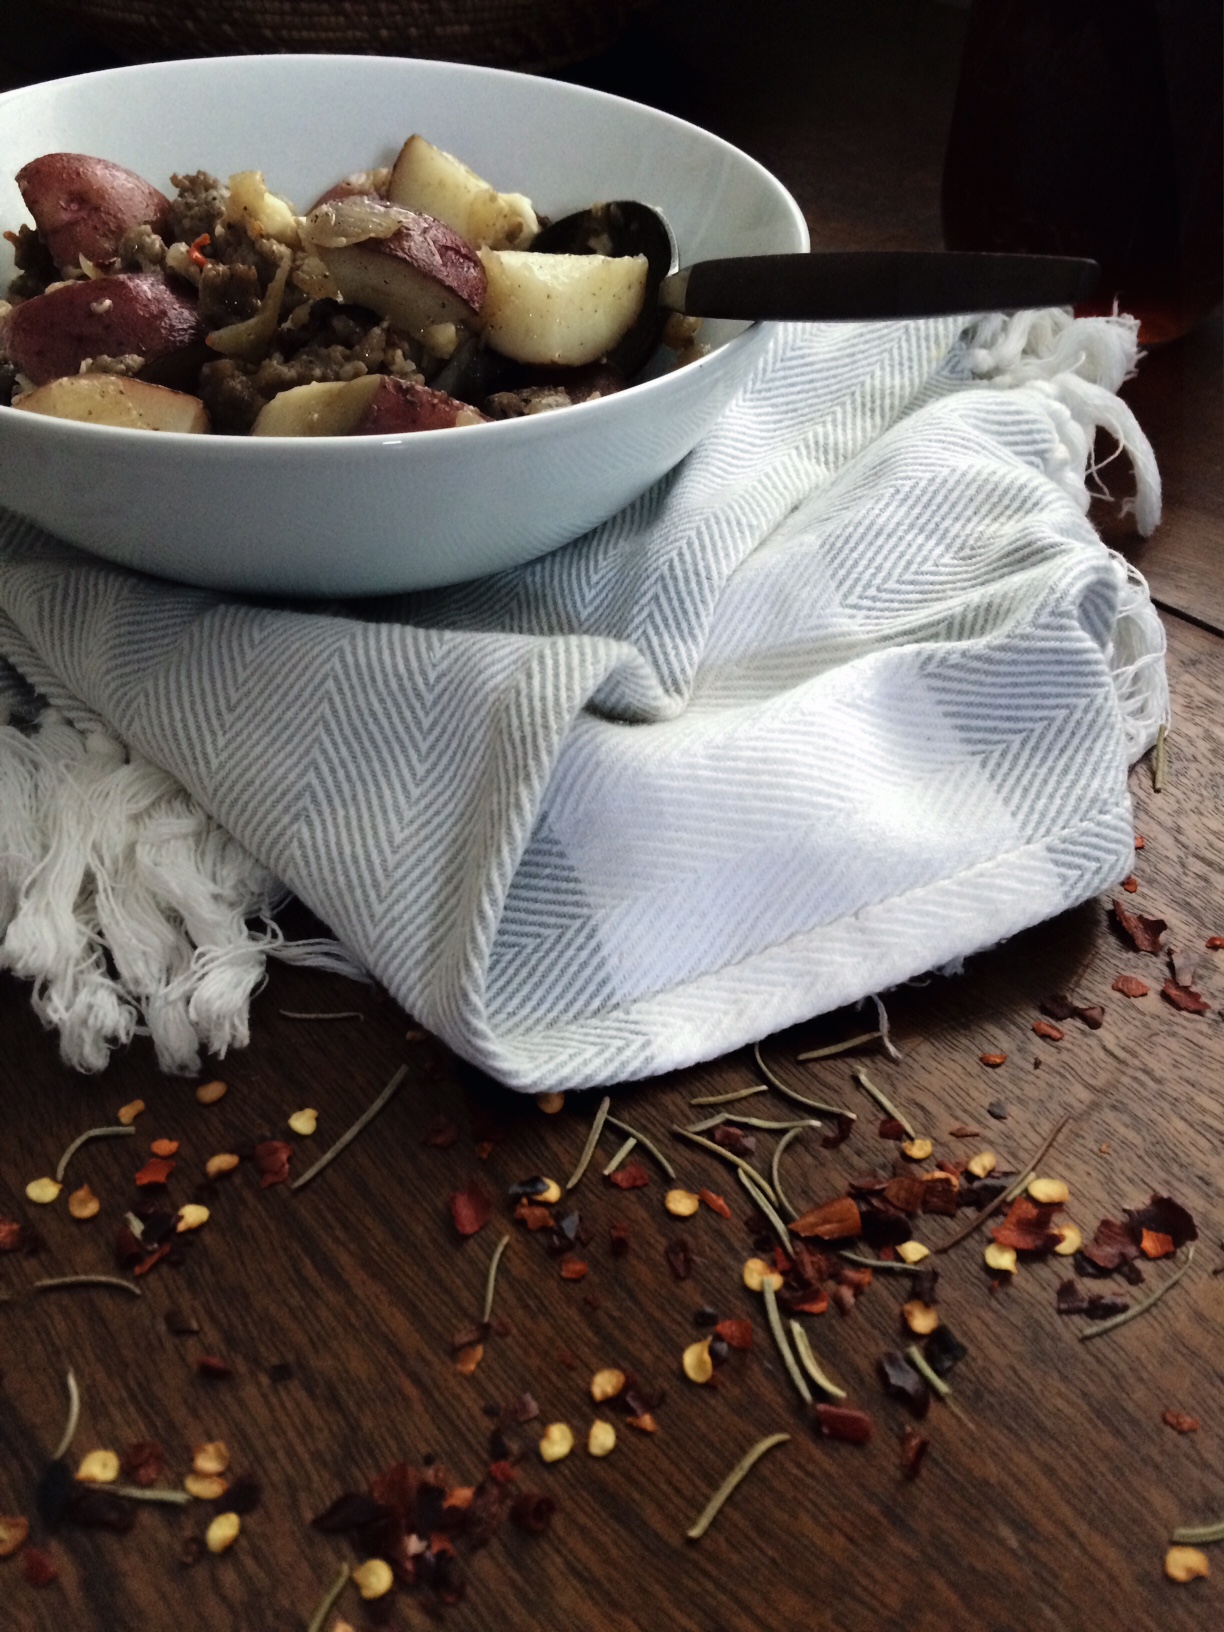
Deer meat is kind of a mixed bag for most people. Some like it, some don’t, and some are afraid to try it. I’m sure deer meat is the least of our worries with all the other exotic meats out there. Nevertheless, I want to ease your fears and show you a great way to use it – in chili. If you cook deer meat in something like chili or in a sauce it loses its gaminess and tastes (in my opinion) just like ground beef. You won’t be able to tell the difference. I created a basic crockpot chili recipe that is hearty and flavorful. It’s a good base to start with so if you like a little kick (which I don’t) you can certainly add more spices and even some hot sauce!
It’s nice if you have a handsome fiancé like I do to go out and catch you a deer! But what if you don’t have that? What are your options? Find a local farm or store where they carry local meat. If you live in Lancaster Ohio, Bay Food Market is a family owned business that processes meat themselves that they get from local farms in the area (be on the lookout for a story on them in the near future). To find a farm in your area, check out Eat Wild. As a last resort if you must buy meat from the grocery store, buy organic and free range meat. But since these organic companies are so big, you can’t be one hundred percent sure they are following all the guidelines. Loop holes, unfortunately, are common in the organic food system. The best situation is when you can visit the farm to see how your food is being prepared. You develop a relationship with the farmer. There’s nothing better for our health and for the environment than true pastoralism.
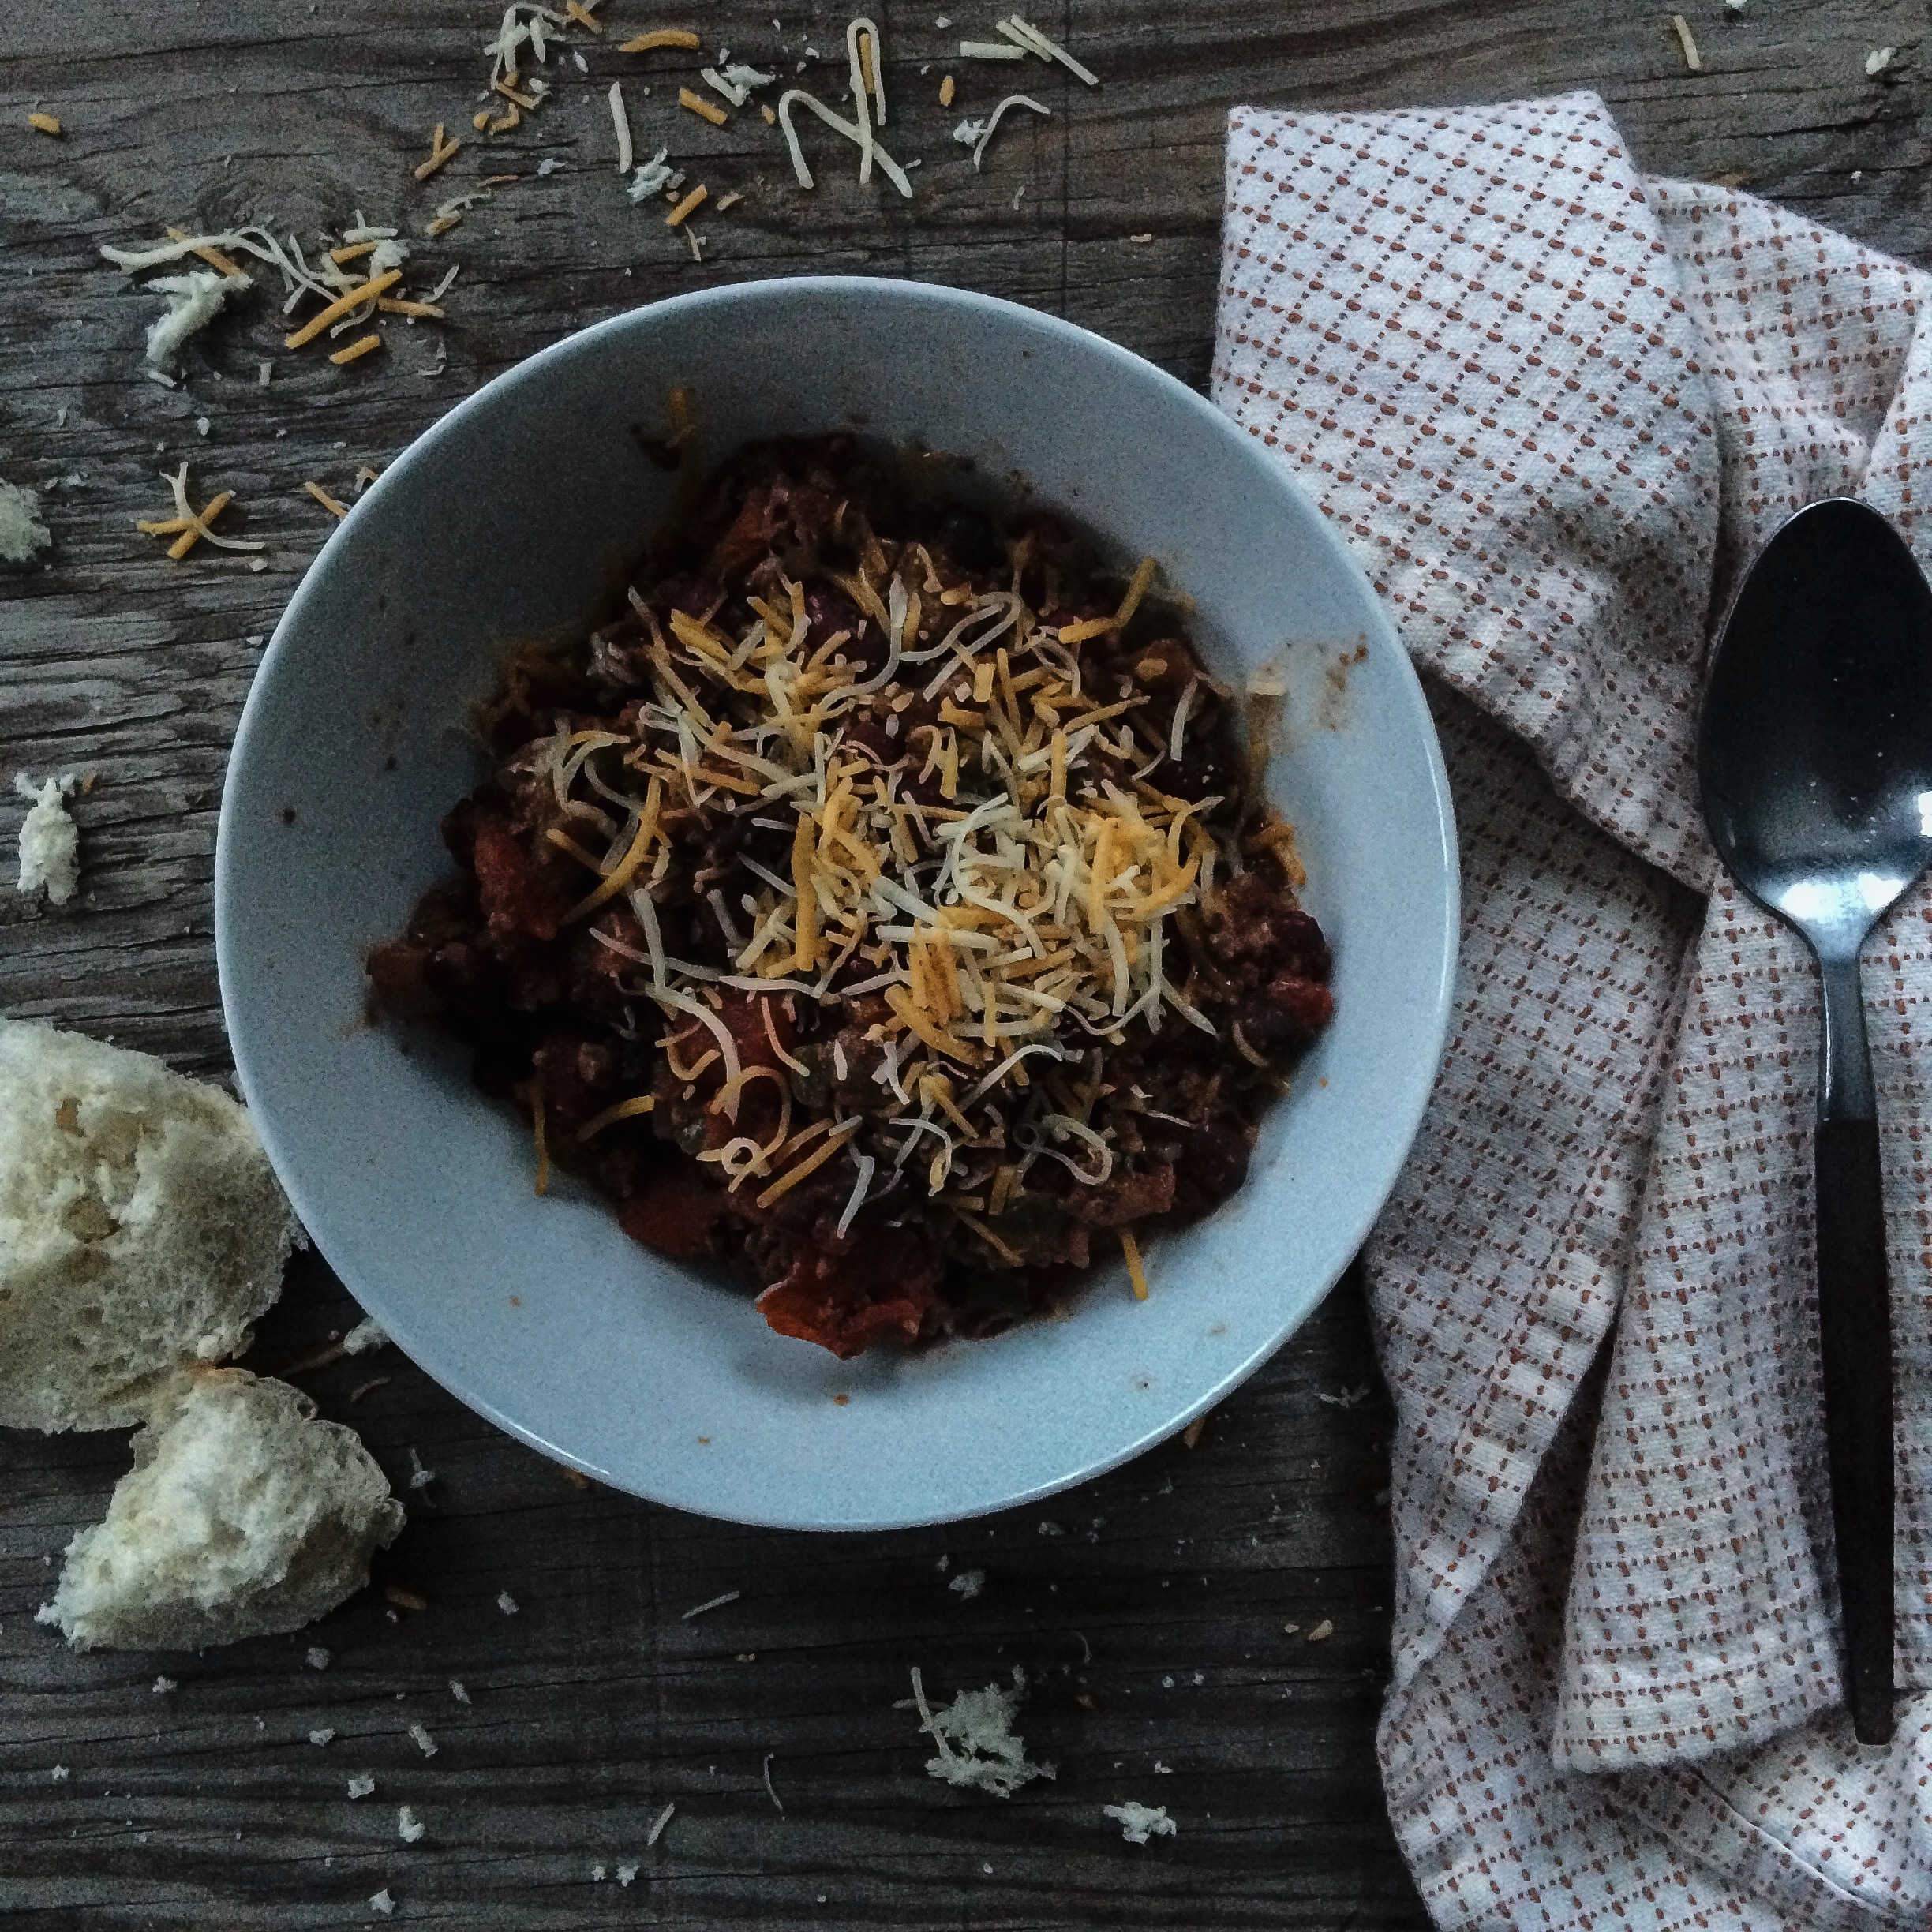
Recipe | Crockpot Deer Chili
Ingredients:
2 pounds of ground deer meat (or meat of your choice)
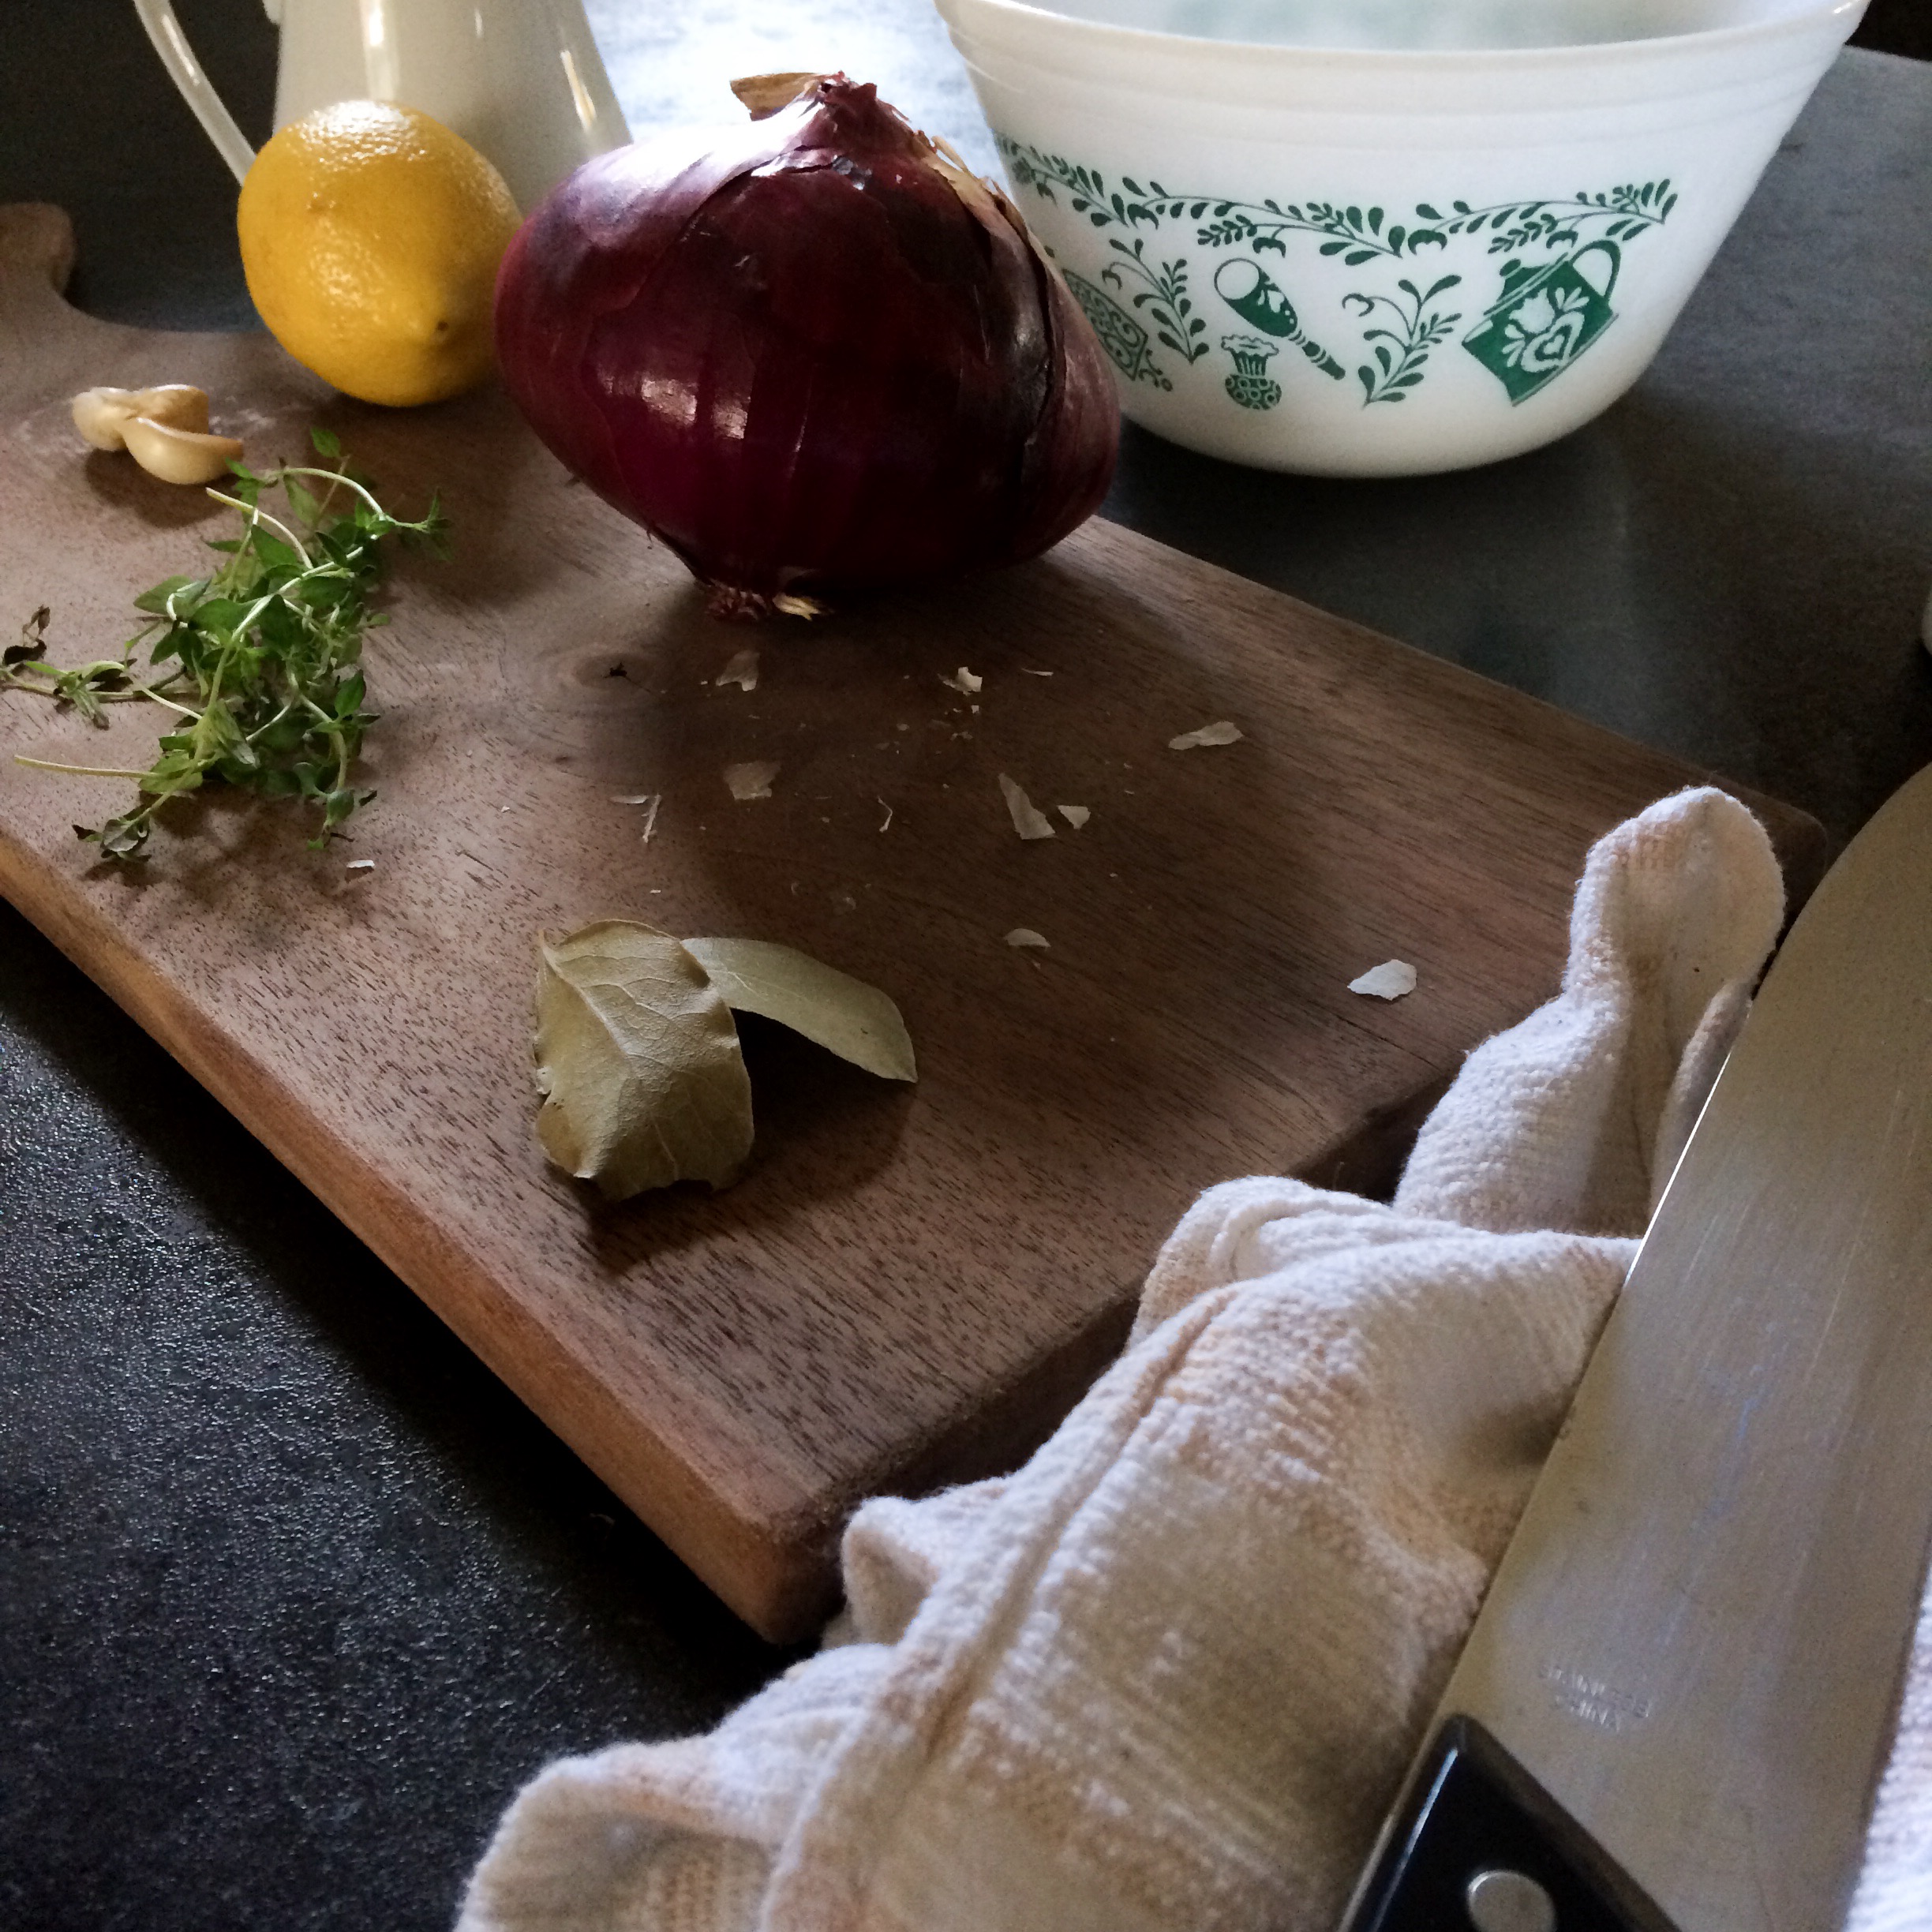
1 medium sweet onion
2 cups diced green peppers
2 cans organic diced tomatoes
1 can organic black beans
1 can organic kidney beans
1 can organic tomato paste
1 tsp. cumin
1 tsp. chili powder
2 tbsp. hot sauce (I use Frank’s Red Hot)
salt and pepper to taste
Directions:
Add the meat, onion, green pepper, and salt and pepper to a large skillet and begin to brown the meat. Meanwhile, put the remaining ingredients in the crockpot. Add to that the browned ground meat and stir to combine. Cook on low for 8 hours or on high for 4 hours. Enjoy!