A Recipe | Caramelized Onion and Mushroom Galette With Thyme and Goat Cheese

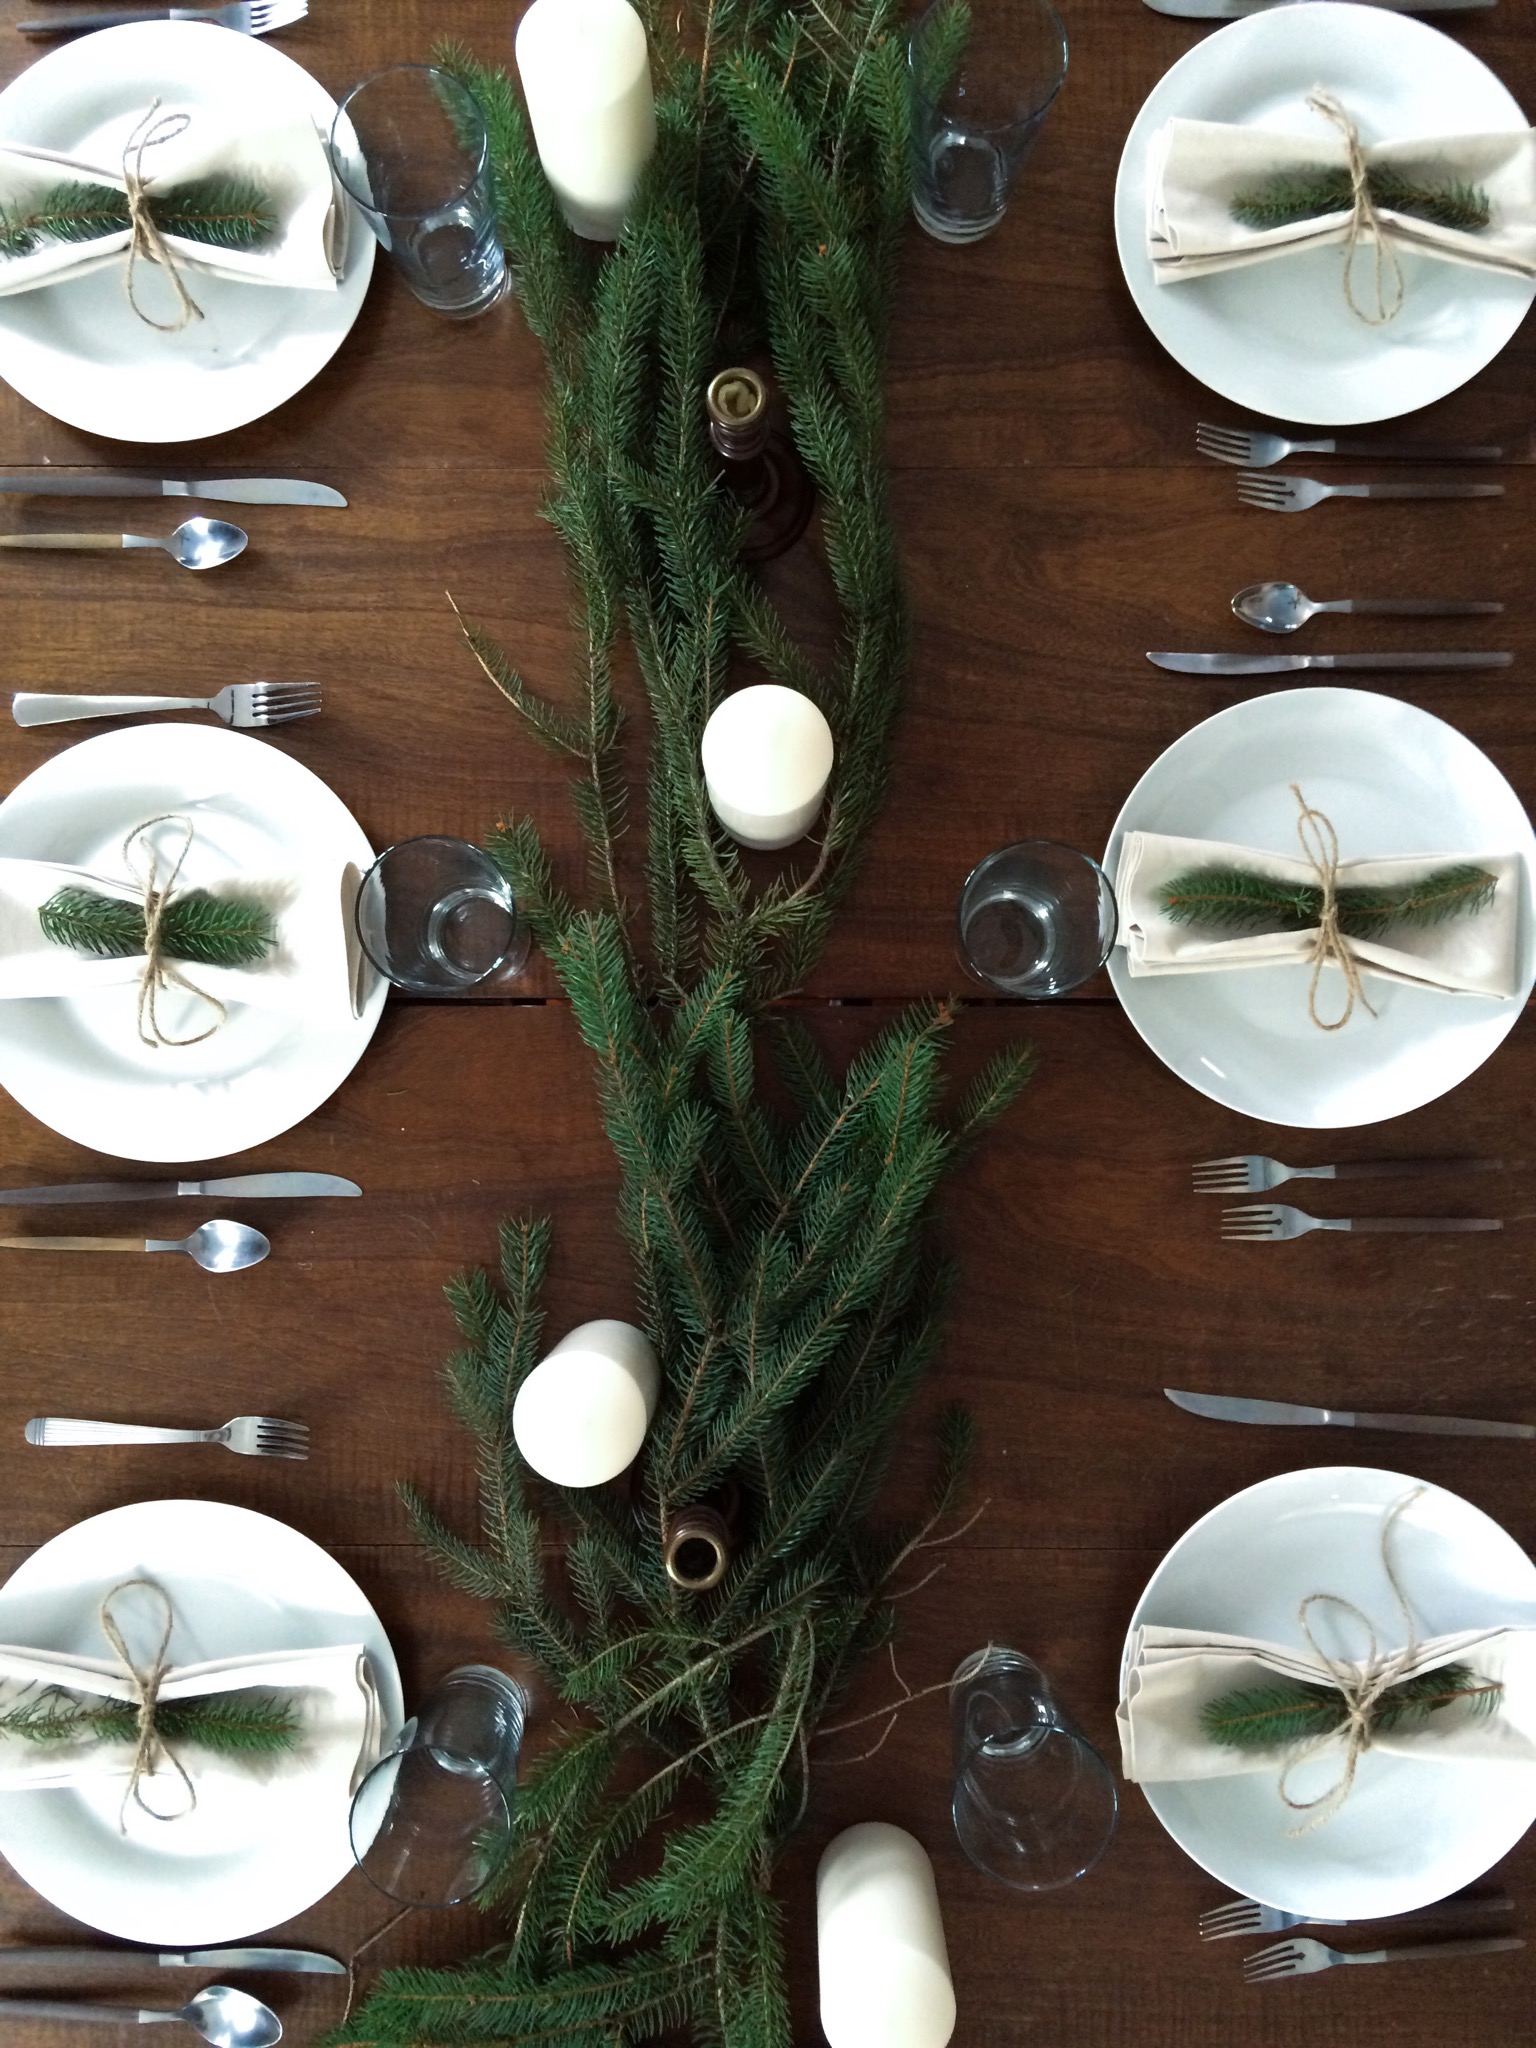
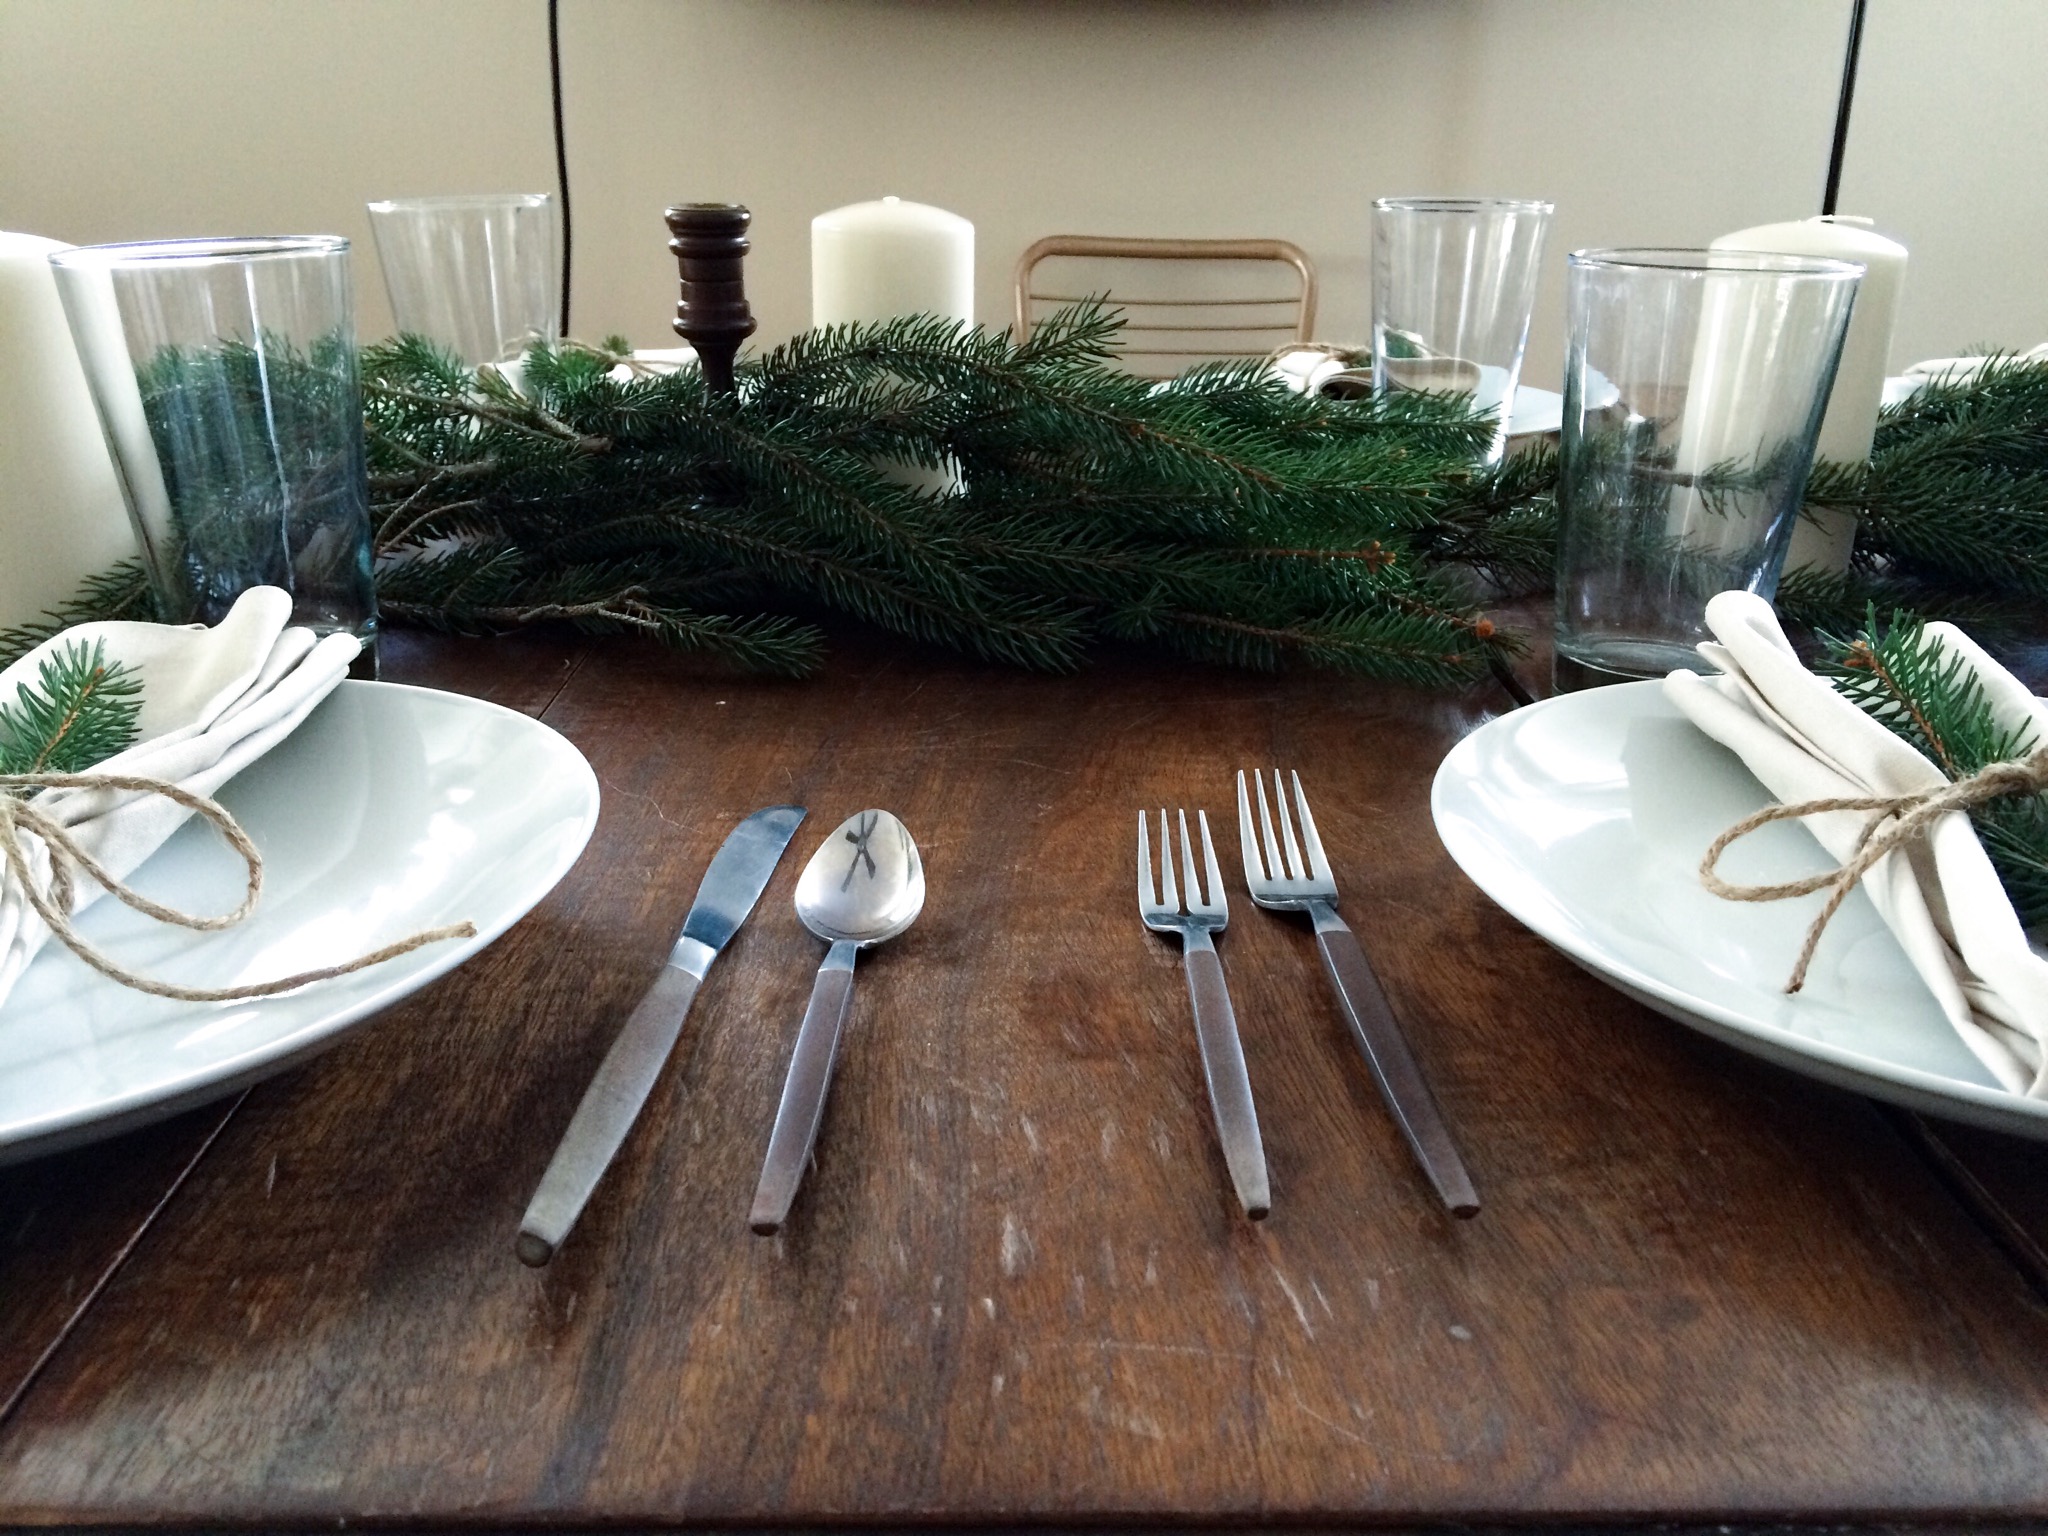
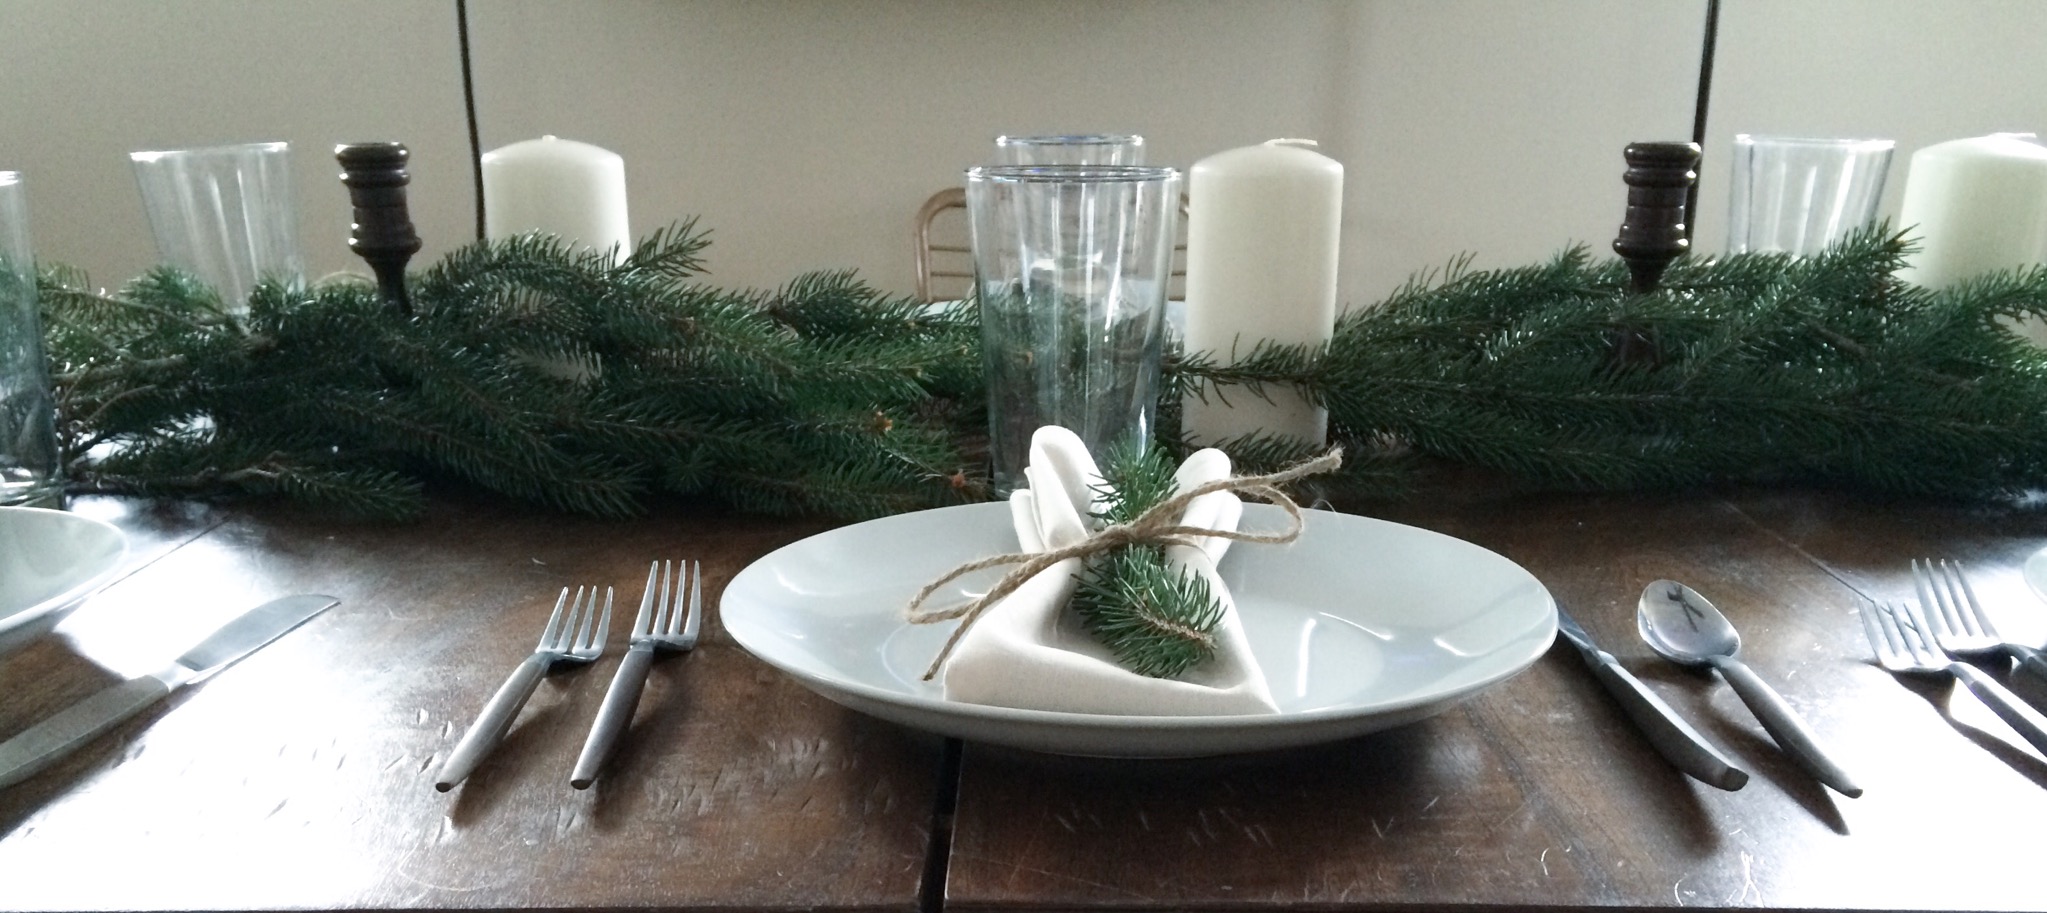
As the cold weather sets in, I’m hunkering down for the winter. I don’t much care for the cold, but I do like to be cozy in the midst of it. By all rights, I should be tucked away in a cabin writing away the remainder of my life. But I digress. My thoughts have turned to all things Christmas – putting up the tree, decorating, doing countless DIY projects, working with real pine and florals, and figuring out what I’m going to buy (or make) for the special people in my life.

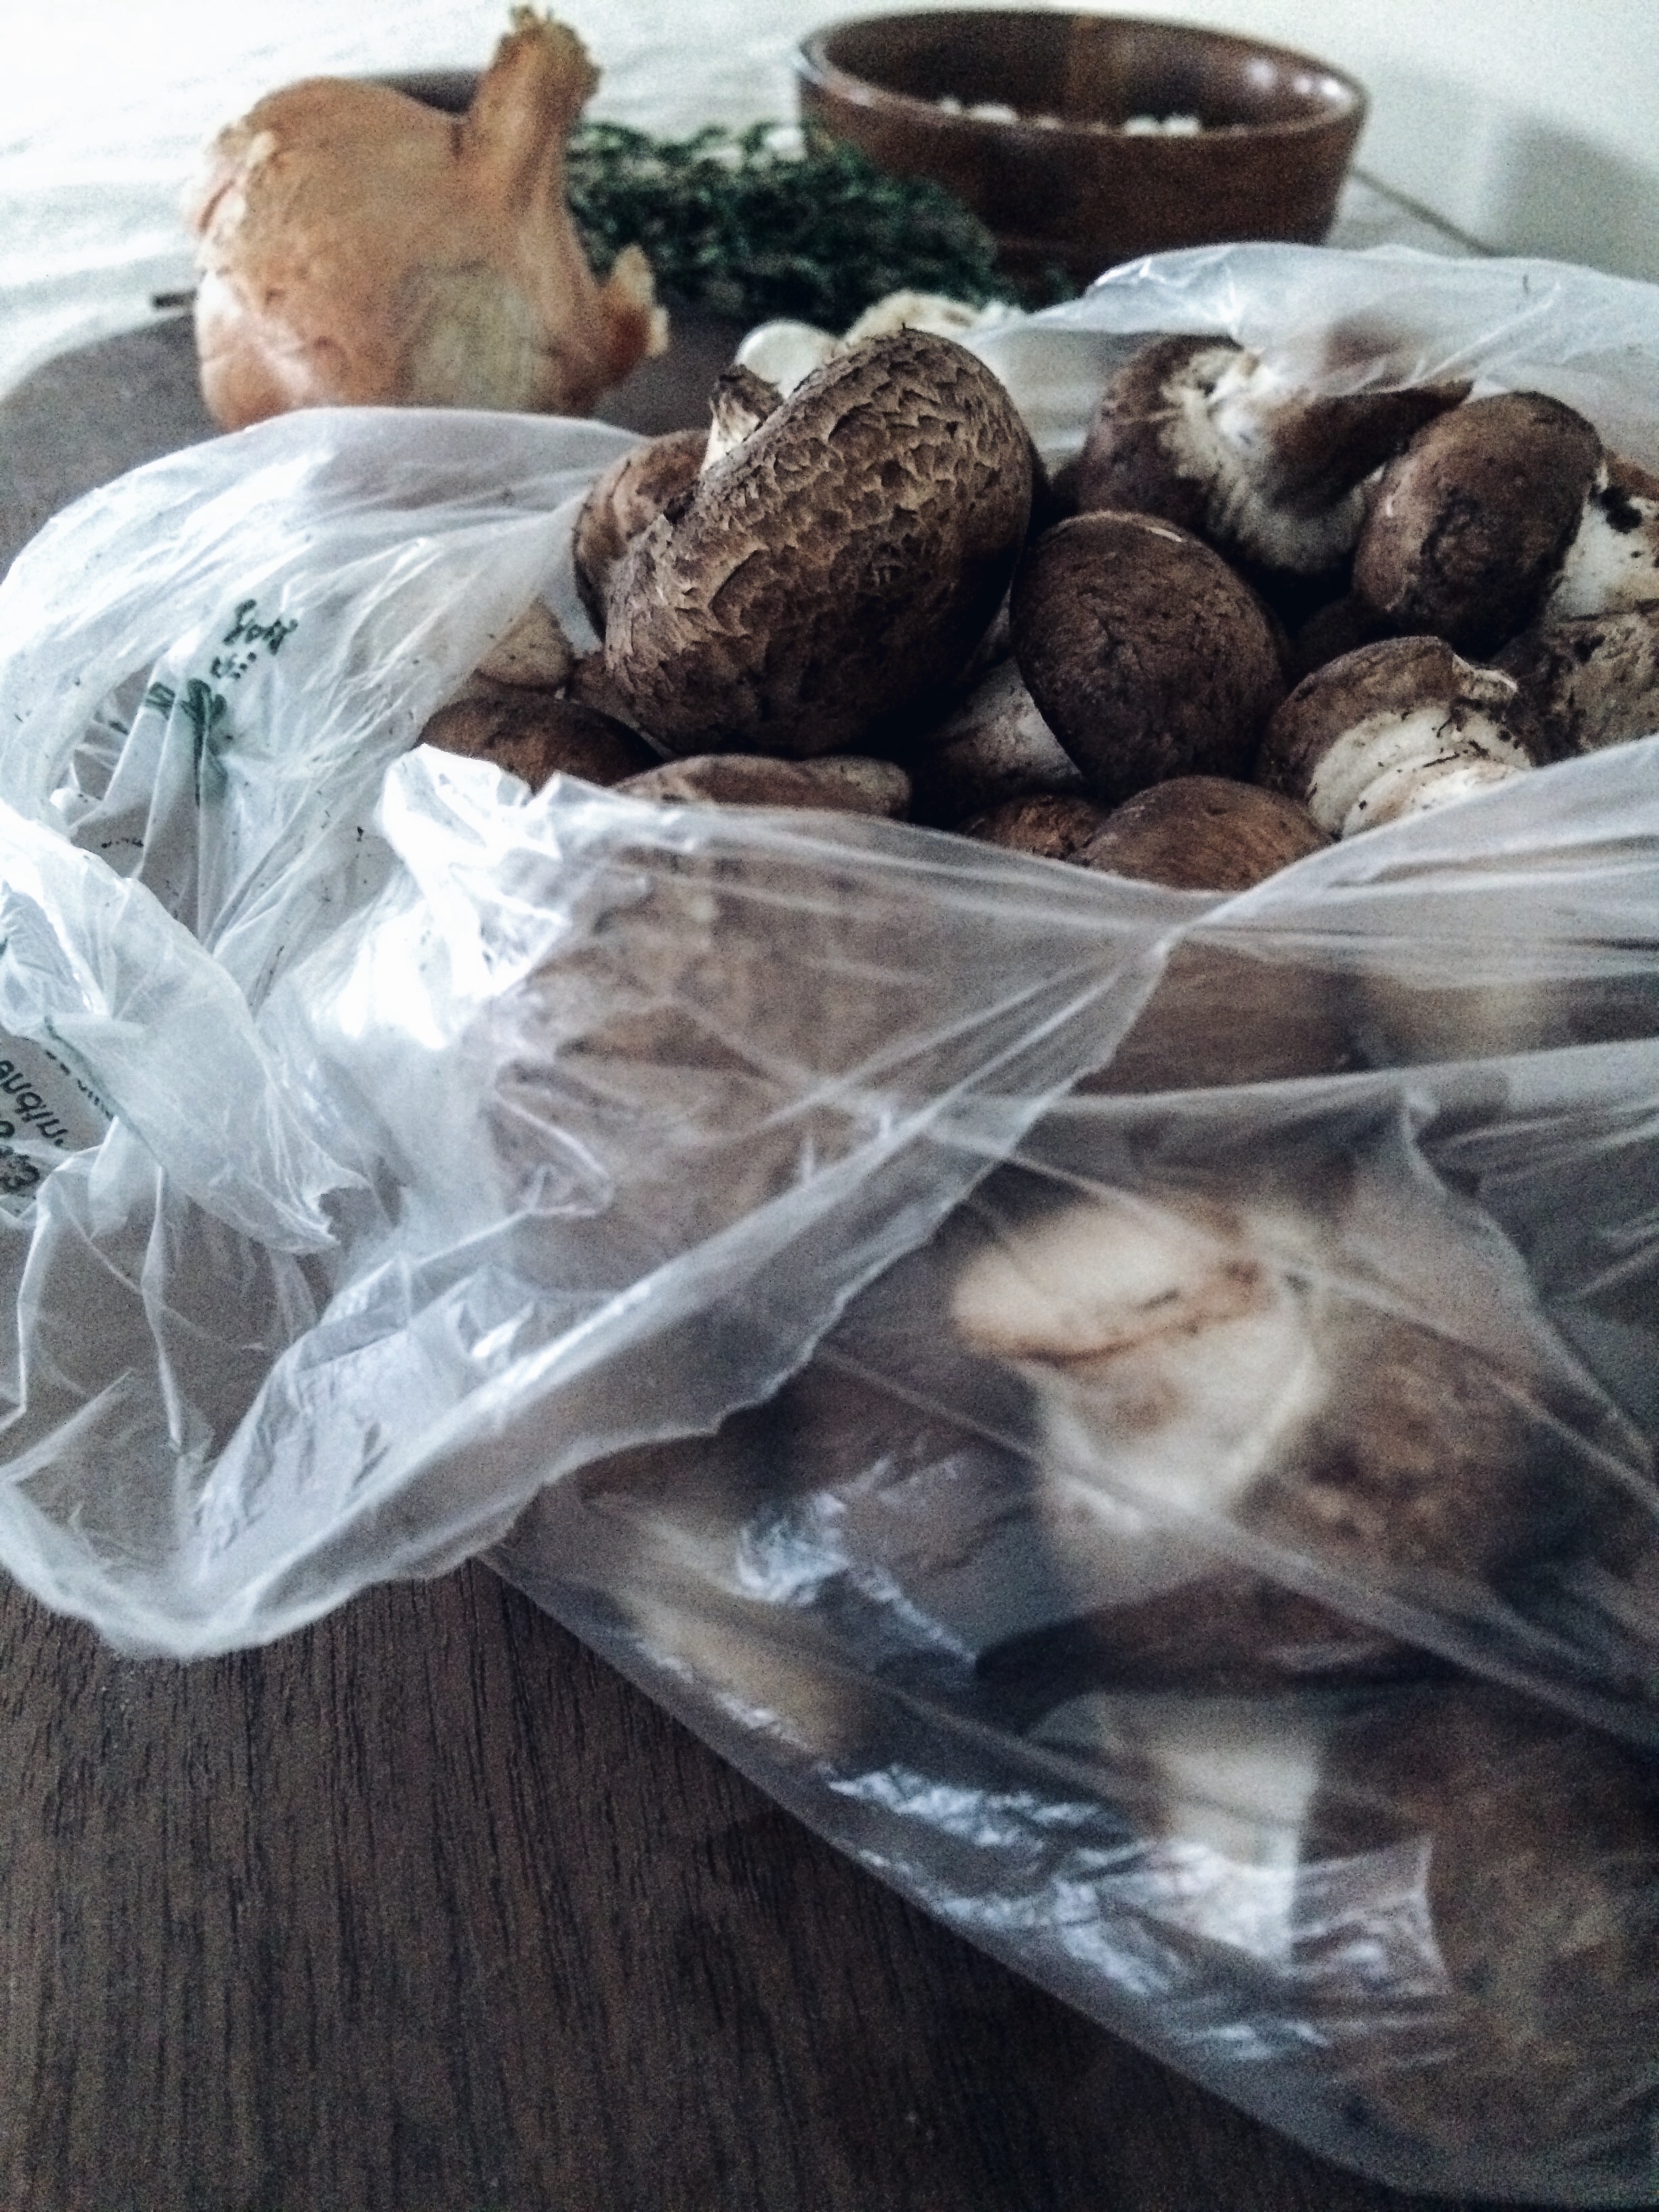
My thoughts turn to food too during this time of year not only because it is our daily sustenance, but also because it is an exciting time in the culinary world. My mind drifts off to warm and hearty soups and stews, beans and lentils, or roasted butternut and acorn squash. Buying seasonally from a farmer’s market is truly a beautiful thing. Even if you choose to buy seasonal at the grocery store in a sea of “variety” well, that’s beautiful too – if not more so. Seasonality livens us, sustains us, makes us whole.

mushroom galette prep


cremini mushrooms


Processed with VSCOcam with a6 preset

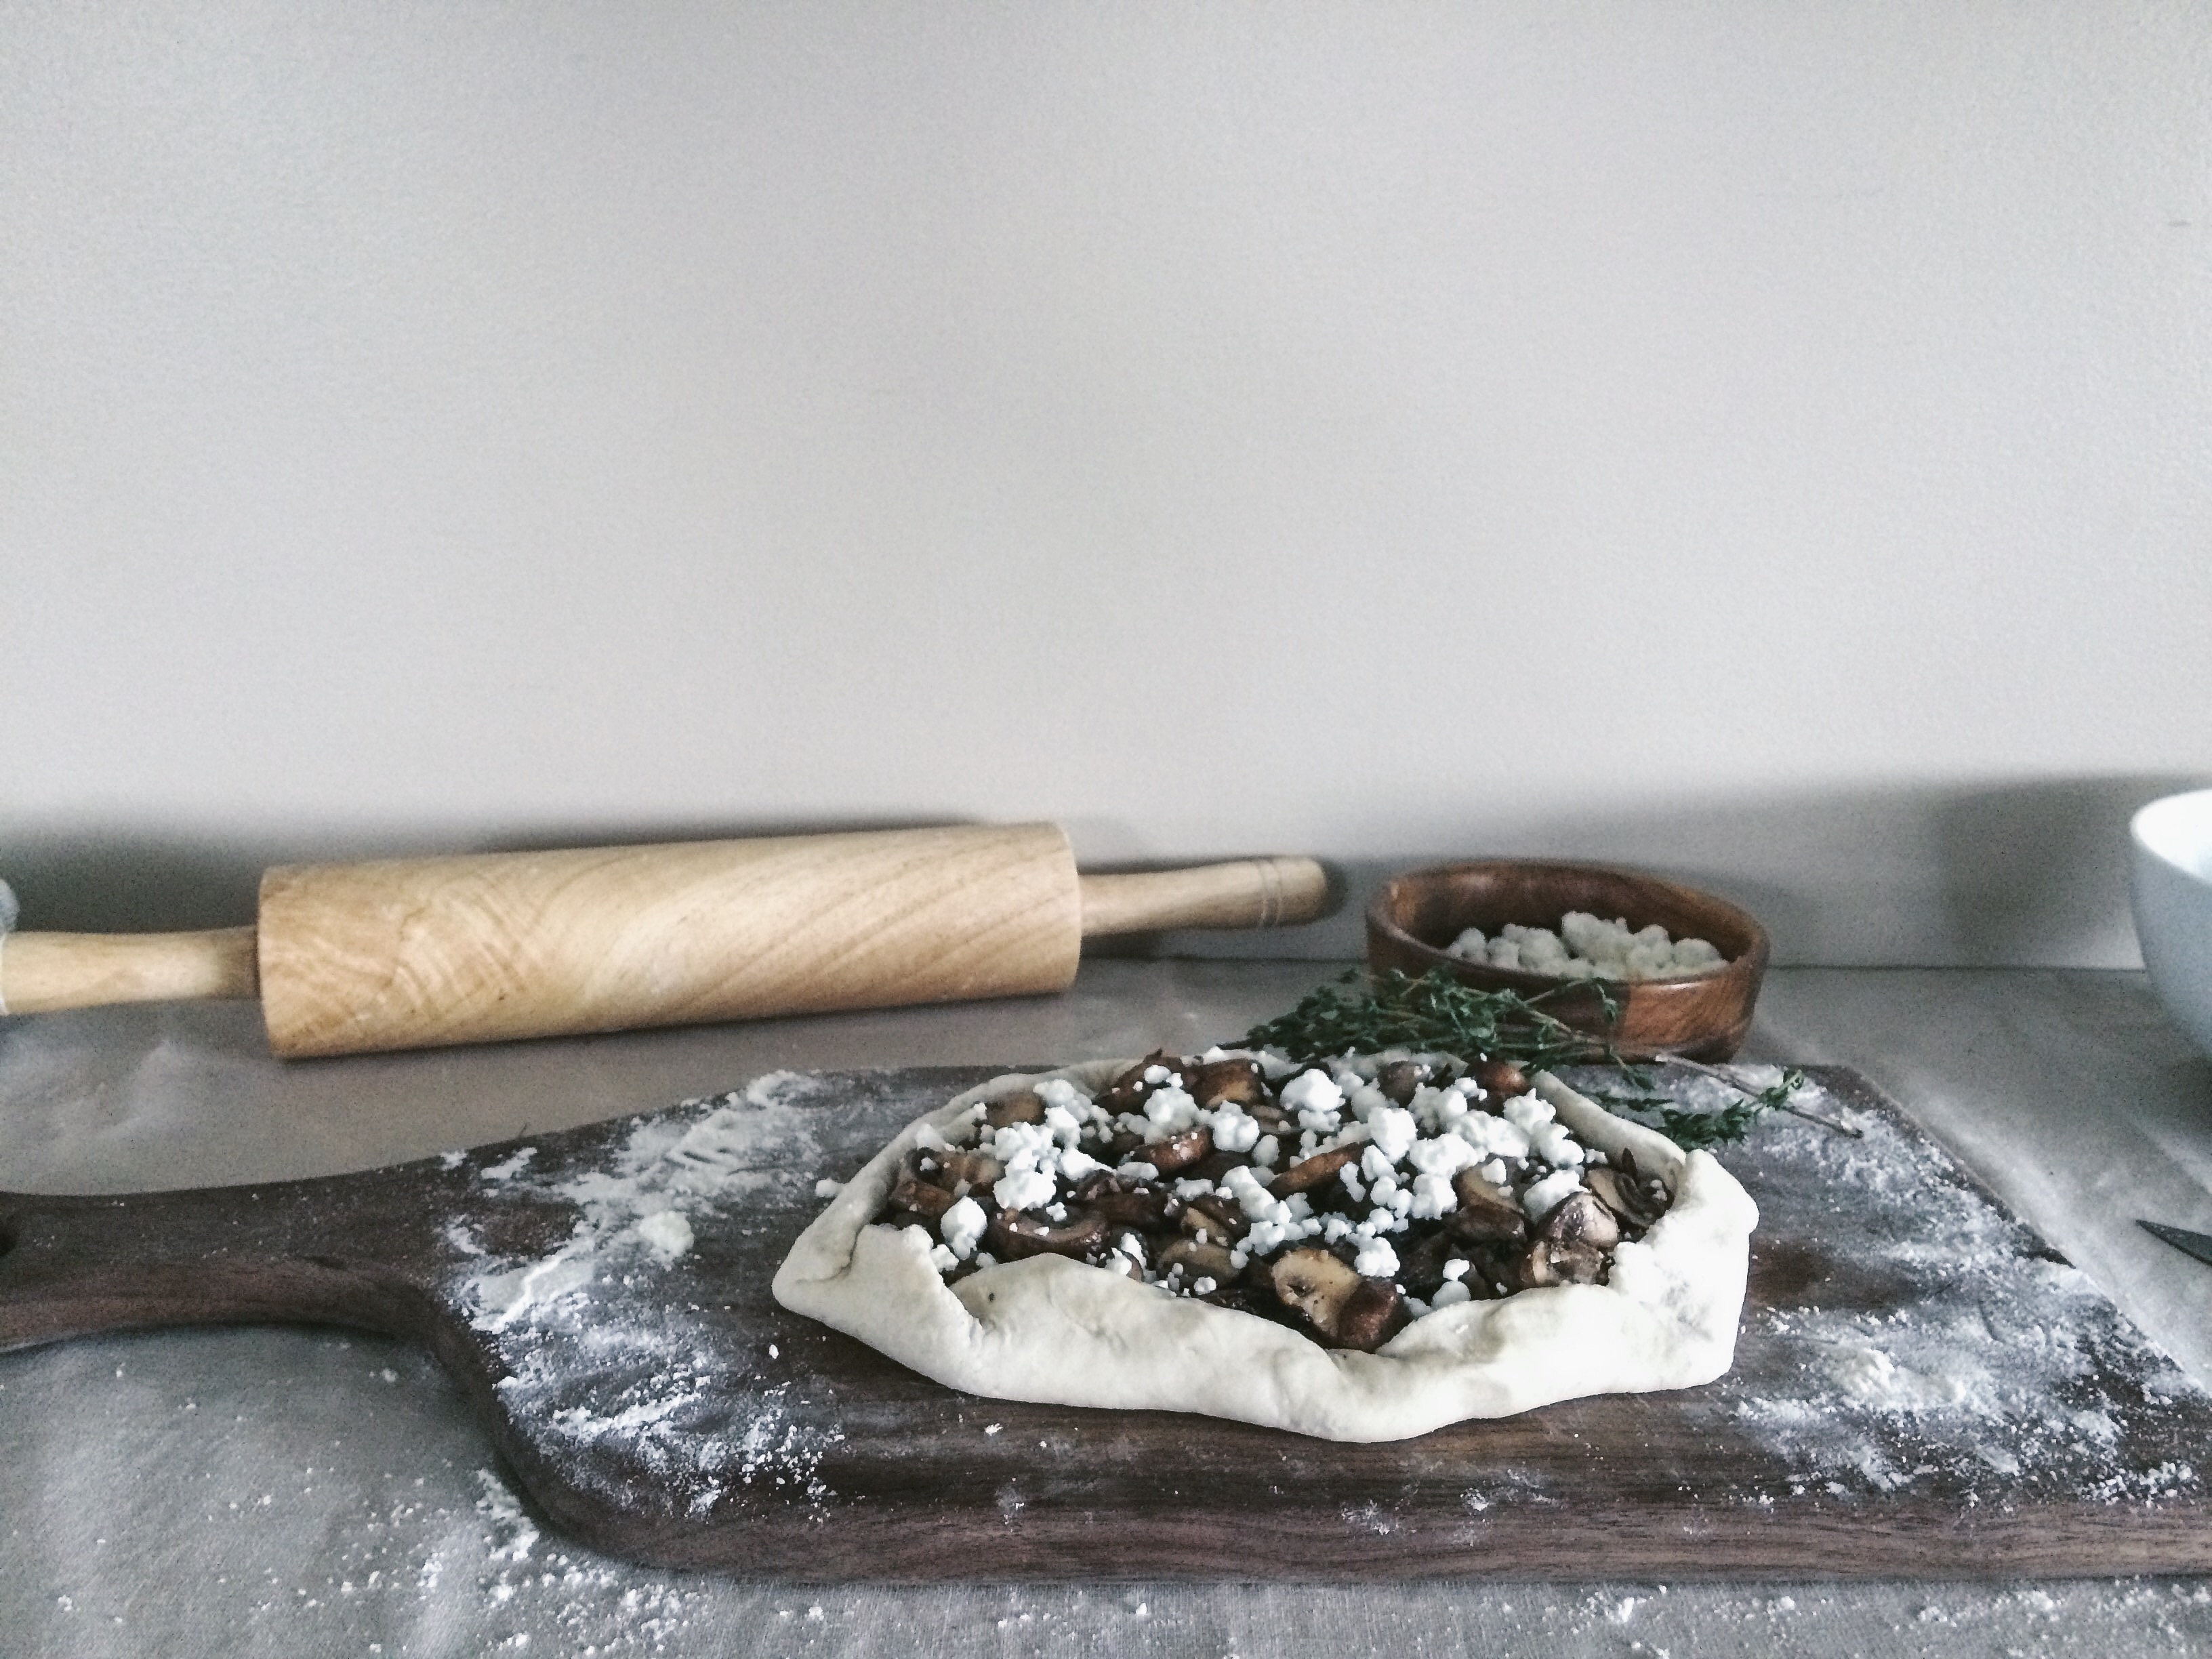
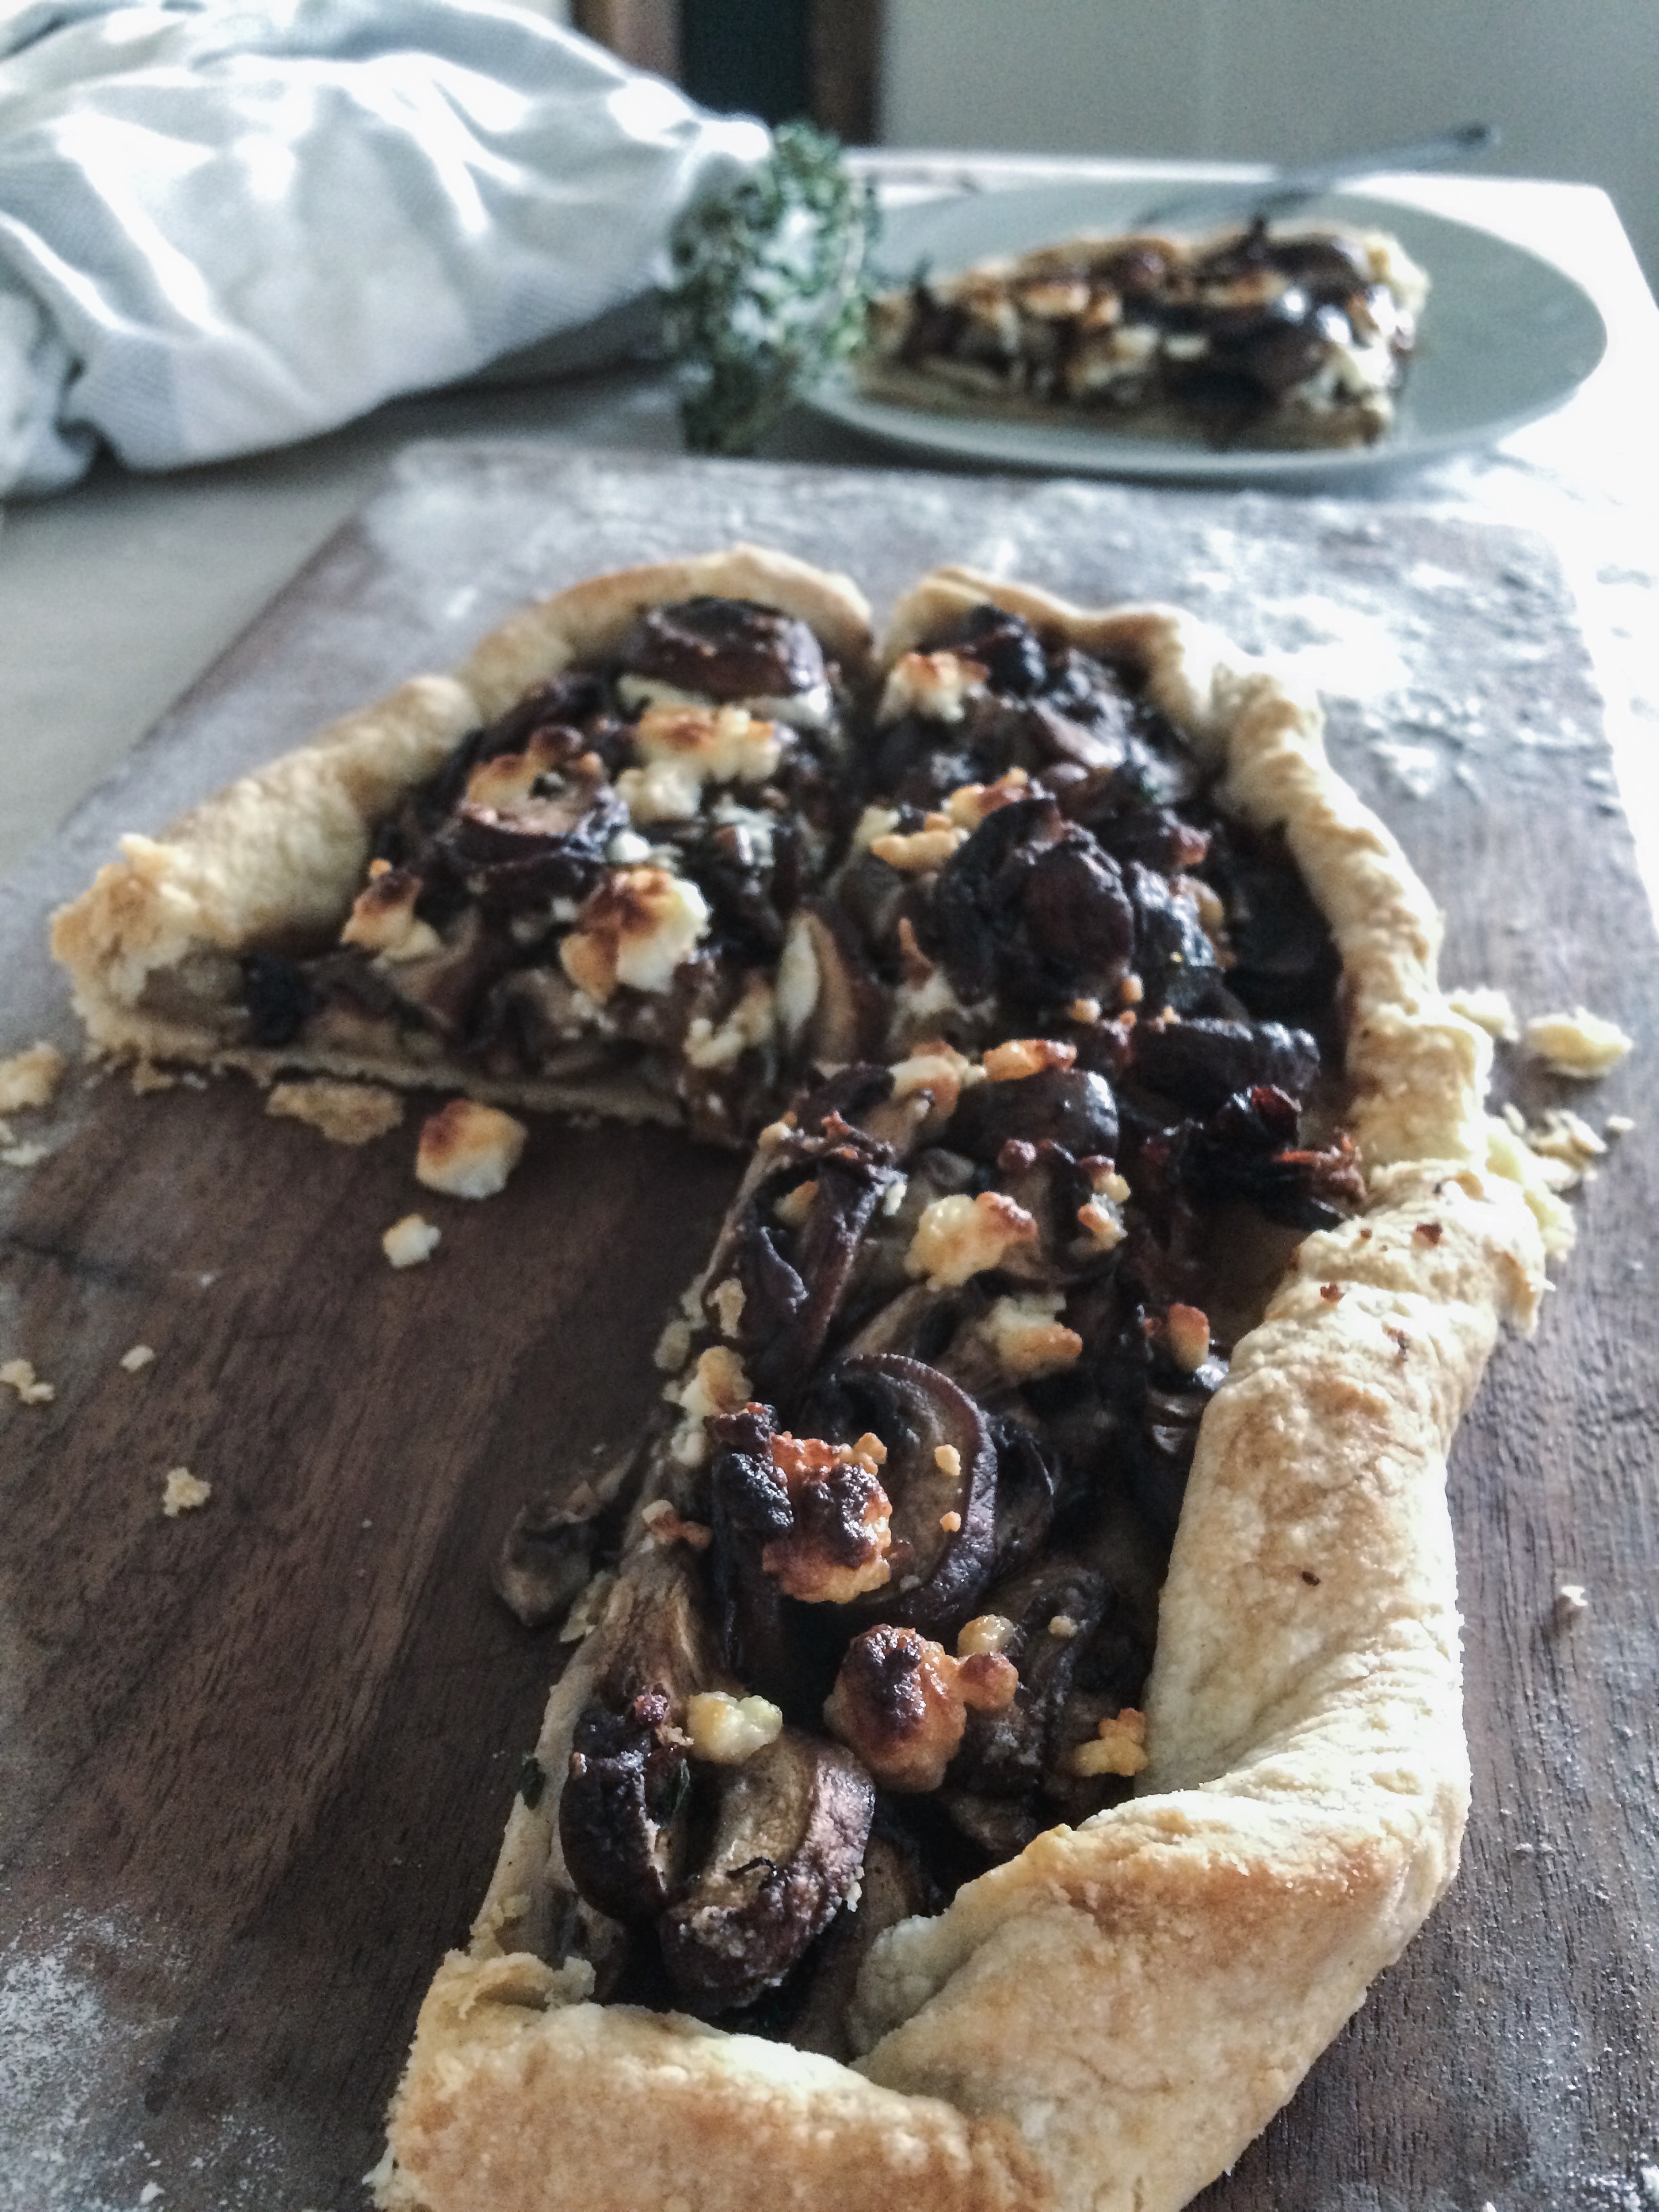
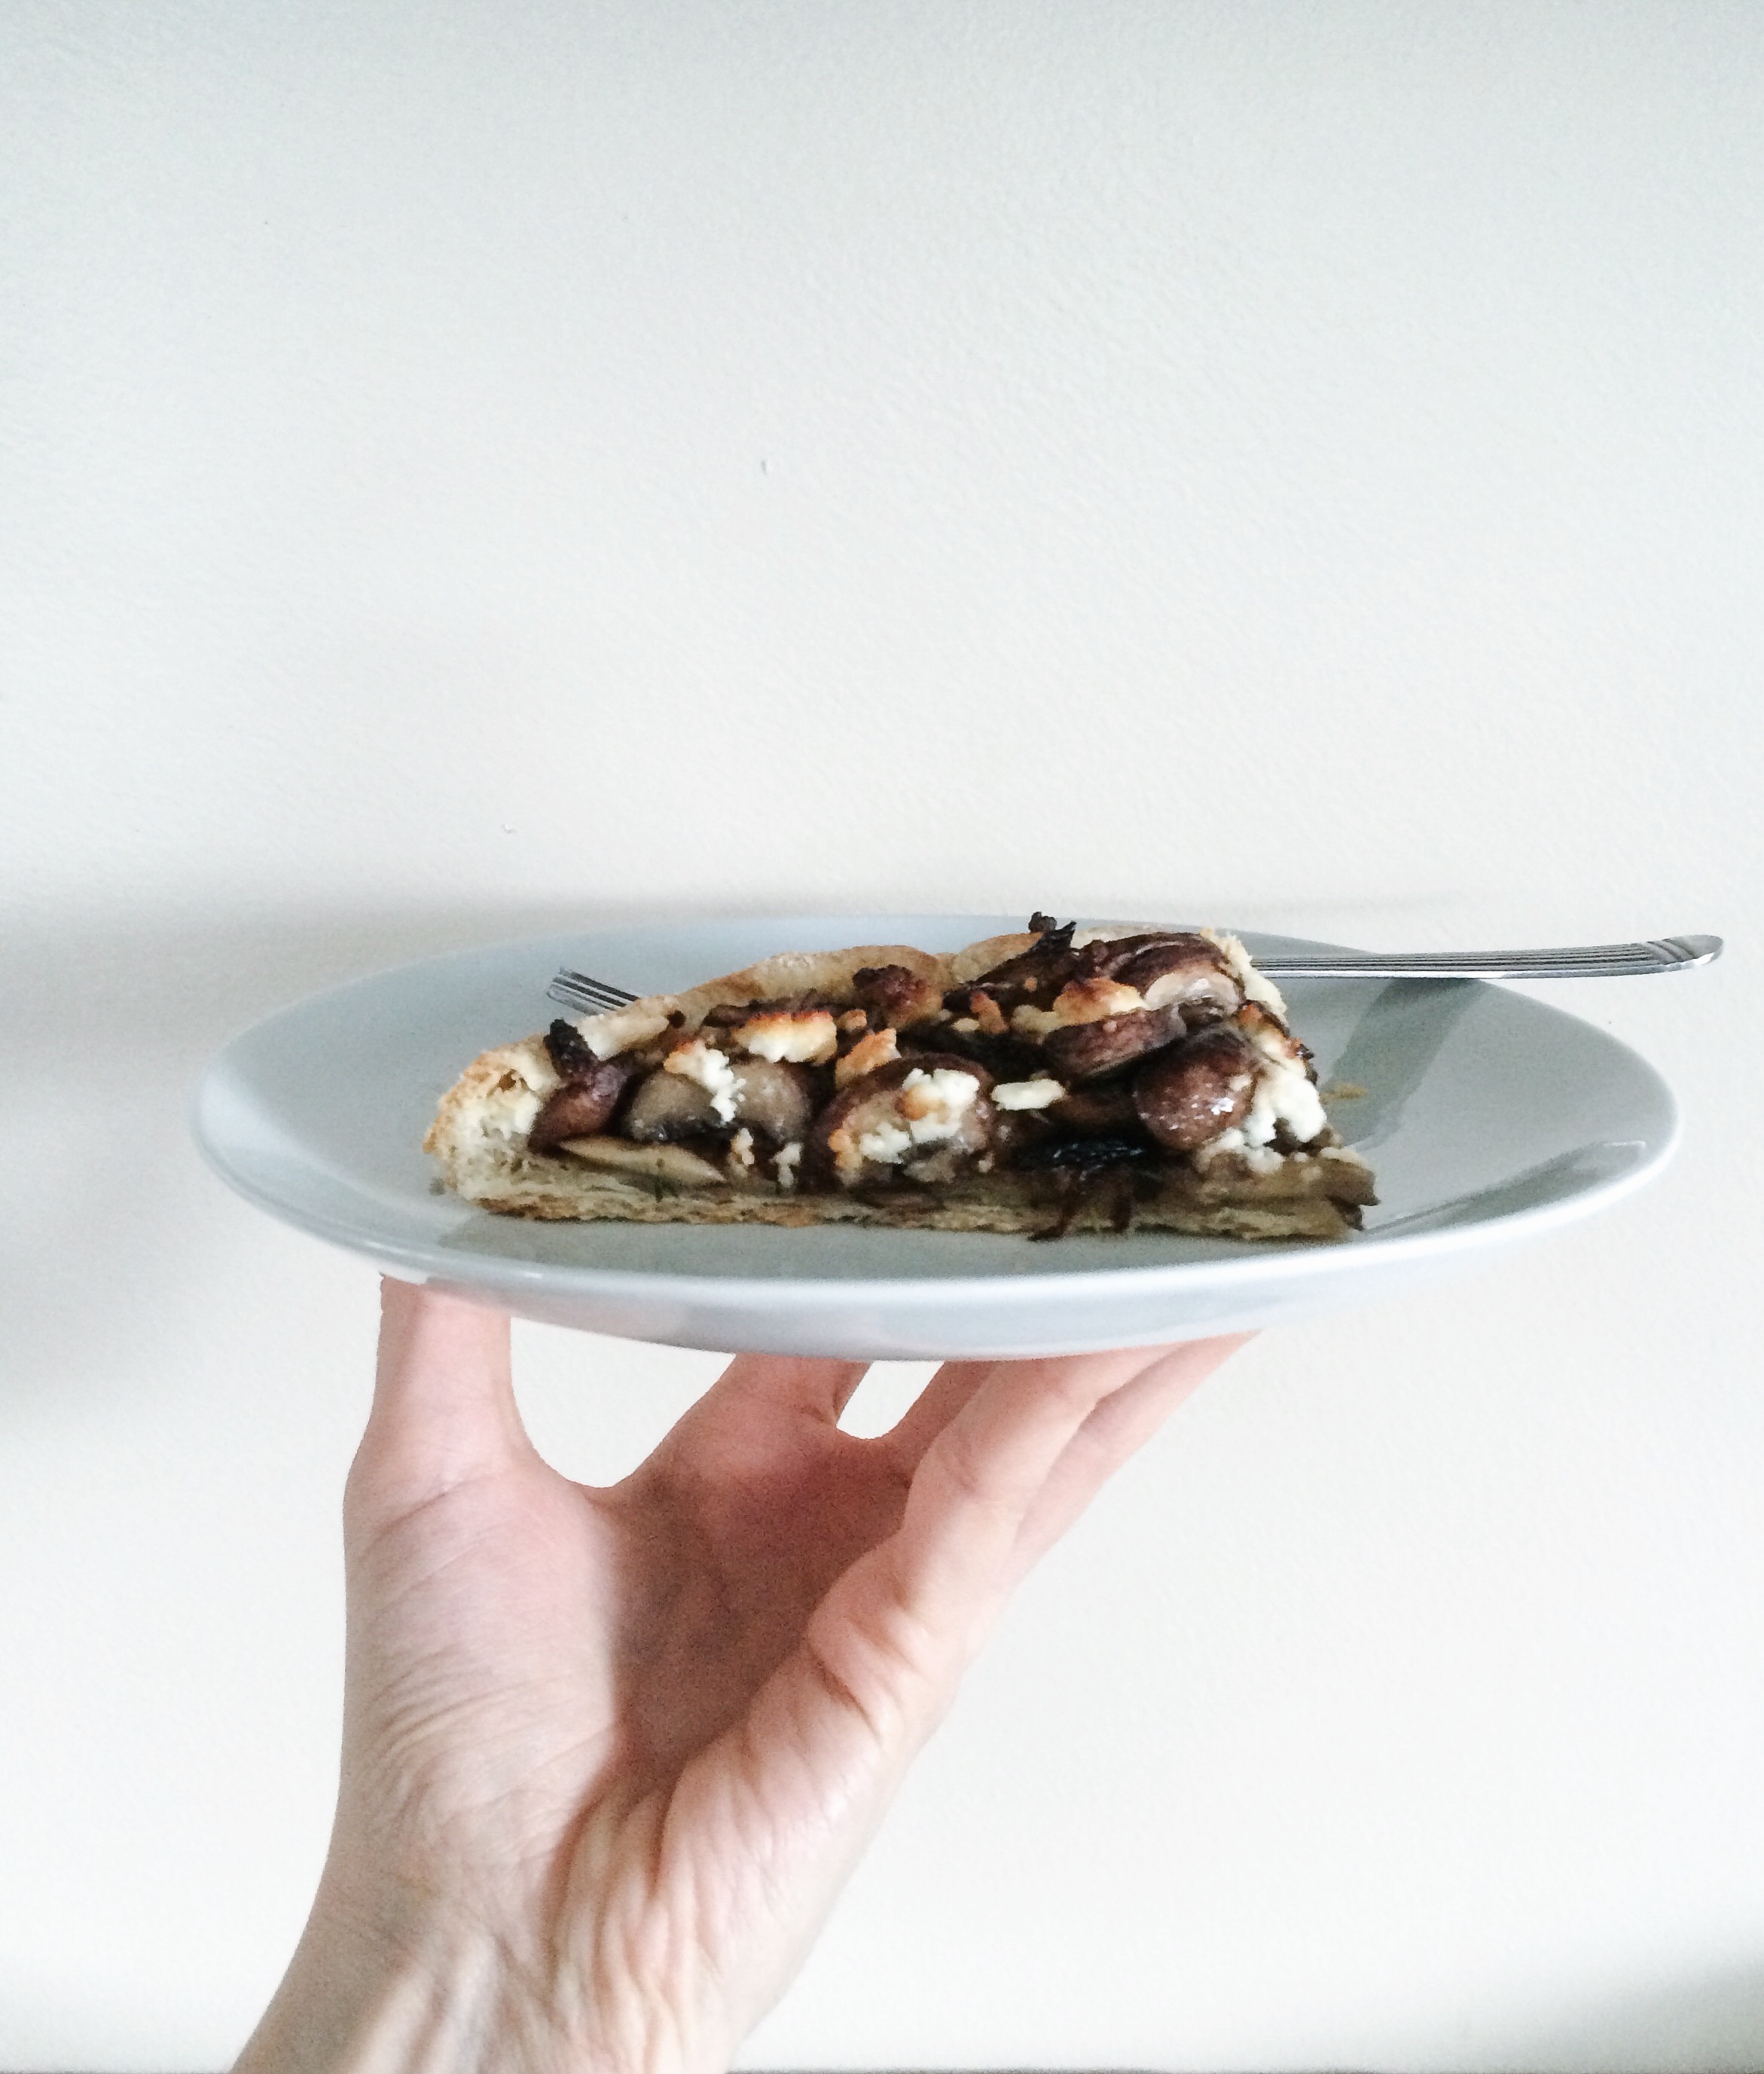
A galette is a rustic french pastry that is both simple and classic. The nice thing about galettes is the combination of ingredients and flavors is truly endless. Create a savory galette like this one, or a sweet one with apples, pears, or cranberries – whatever suits your fancy. This was my first savory galette, including my first recipe I developed on my own – that tantalizing but scary plunge every cook knows they must take sooner or later. I must say I think it turned out very well for my first round.

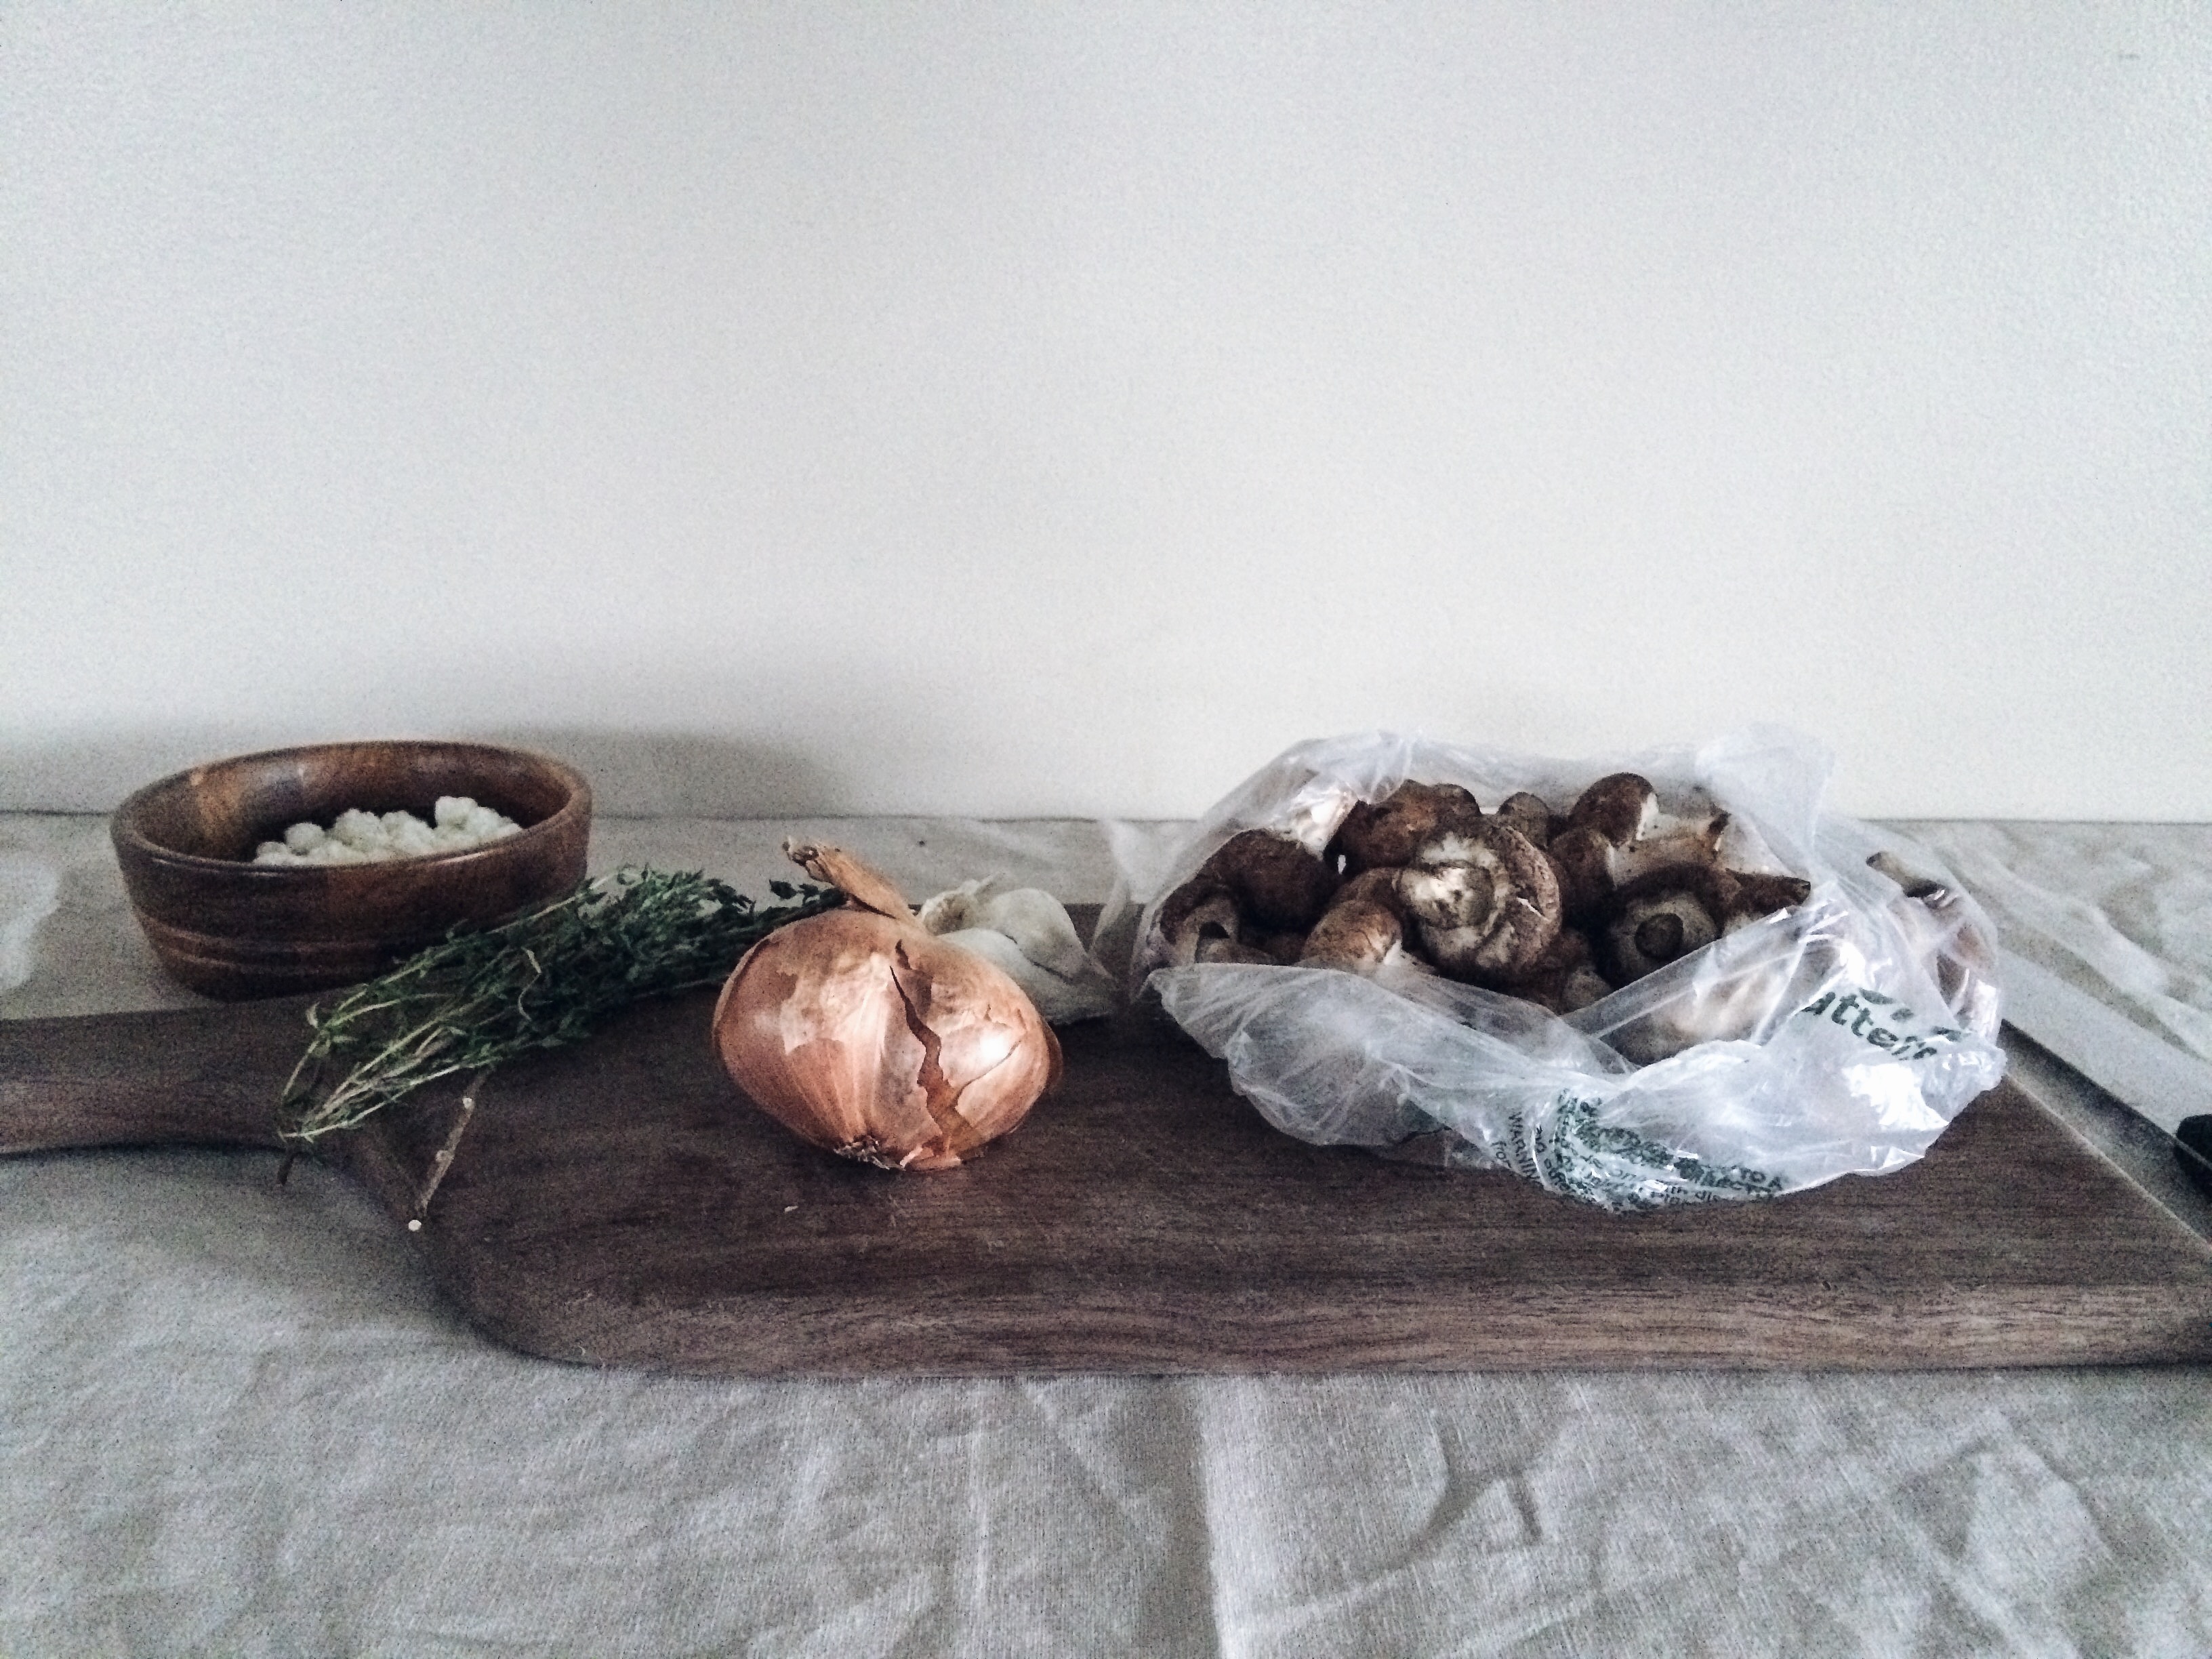
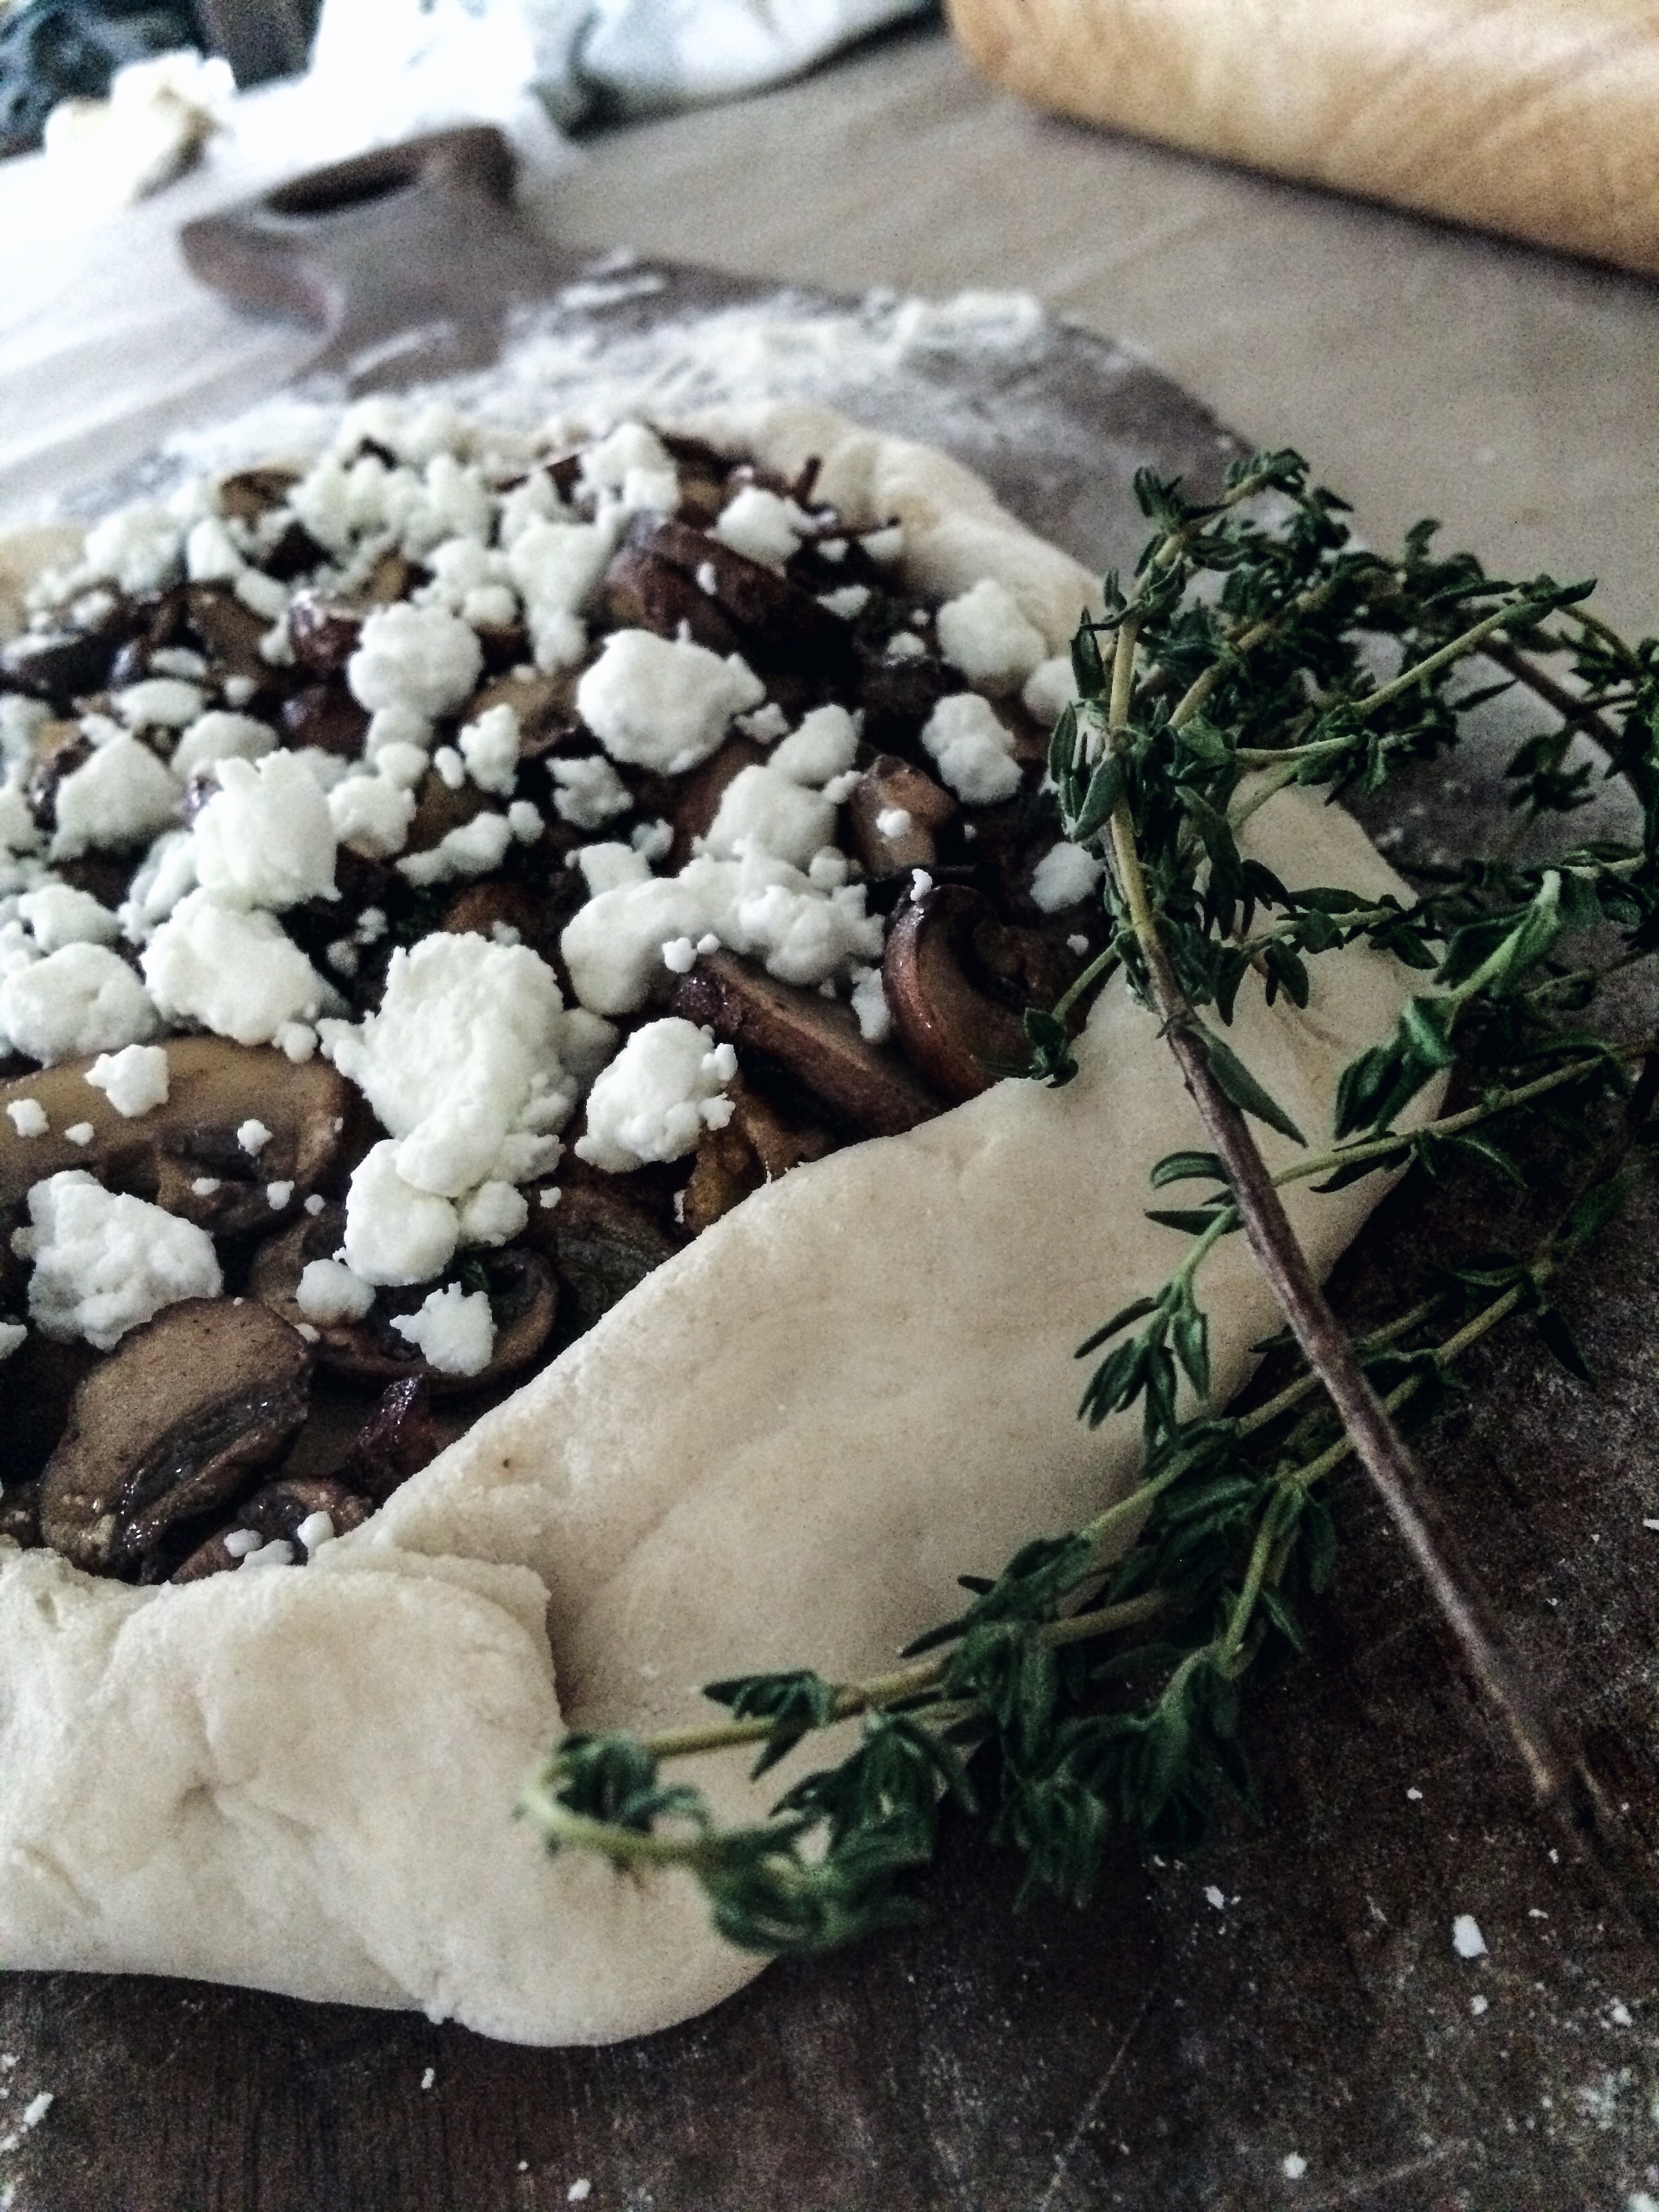
Mushrooms have been used a lot in savory dishes, especially galettes; and with good reason. Mushrooms have many health benefits and give off incredible flavor when cooked. Sauté them in a little butter or olive oil, or grill them (I think I can taste it now). I could eat cooked mushrooms by themselves, but it’s the accompaniment of herbs and cheeses in this galette that takes it to the next level. Add to that the caramelized onions and you get a note of sweetness. I had debated between ricotta and goat cheese for this but I’m glad I went with the goat cheese. The tartness of the goat cheese lends for an earthy finish to this rustic galette. This is a recipe you can turn to on those cold, winter nights, for a morning brunch, or simply because you want to use up some ingredients in your kitchen. Whatever it is, throw it into a galette and hope for the best. I did. Enjoy!

Processed with VSCOcam with a7 preset

Processed with VSCOcam with a5 preset


Processed with VSCOcam with a7 preset


Processed with VSCOcam with a8 preset


Processed with VSCOcam with a8 preset


Processed with VSCOcam with a6 preset


Recipe: Caramelized Onion and Mushroom Galette With Thyme and Goat Cheese

Ingredients:

For the crust

1 cup of flour

5 1/3 tablespoons vegetable shortening

1 teaspoon salt

1/4 cup water, or more as needed

For the filling

3 tablespoons unsalted butter, divided

1 clove garlic, minced

1 lb. Crimini mushrooms

2 medium shallots, cut lengthwise and caramelized

1/2 tablespoon thyme

2 tablespoons goat cheese

salt and pepper to taste

Directions:

Combine ingredients for the pastry and refrigerate for 15-30 minutes. Meanwhile, start caramelizing the onions. Heat 2 tbsp butter in a 9 inch skillet. Caramelize the onions until they are translucent and golden in color, about 15 minutes. Once they are done, set aside.

Heat 1 tbsp butter in the same skillet. Add garlic, mushrooms, and a dash of salt and pepper. Once the mushrooms have softened, toss in the thyme to warm. Take off the heat and combine with onions.

Take your pastry out of the fridge and roll out. Spoon in your mushroom and onion mixture in the center, leaving about a 2 inch margin on the sides. Sprinkle with goat cheese. Roll up sides of pastry holding the mixture inside, but leaving the middle exposed.

Transfer to a baking sheet and bake at 400 degrees for 30-35 minutes.

Let cool for 5-10 minutes and enjoy!

Advertisement

A Thanksgiving Gathering: Styling a Simple Table

IMG_2665.JPG

IMG_2662.JPG

IMG_2663.JPG

IMG_2664.JPG

If you’ve been following along with my blog, you’ll know that I’ve been doing a series of Thanksgiving posts – tips and tricks to get you prepared for your dinner. It’s all leading up to a gathering I’m hosting which is… this Saturday (oh boy!). You can look through the archives or my latest posts to find the series! This will be the last post of the series until, of course, the gathering! And then I can show you all how it went! I don’t know when I will have time to get the post on the gathering up so I wanted to give you some inspiration on how to style your table before turkey day!

There are so many ways to style a table. Some are elaborate and some are simple. I am more drawn to the simple side. It is easy on your wallet, but looks really elegant and tasteful at the same time. When the decor is simple, we can focus more on the food (and I need to focus on the food!), the people we have over, and the conversations that are born. It also means a poor girl can pull off a fabulous table!

Entertaining is new to me. And I’ll be honest, it’s a little scary. Will the food turn out alright? Will people have a good time? Growing up my parents never really entertained – nothing this elaborate and certainly not for Thanksgiving. It was just the 4 of us, the table filled with food with every inch that could be spared. The house toasty warm from the fireplace and the smell of turkey permeating every room. We walk into the kitchen after what seems like an endless amount of waiting and feast our eyes on the food. So it was about the food and being together. And it is no different now.

Although the table at the gathering won’t look exactly like this, I wanted to give you some idea of what it will look like. I have been inspired by a simple style that a lot of other stylists and bloggers have taken to. I really love the simple greenery going down the center. I think it gives the decor an earthy feel. If you don’t want a swag, you can do flowers in vases if you’d like. Or no florals, it’s up to you! I am using Italian Ruscus for my centerpiece but it would be just as easy to forage some pine too! It also helps that I work at a flower shop so I get a discount!

The candles are elegant and yet simple. Nothing too fancy. The linen napkins I made myself. I folded them, wrapped them in twine, and stuck a piece of greenery in the center. Again, it’s a simple and rustic look and can be achieved at a low cost. Bonus: buy linen when it’s on sale or there’s a big sale going on in the store! At Joann’s I had a 60% off coupon and I got a third yard for half off! If you want to know how to make your own linen napkins too, you can view my post on it here.

Almost everything I either got at a discount, secondhand, or a thrift store. Entertaining simply and on a budget can be done! I can’t wait to show you the actual gathering, but this will have to do for now! I hope this gave you some inspiration for your Thanksgiving gathering! Especially if you want to go simple this year!

Next, I will show you the highlights of the gathering so be sure not to miss that!

How do you decorate for Thanksgiving on a budget? I would love to hear from you!

Simple Home

Last winter my boyfriend Andrew bought a house. His first home, and our first home when we get married. The house was a fixer-upper and took four months until it was livable! Of course I was excited to decorate and implement some of the ideas I had for the house, along with a compost pile and garden (which we haven’t gotten to yet). Here are some before and after pictures! Enjoy!

We got rid of the ugly wood paneling, put in new countertops, and new tile flooring. With plants and a few decorative touches, it already feels more cozy.

My favorite part of the house is the kitchen opening up to the living room. We added a bar area on the living room side of the counter and mason jar lights now hang where the outdated fixture used to be. It all adds to the rustic and simple feel we were going for.

IMG_0902

We ripped up the carpet to find there was hardwood floors underneath! They are in pretty good condition, too! The finishing touch will be a rug for  the living room and kitchen. I want an oriental rug, and I am kind of holding out because rugs are so expensive!

I hope this gave you a general idea of the work we’ve done to the house. I will post more detailed pictures later, but for now I just wanted to show the basics. Obviously, everyone has different styles. I am personally not a fan of the cookie cutter housing developments. To be able to make a house personalized and unique is a gift in itself. If you do it this way, the cheaper and more unique way, you will find your dream house won’t come overnight. But it will be a fun journey adding pieces here and there, tweaking and adjusting to see what you like best.

Stay tuned for my next post where I give you some tips on antiquing!

Cheers!

Adele