Made from Scratch | Make Your Own Holiday Wreath

IMG_2863.JPG

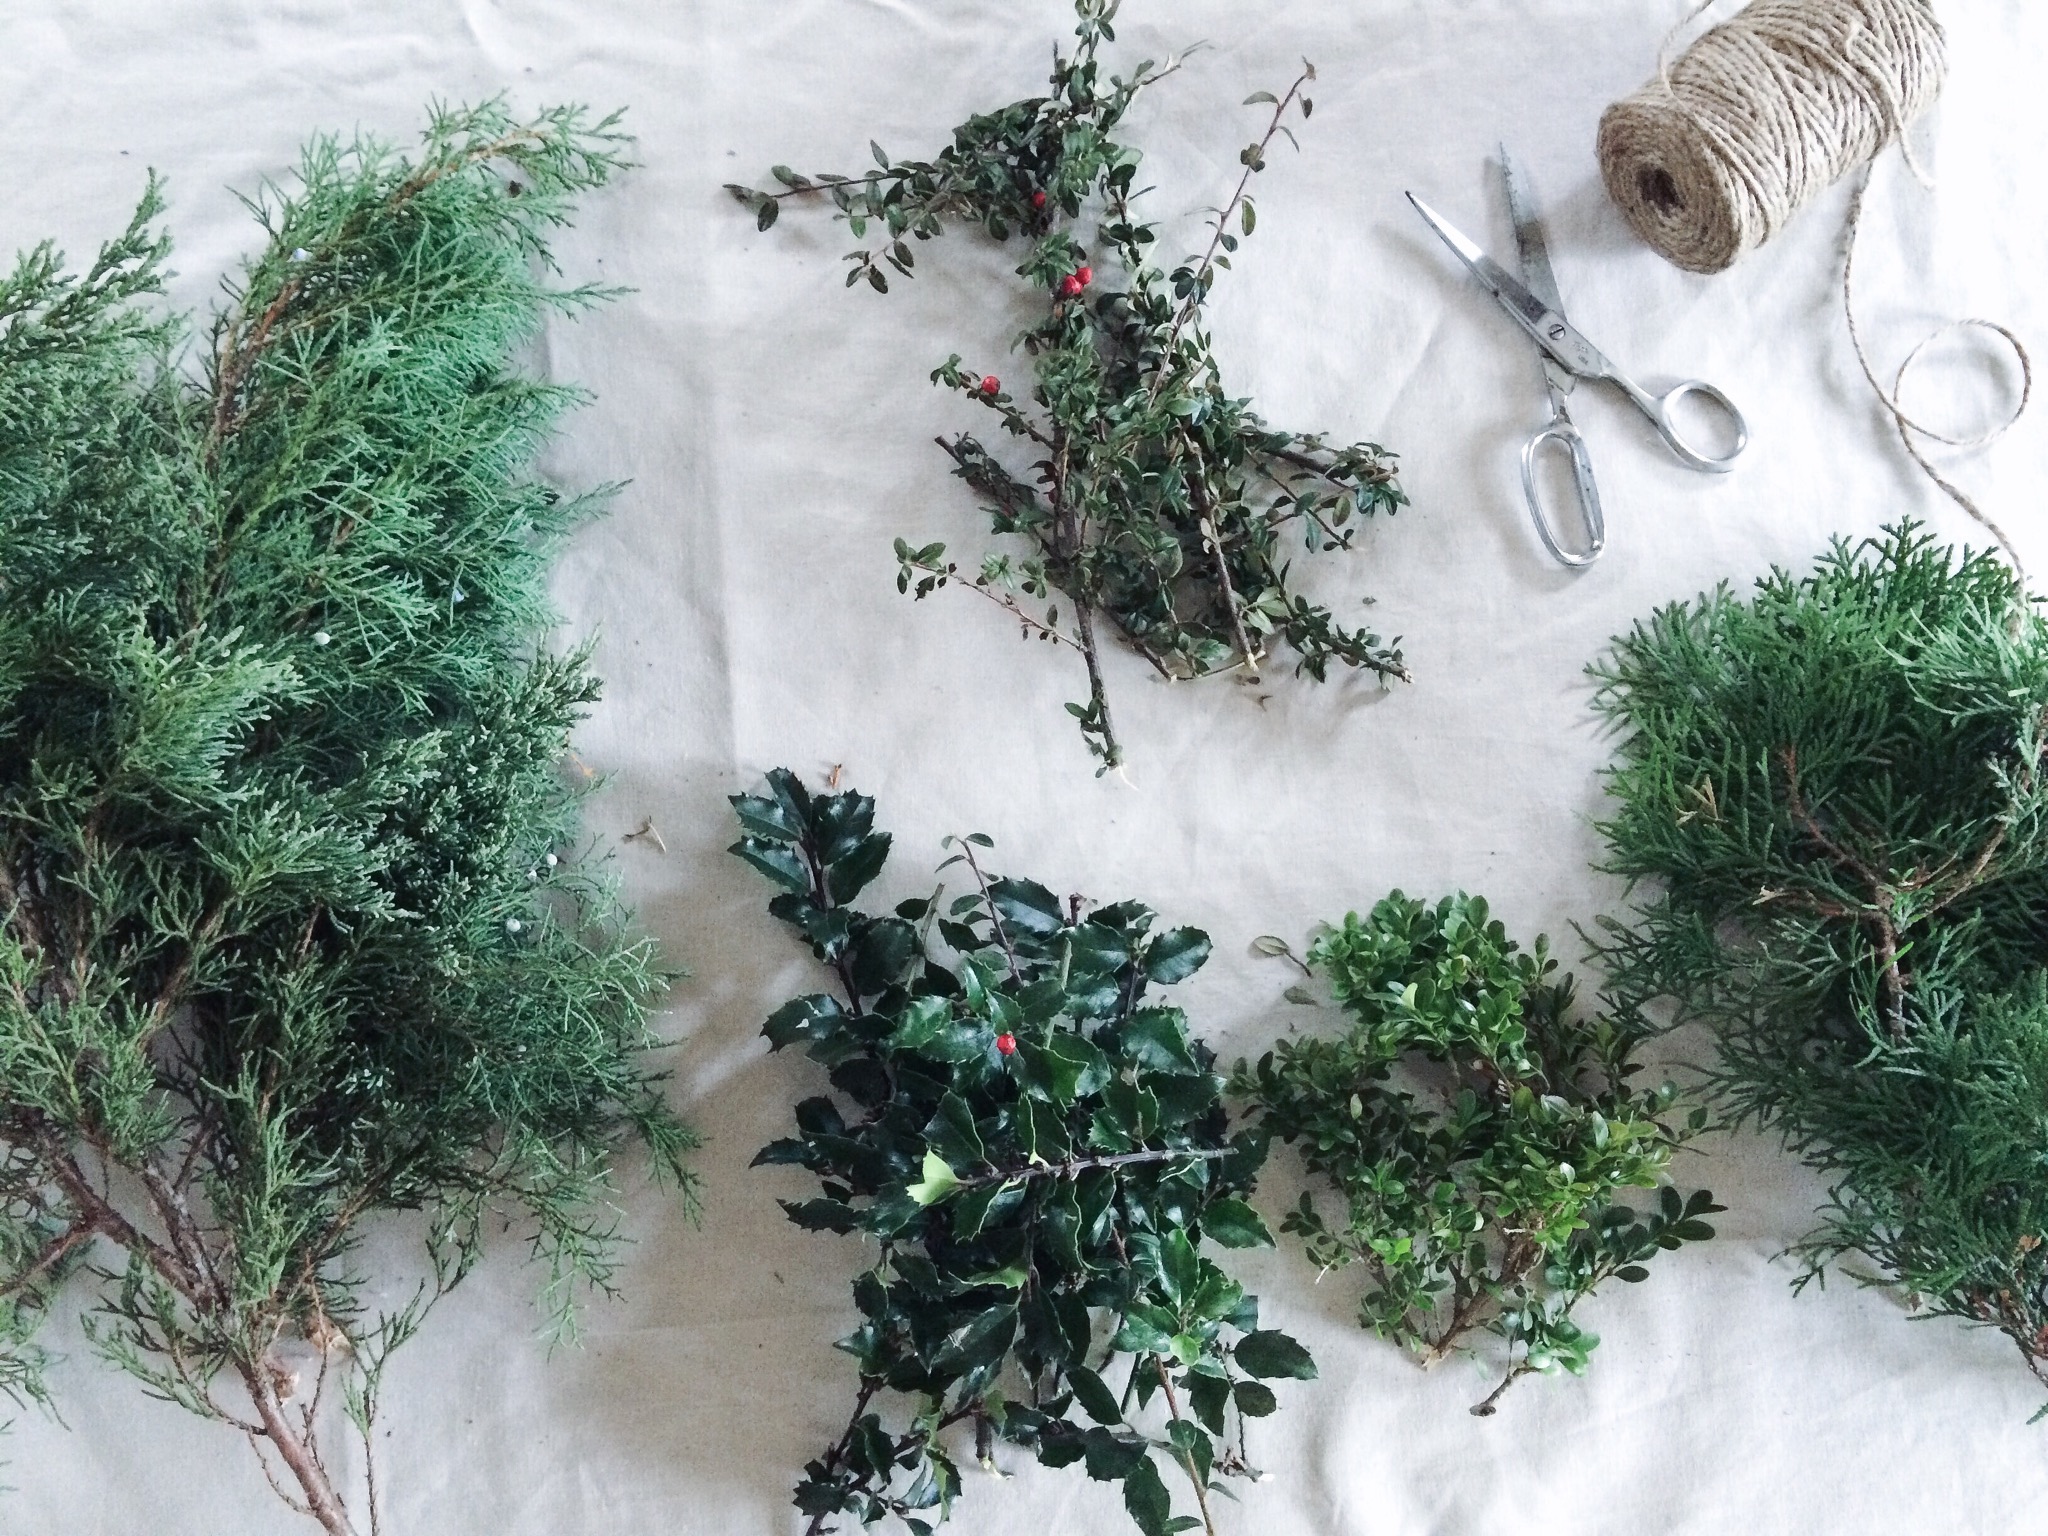
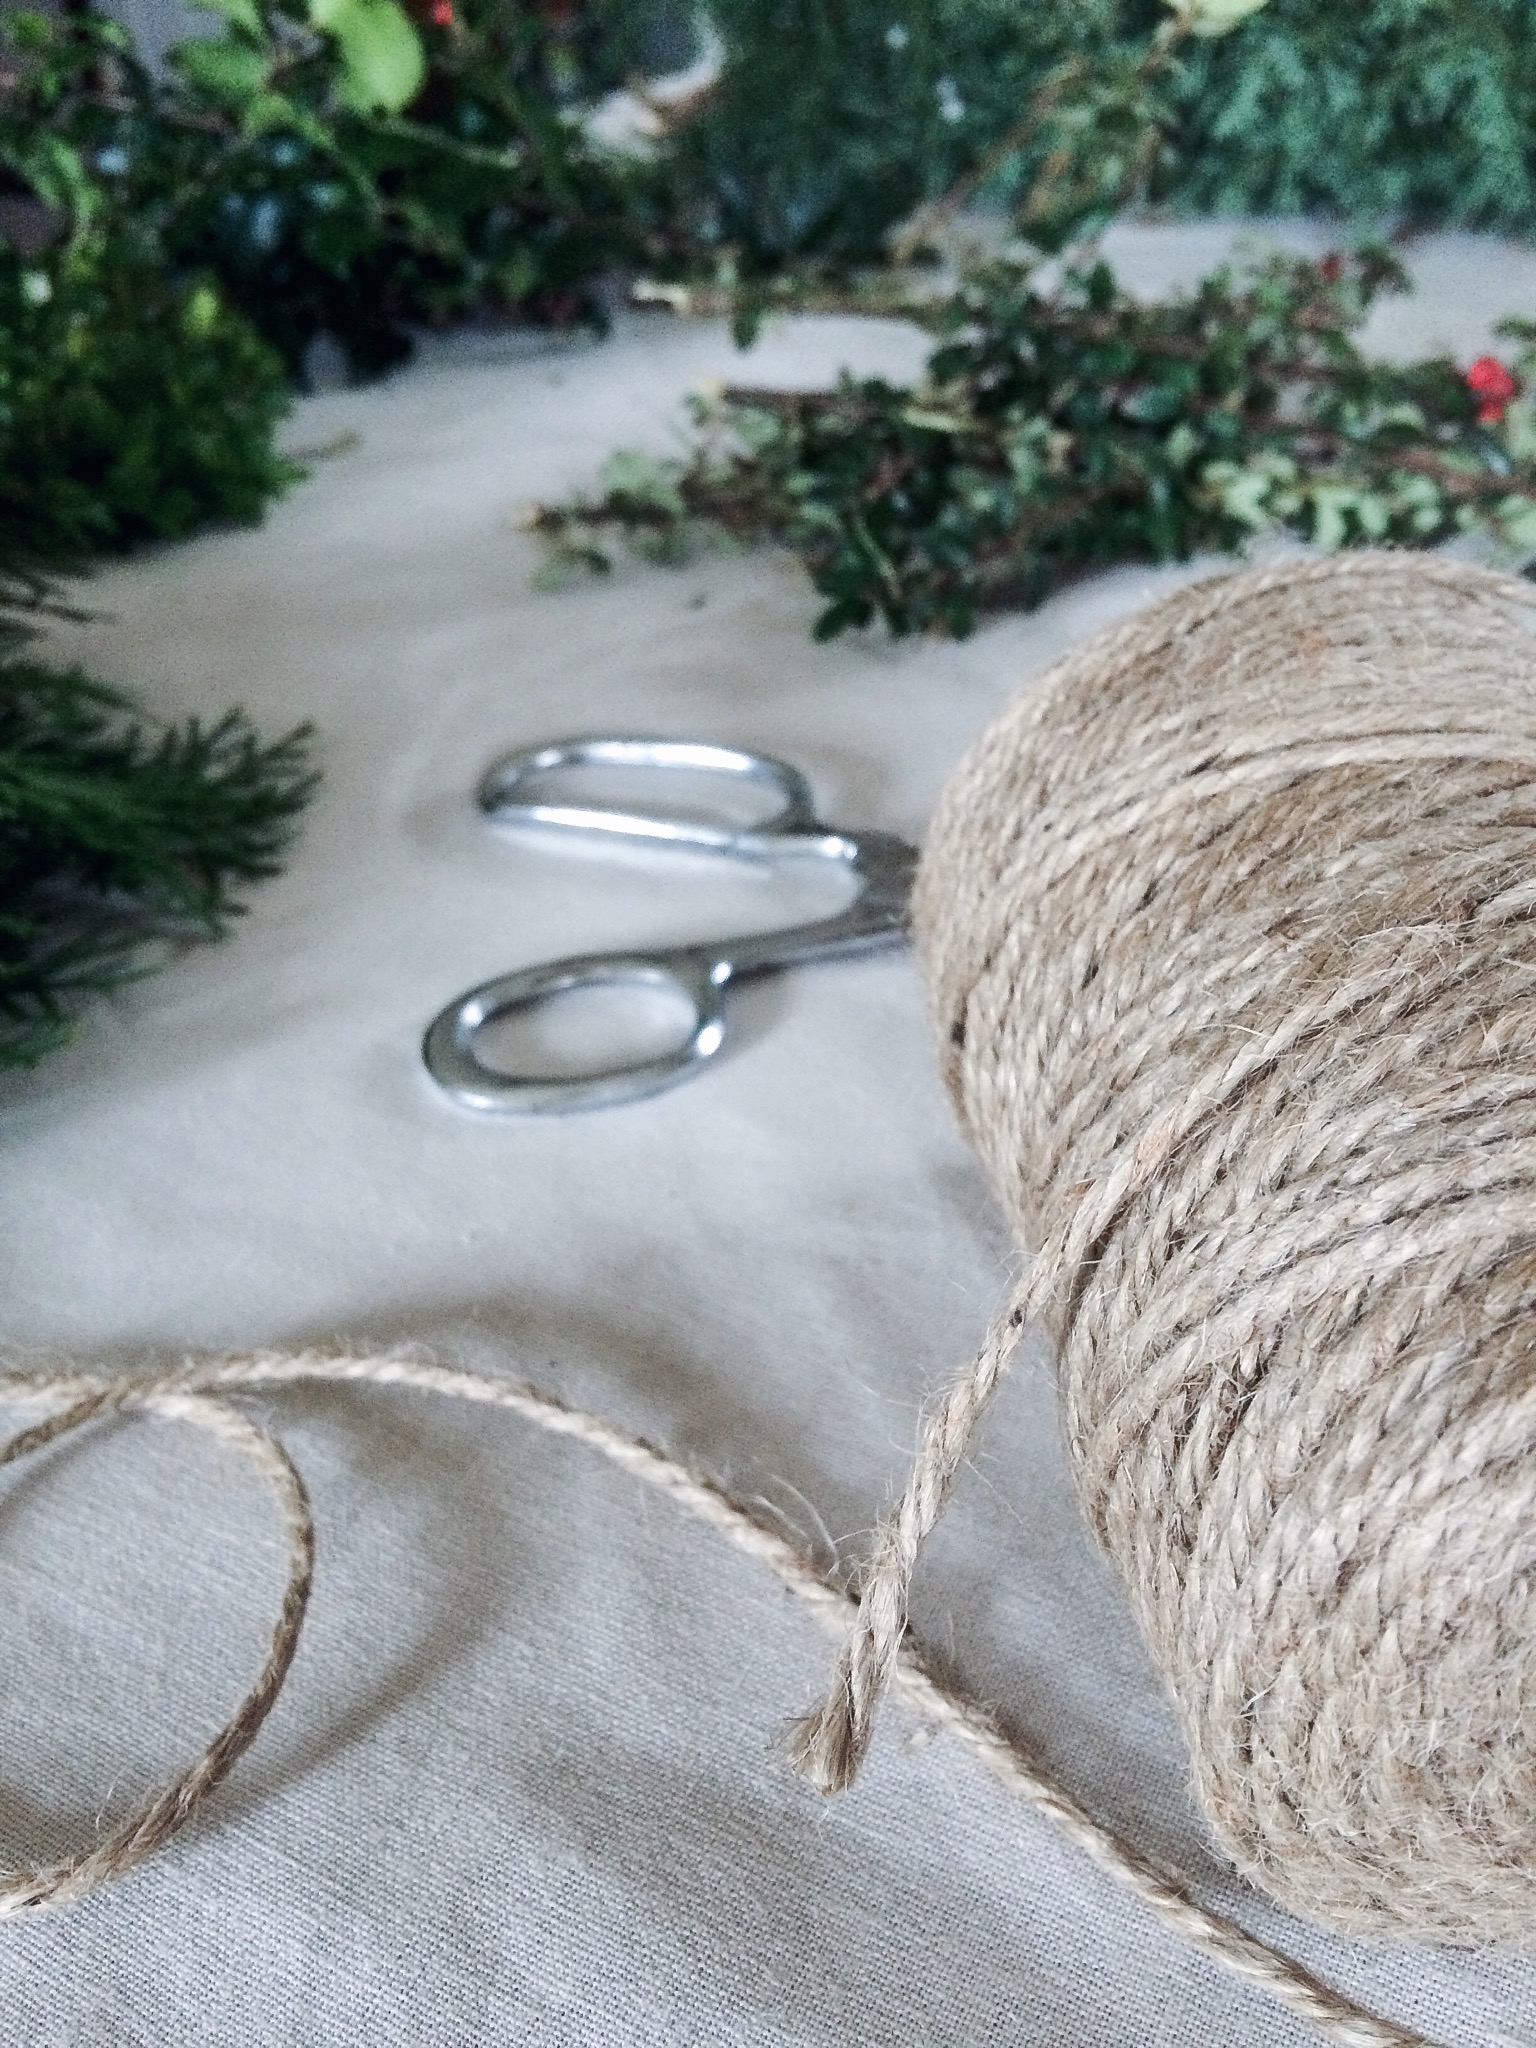
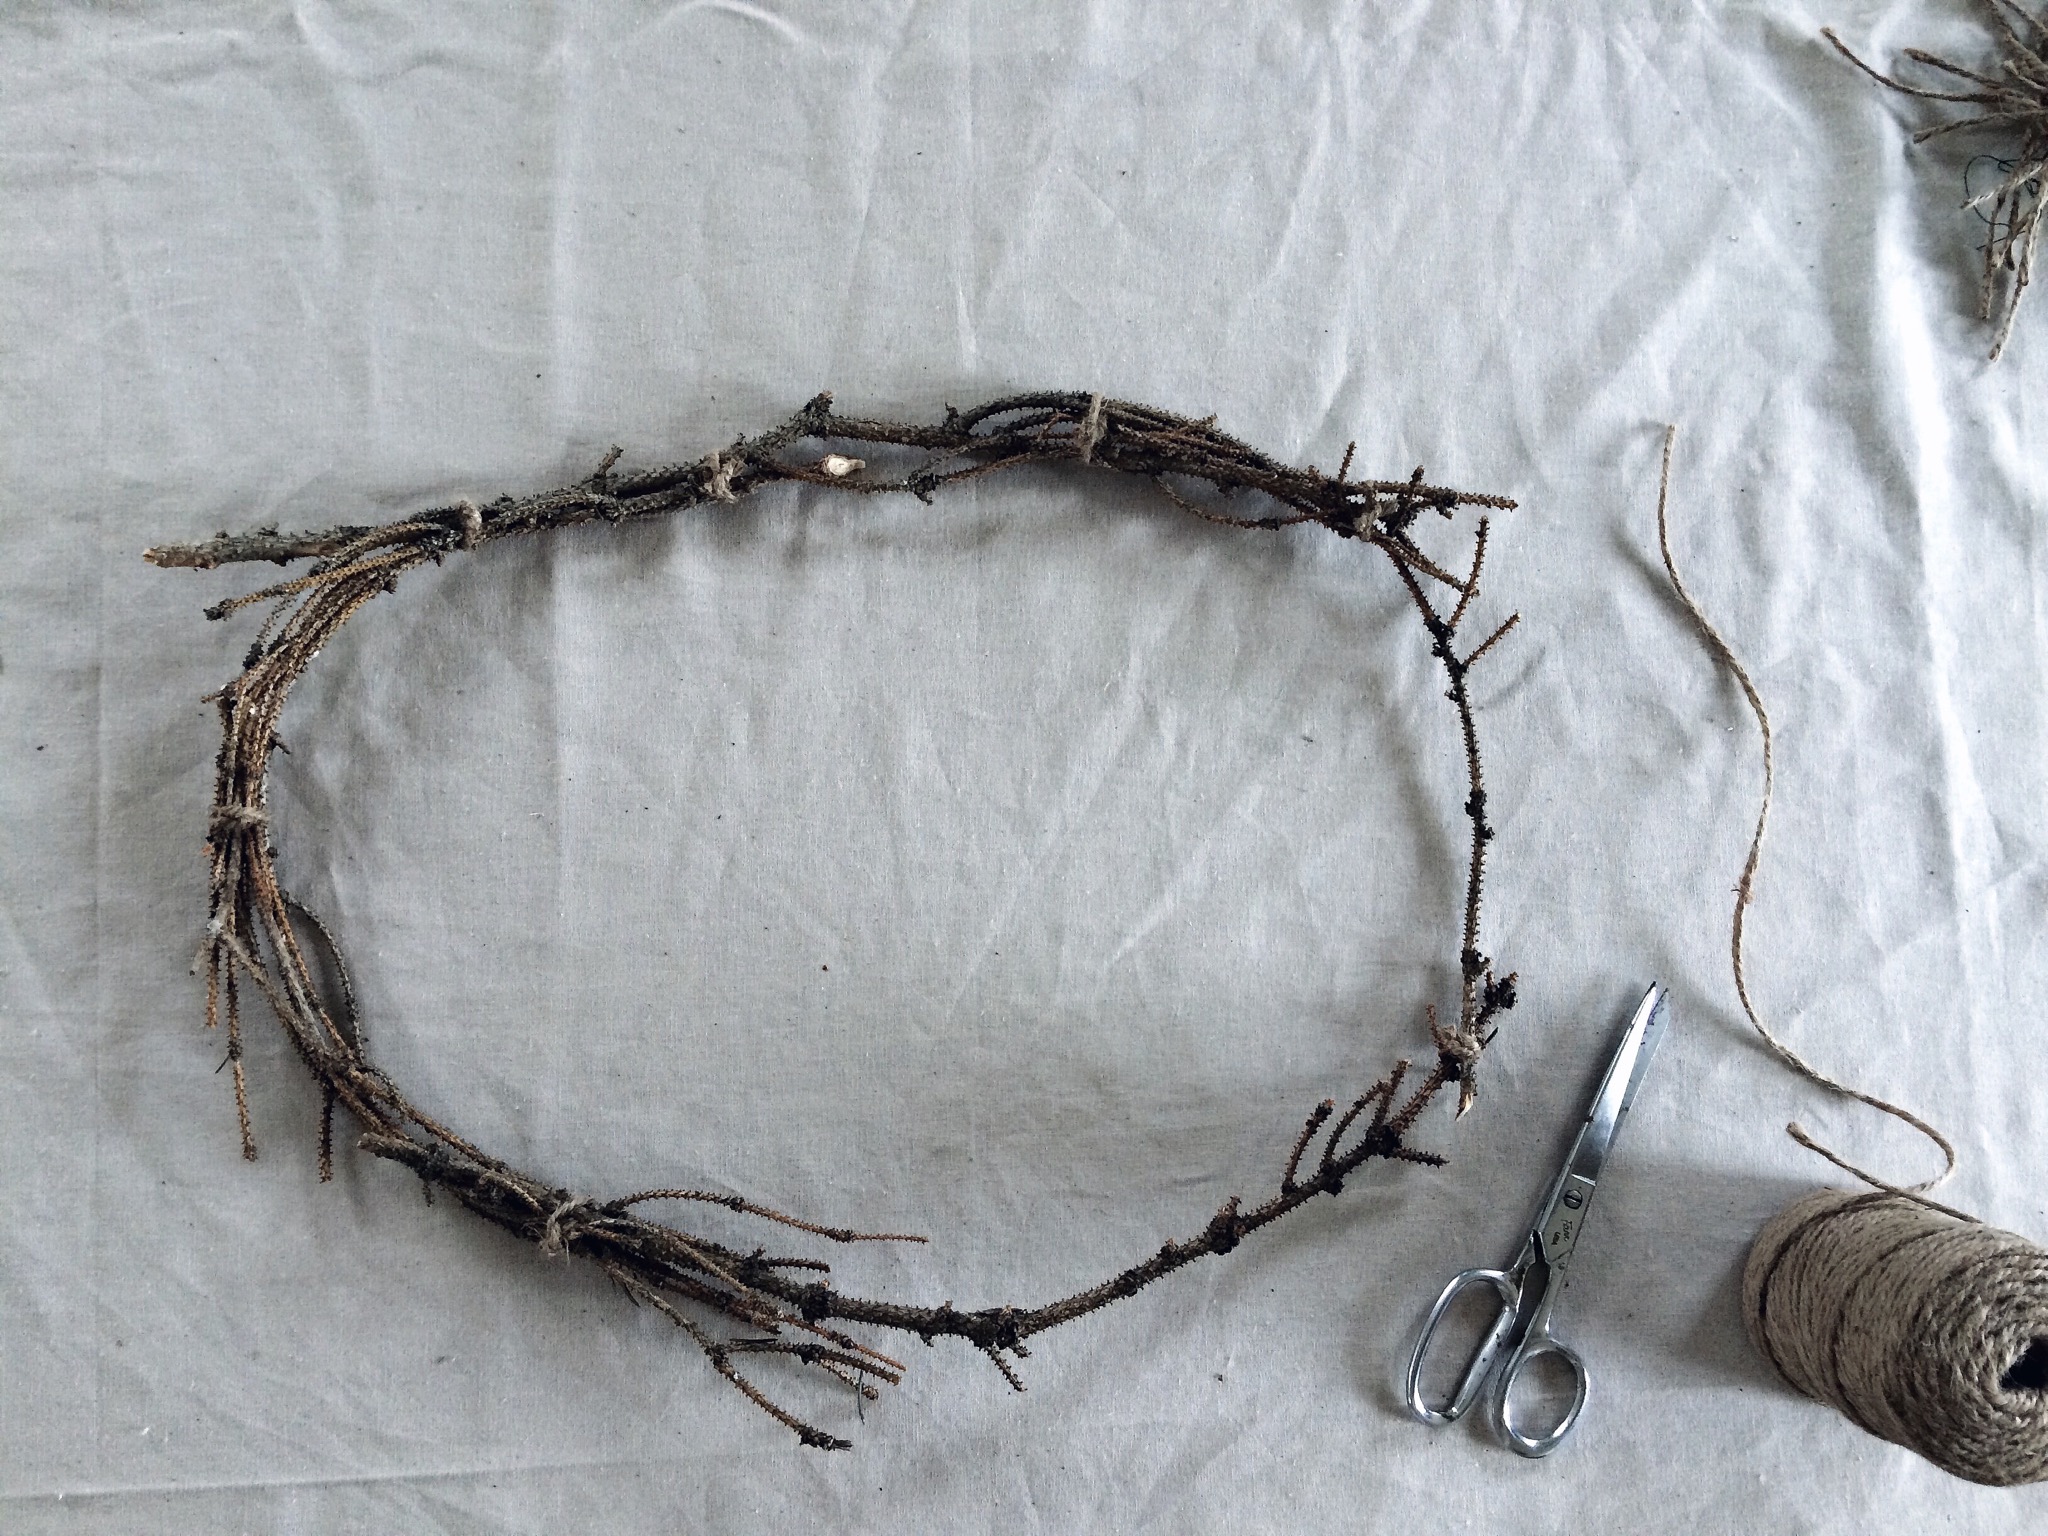
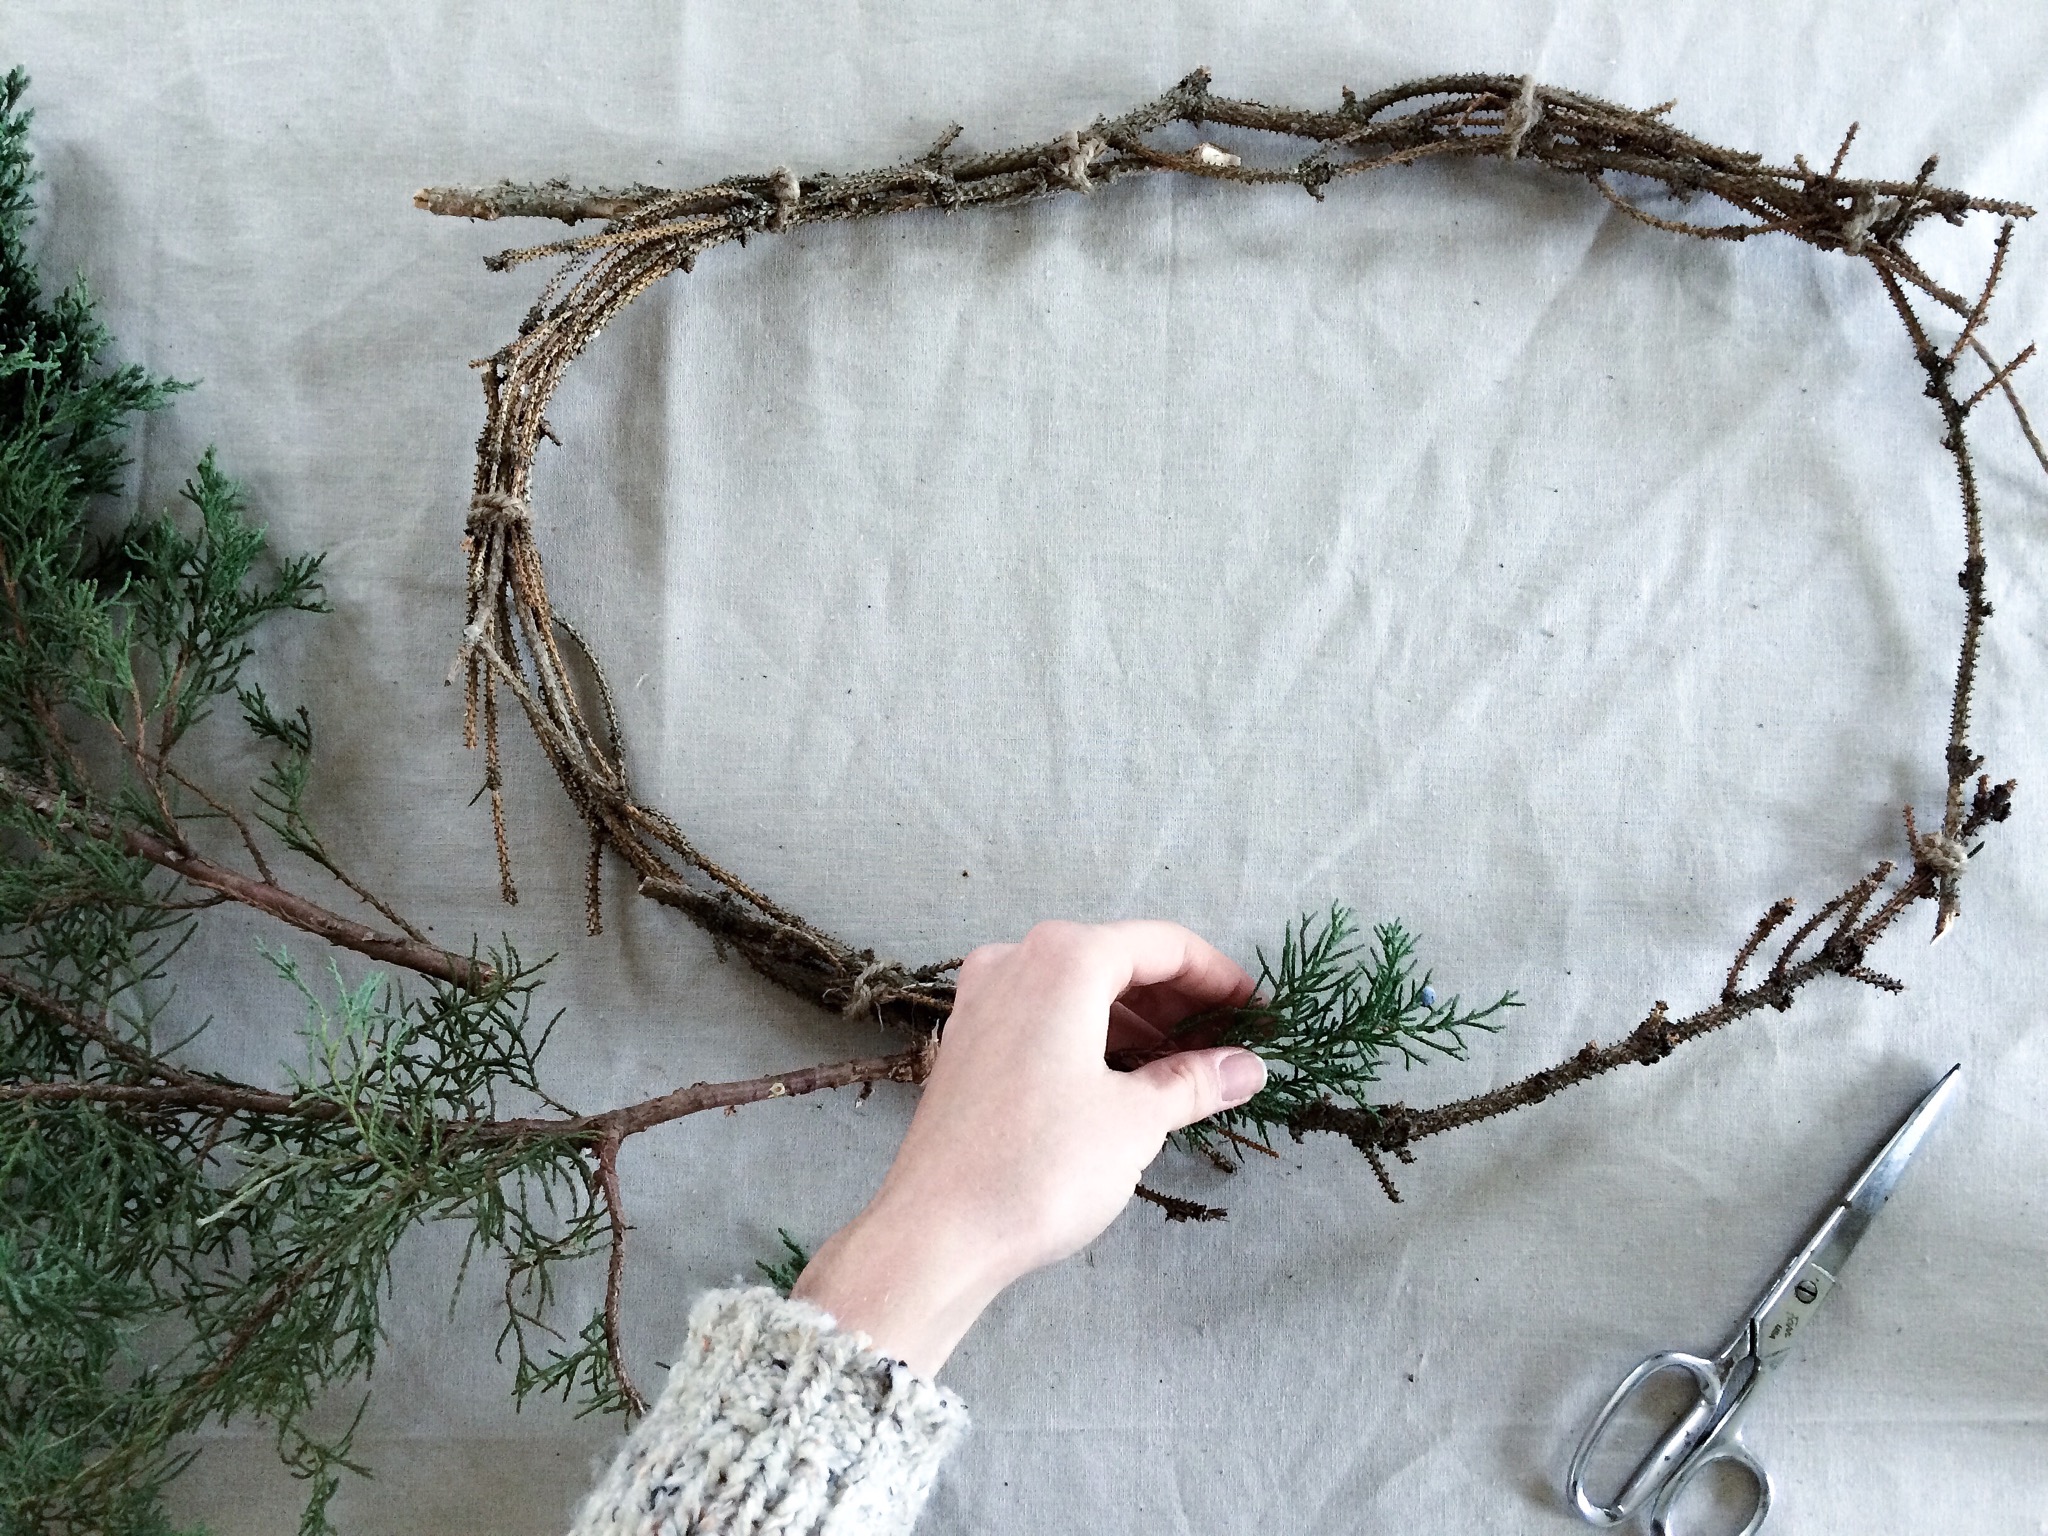
Happy Thanksgiving! I hope you are all prepared for today’s festivities! There’s nothing more warm or comforting than spending quality time with the people we love. Even though I love Thanksgiving, I’m really looking forward to Christmas! And if there’s one thing I despise most during the Christmas season, it’s tacky and fake decorations. There is so much beauty in the natural world and it is just waiting to be discovered. You could pay around $20 for a pre-made wreath that doesn’t look that great anyway, or a couple bucks for a wreath you can make yourself. All you need is a wire or wooden frame, some scissors, and twine. Most of all you need some greenery. Real pine is free and it’s beautiful. The only downside is the needles fall off like crazy after a while. So, if you want your wreath to last until next season, you can do fake pine. You’ll still save money by doing it yourself.

Other than saving money, why would anyone want to make their own wreath? Nobody has time for that. Just go to the store and buy one, right? Well, it’s all about being more connected to our surroundings and appreciating what goes into making a product. Convenience has become our alma mater in the United States, particularly. The truth is someone somewhere had to take the time to make that wreath. And we take their handiwork for granted as we snatch up that product before someone else has the chance to get it. Although I don’t make everything myself, I do try as much as possible to take the load off others.

IMG_2865.JPG

IMG_2881

IMG_2871.JPG

Processed with VSCOcam with a5 preset

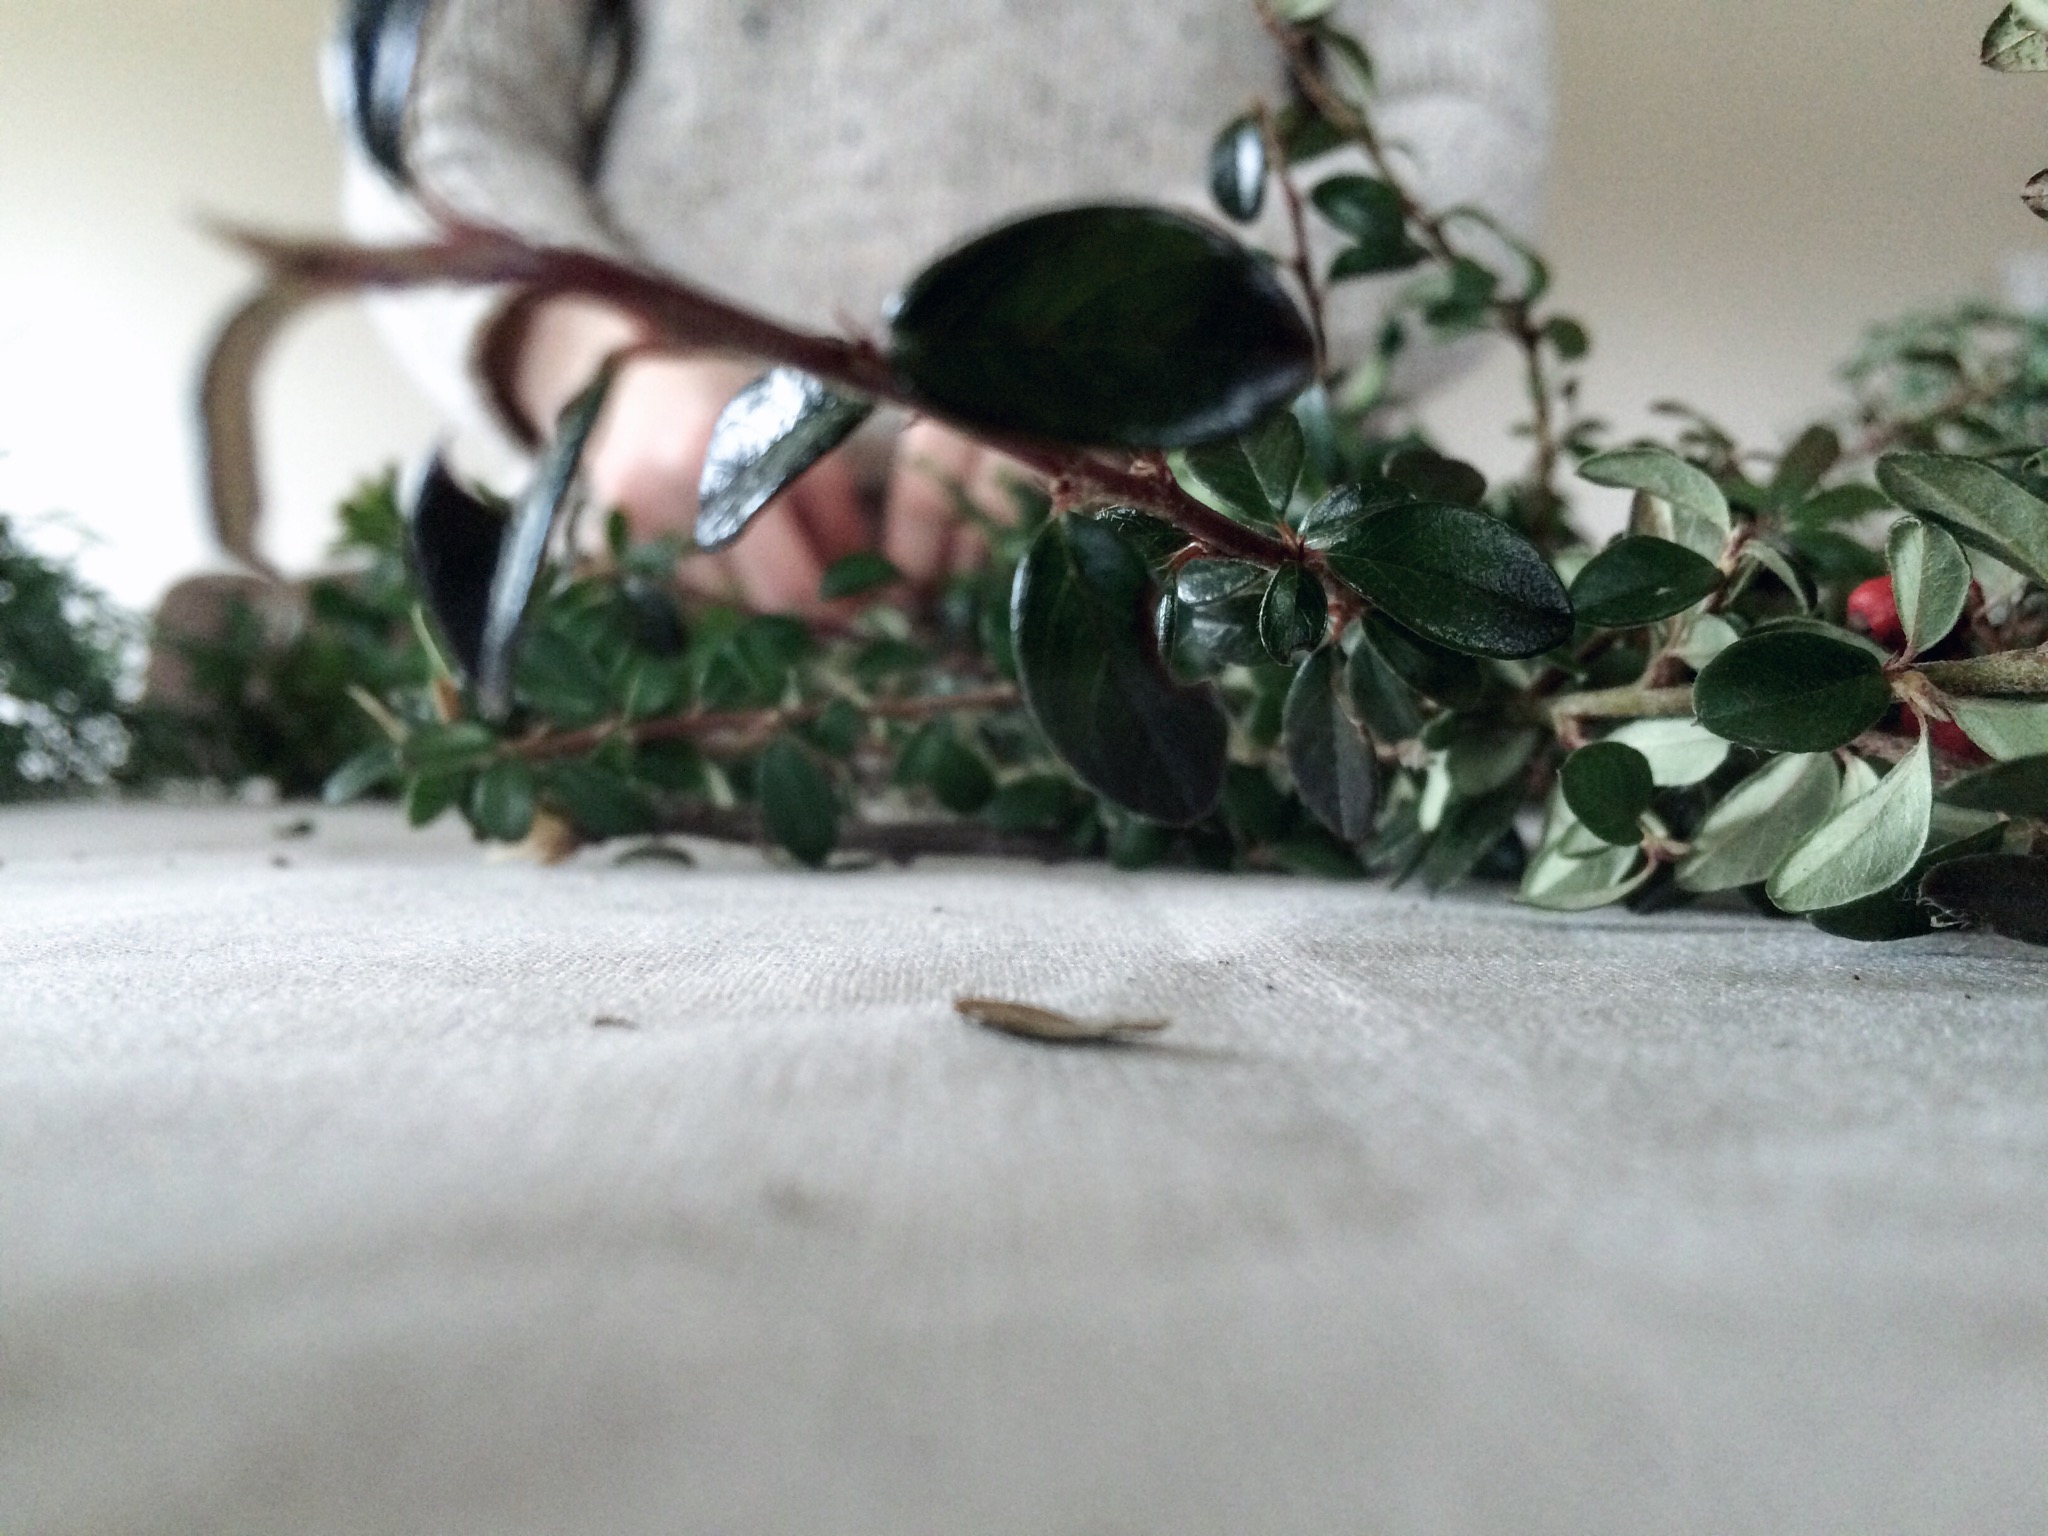
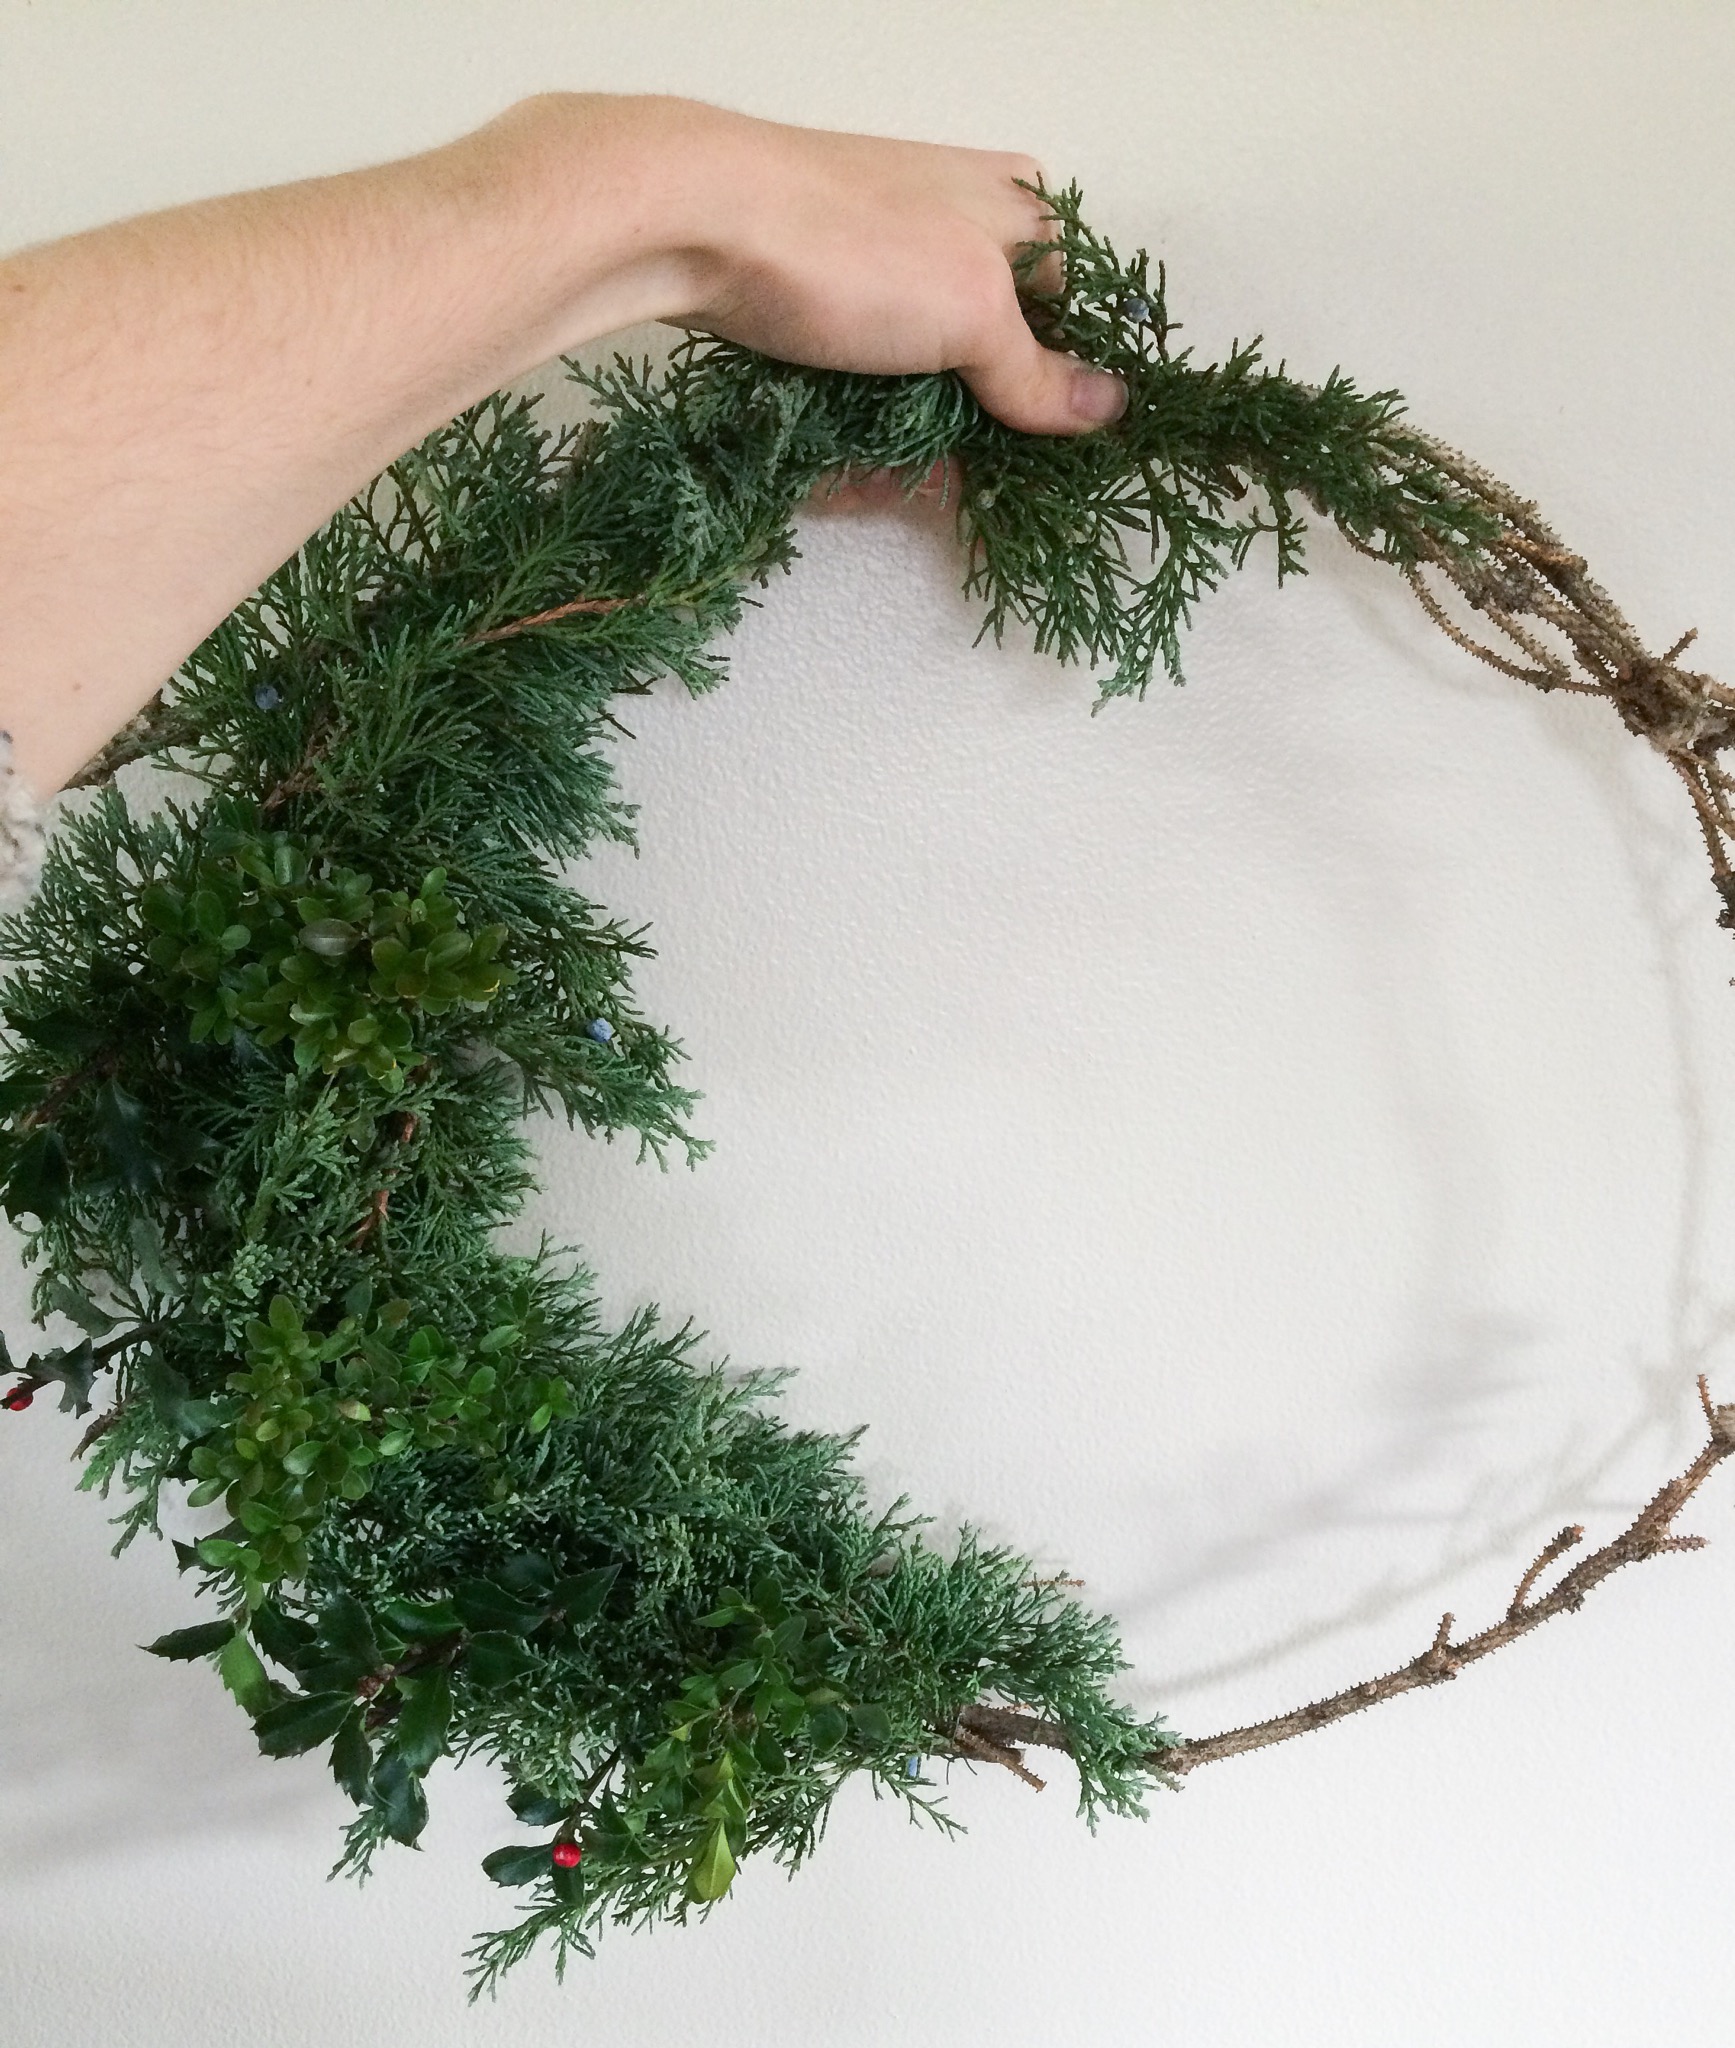
The beauty of wreath making is the possibilities of how you want it to look are truly endless! A few weeks ago, I made a simple foraged pine wreath with some dried flowers I stuck in for embellishment. But I knew I wanted to expand on that. This time I did an off-set wreath with blue spruce and holly berries. I also did a wreath with Italian Ruscus I had leftover from my gathering. The only greenery that cost me anything was the Italian Ruscus; everything else was foraged.

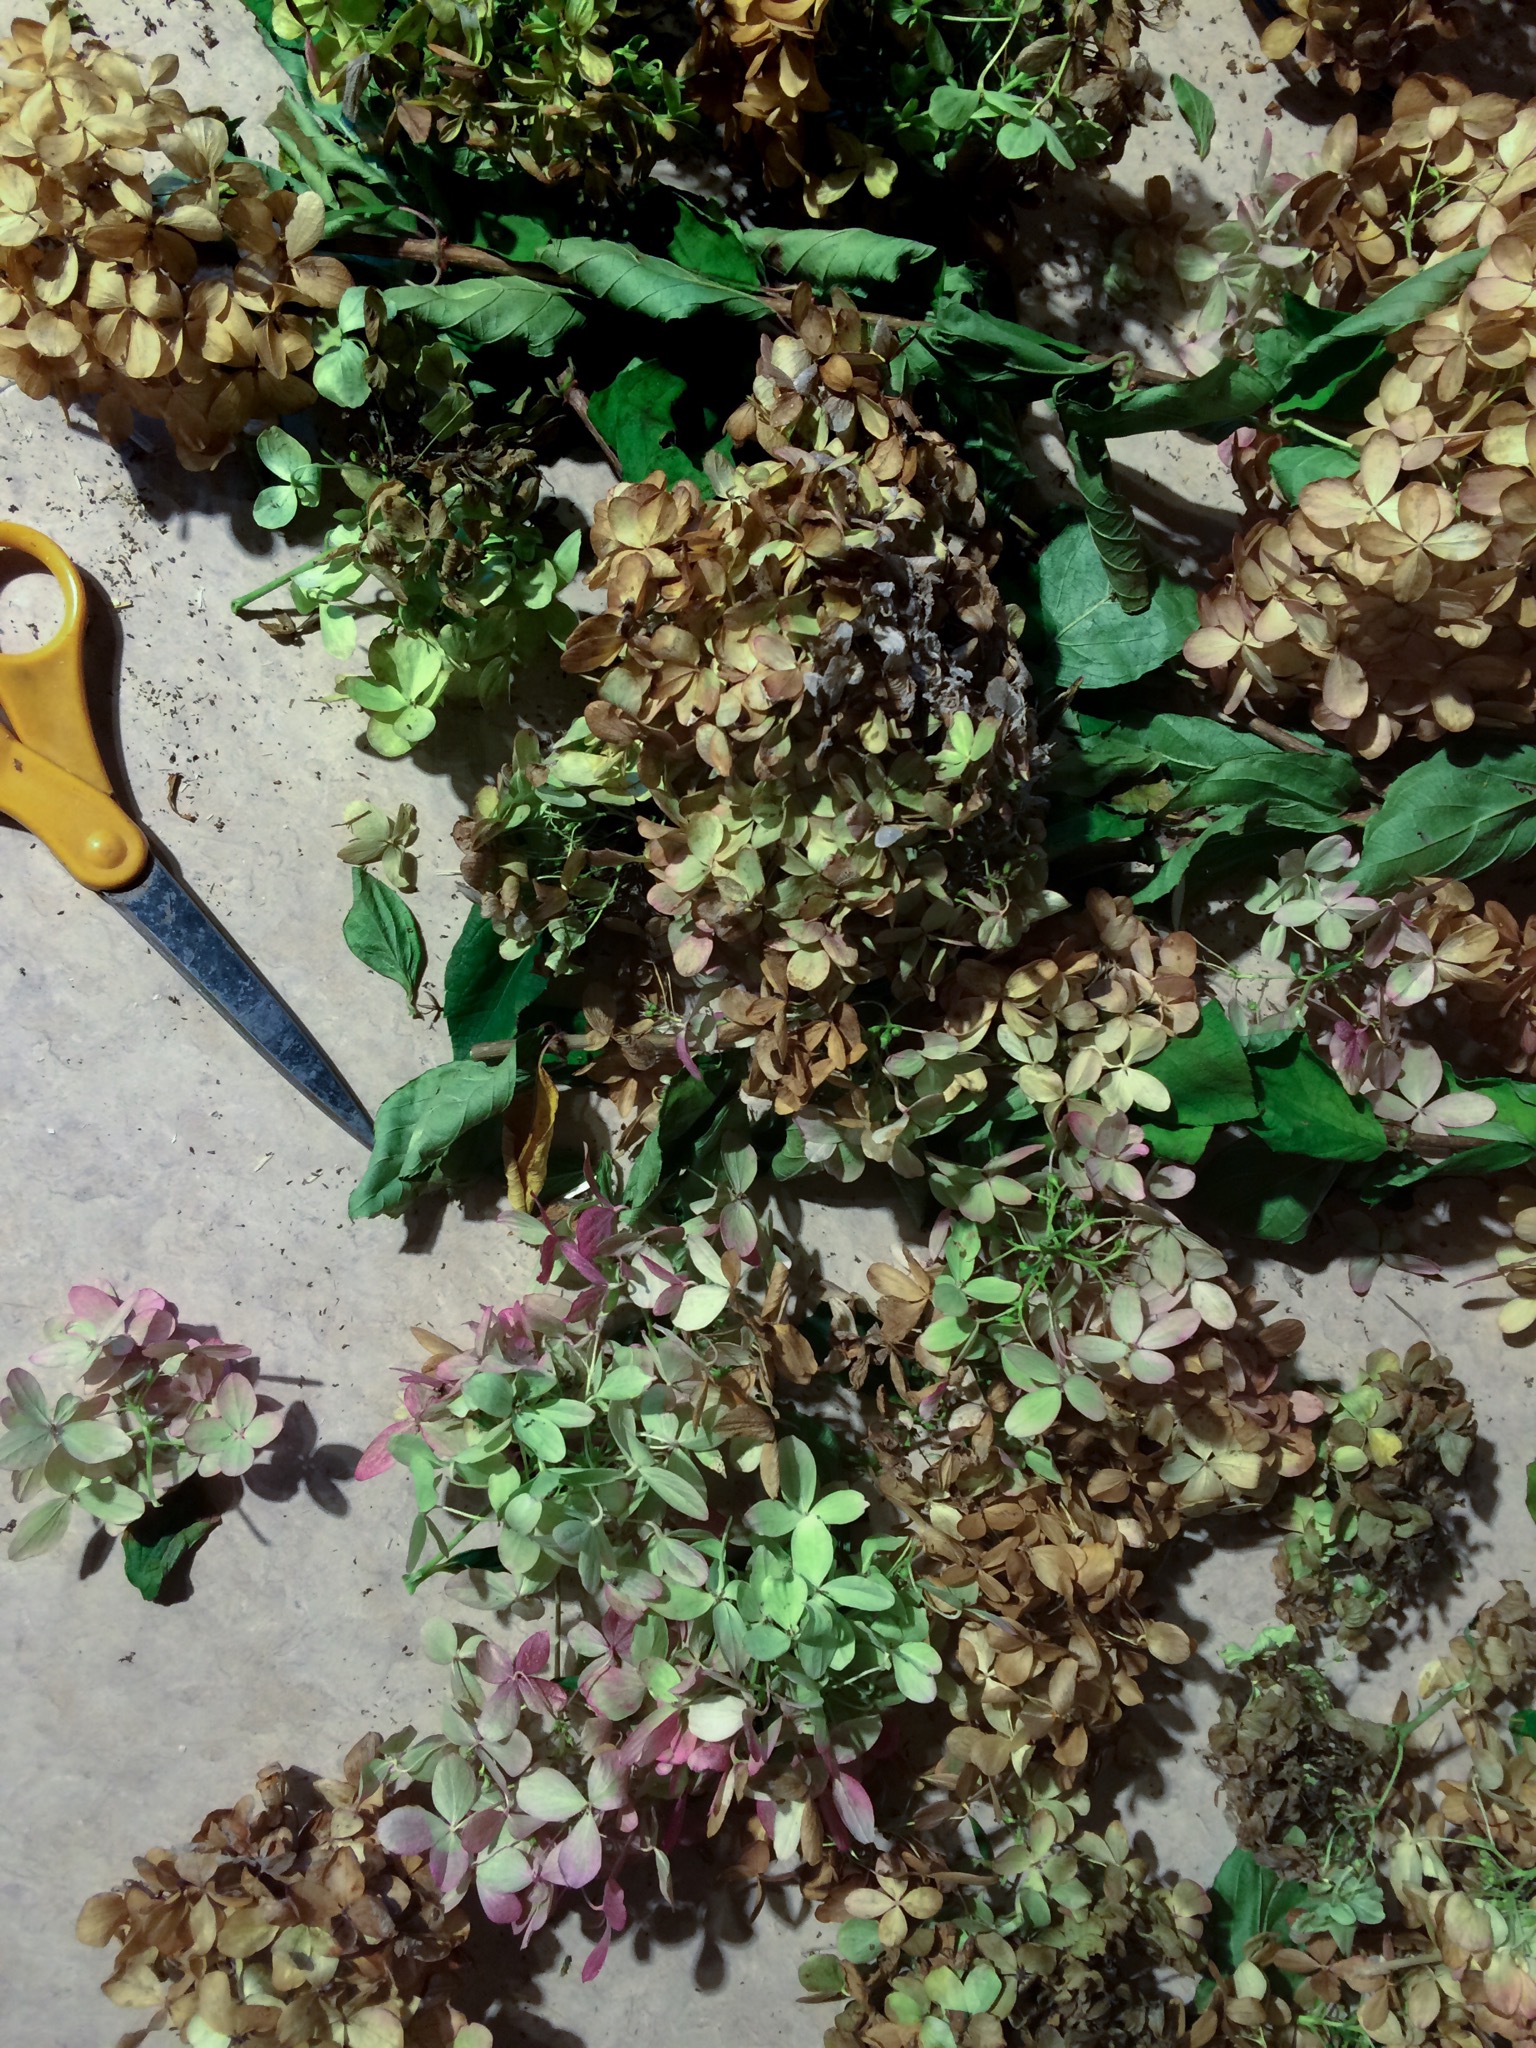
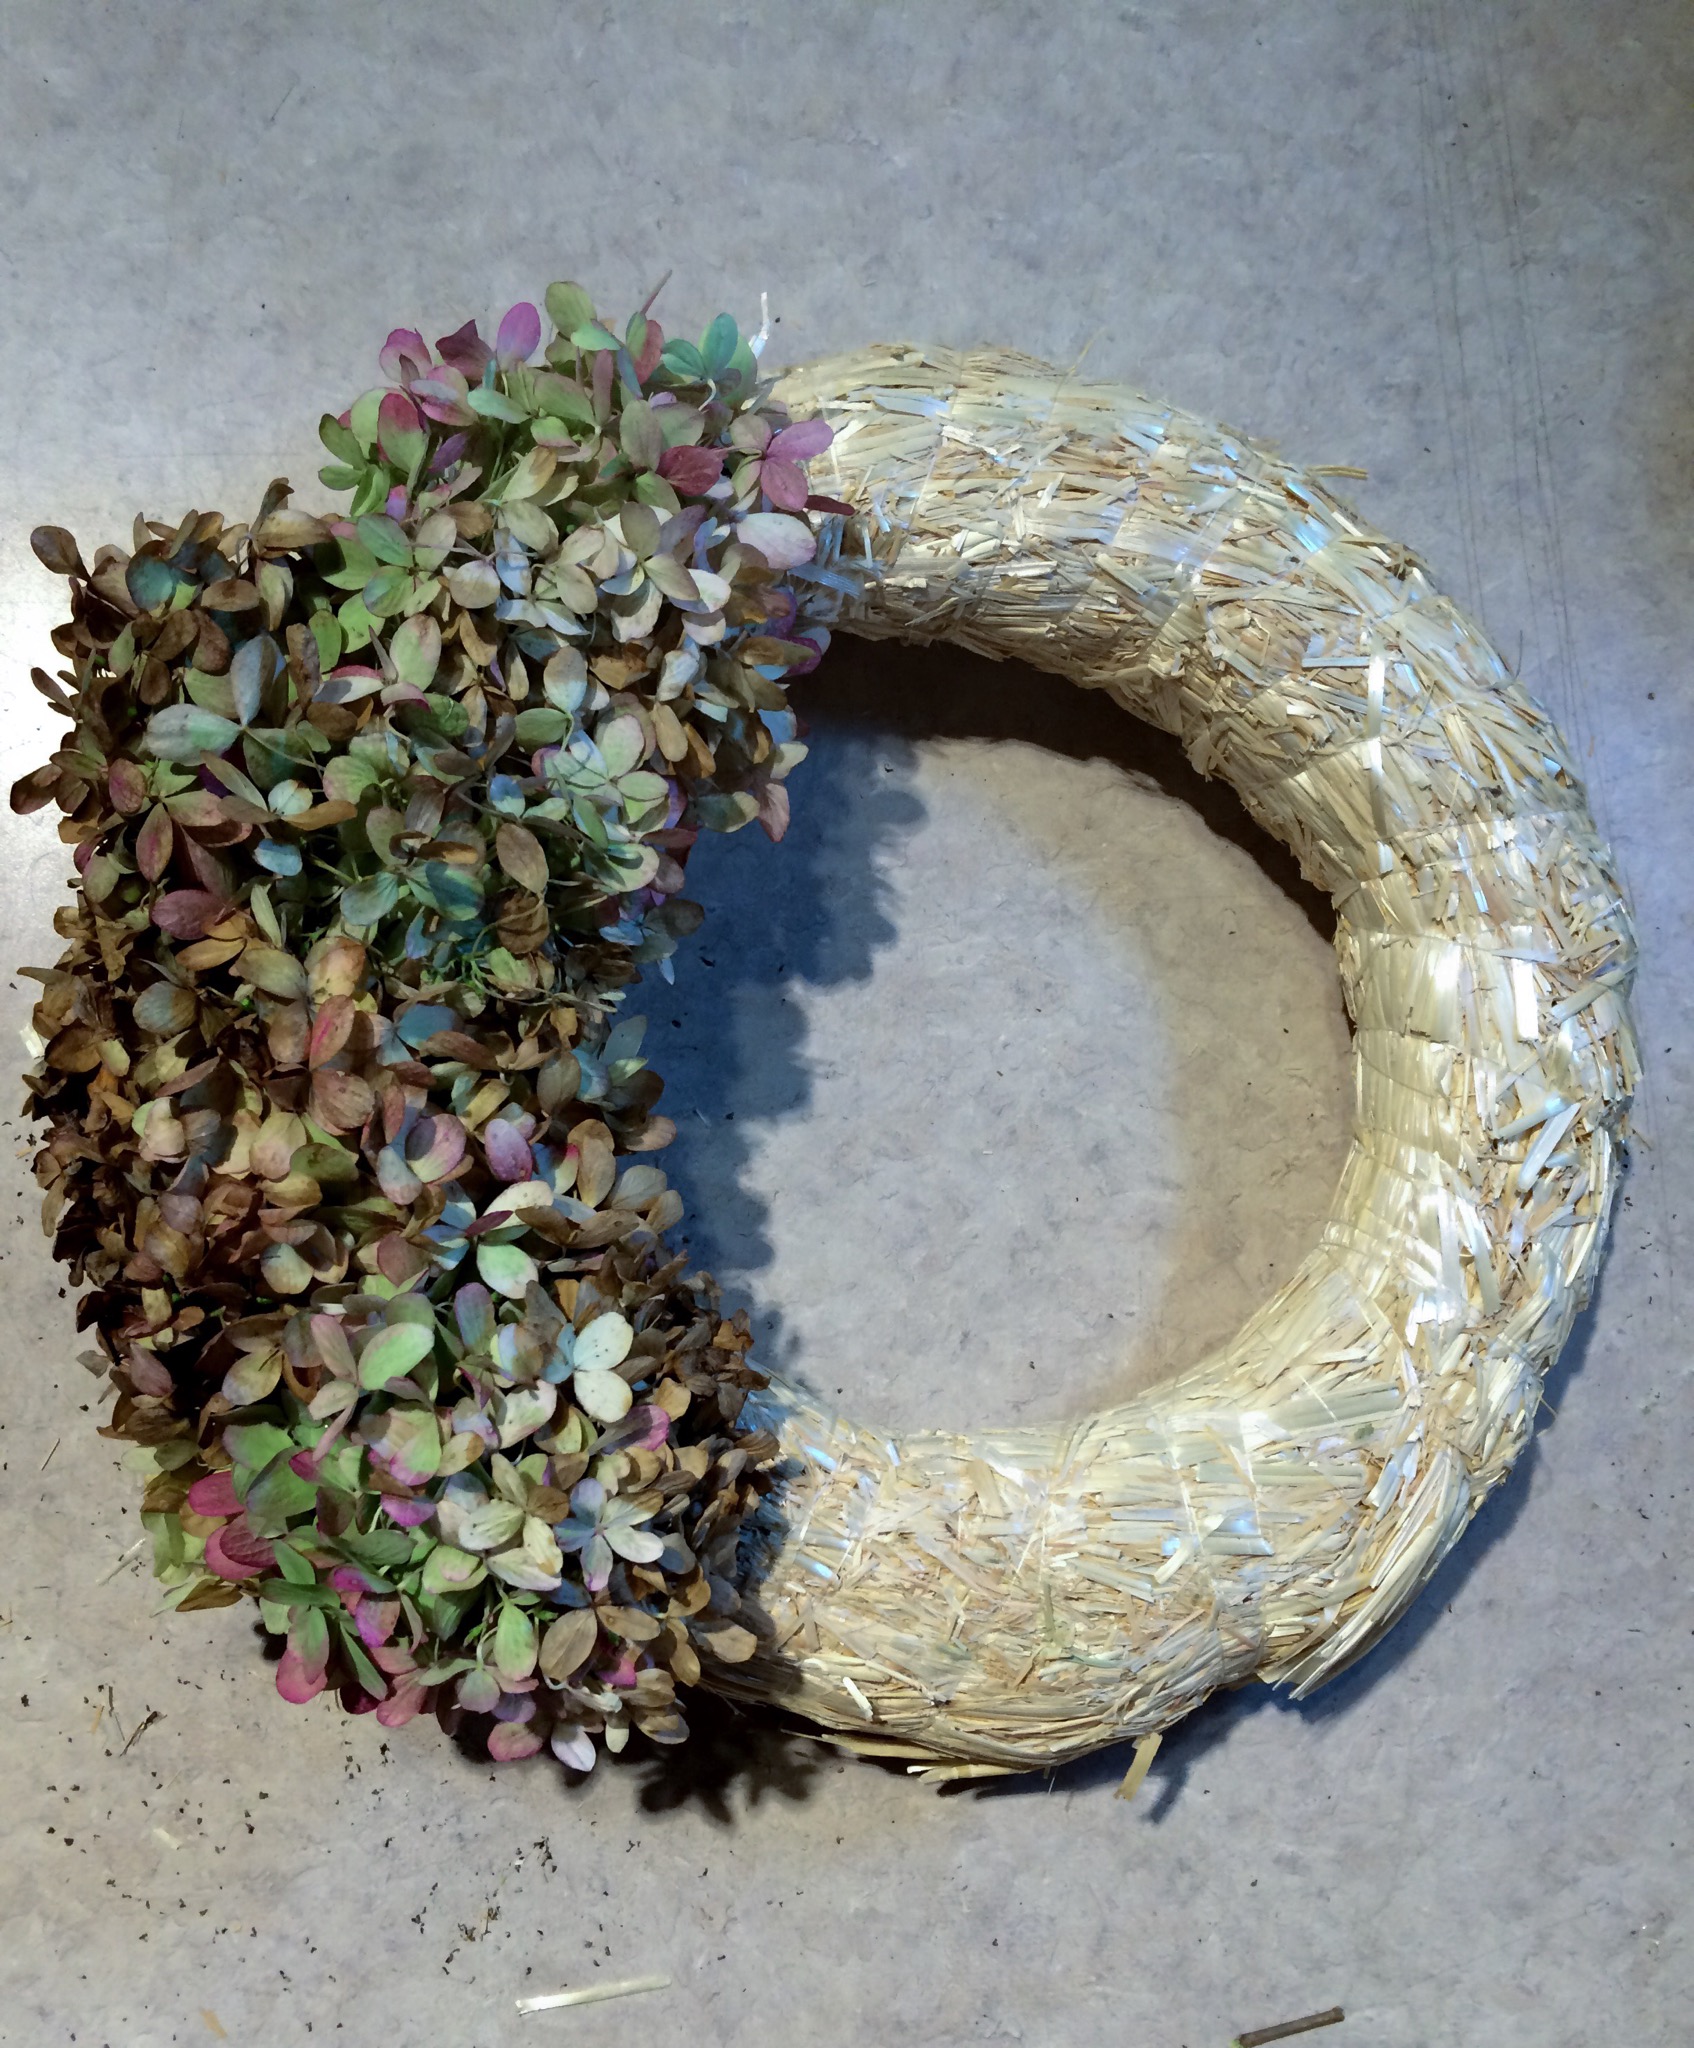
Something else kinda cool is hydrangea wreaths. The bunches of hydrangea create a lush and beautiful wreath. Since hydrangea can range from brown to green to pink in color, you may want to spray paint it to give it an even color. Or, you can let it keep its natural color. After that, you can decorate with pine cones or berries if you’d like.

And once you start doing wreaths, you’ll want to do other natural decor too like garlands and swags, and maybe a real Christmas tree instead of a fake one (trust me, that’s all on my list for this season).

IMG_2869.JPG

IMG_2873.JPG

IMG_2876.JPG

IMG_2880.JPG

IMG_2890.JPG

IMG_2552.JPG


My main point out of all of this (other than to show you pretty wreaths) is to demonstrate that the Christmas season can be less hectic if you choose it to be. Foraging and making things from scratch forces you to slow down. You can’t do this stuff well in a hurry. I know as I was making these, I appreciated the nature God provides and the ability to work with my hands to create something beautiful.

It’s not about being like Martha Stewart as my dad so lovingly puts it (although she does have a lot of good ideas). It’s about getting back to our roots and living how we were meant to live; in touch with our surroundings and working with our hands. We’ve become so desensitized by our modern culture that we no longer appreciate where something came from, how it was made, etc. It’s time to turn the tides on that. You can make a difference just by choosing to make something from scratch instead of buying it from a store.

I hope I gave you some inspiration for your “made from scratch” Christmas! What are some of your favorite wreath designs?

Have a lovely Thanksgiving everyone!

Cheers! – Adele

Advertisement

A Thanksgiving Gathering: Styling a Simple Table

IMG_2665.JPG

IMG_2662.JPG

IMG_2663.JPG

IMG_2664.JPG

If you’ve been following along with my blog, you’ll know that I’ve been doing a series of Thanksgiving posts – tips and tricks to get you prepared for your dinner. It’s all leading up to a gathering I’m hosting which is… this Saturday (oh boy!). You can look through the archives or my latest posts to find the series! This will be the last post of the series until, of course, the gathering! And then I can show you all how it went! I don’t know when I will have time to get the post on the gathering up so I wanted to give you some inspiration on how to style your table before turkey day!

There are so many ways to style a table. Some are elaborate and some are simple. I am more drawn to the simple side. It is easy on your wallet, but looks really elegant and tasteful at the same time. When the decor is simple, we can focus more on the food (and I need to focus on the food!), the people we have over, and the conversations that are born. It also means a poor girl can pull off a fabulous table!

Entertaining is new to me. And I’ll be honest, it’s a little scary. Will the food turn out alright? Will people have a good time? Growing up my parents never really entertained – nothing this elaborate and certainly not for Thanksgiving. It was just the 4 of us, the table filled with food with every inch that could be spared. The house toasty warm from the fireplace and the smell of turkey permeating every room. We walk into the kitchen after what seems like an endless amount of waiting and feast our eyes on the food. So it was about the food and being together. And it is no different now.

Although the table at the gathering won’t look exactly like this, I wanted to give you some idea of what it will look like. I have been inspired by a simple style that a lot of other stylists and bloggers have taken to. I really love the simple greenery going down the center. I think it gives the decor an earthy feel. If you don’t want a swag, you can do flowers in vases if you’d like. Or no florals, it’s up to you! I am using Italian Ruscus for my centerpiece but it would be just as easy to forage some pine too! It also helps that I work at a flower shop so I get a discount!

The candles are elegant and yet simple. Nothing too fancy. The linen napkins I made myself. I folded them, wrapped them in twine, and stuck a piece of greenery in the center. Again, it’s a simple and rustic look and can be achieved at a low cost. Bonus: buy linen when it’s on sale or there’s a big sale going on in the store! At Joann’s I had a 60% off coupon and I got a third yard for half off! If you want to know how to make your own linen napkins too, you can view my post on it here.

Almost everything I either got at a discount, secondhand, or a thrift store. Entertaining simply and on a budget can be done! I can’t wait to show you the actual gathering, but this will have to do for now! I hope this gave you some inspiration for your Thanksgiving gathering! Especially if you want to go simple this year!

Next, I will show you the highlights of the gathering so be sure not to miss that!

How do you decorate for Thanksgiving on a budget? I would love to hear from you!

A Thanksgiving Gathering: DIY Linen Napkins with Foraged Pine

IMG_2541.JPG

IMG_2542.JPG

IMG_2544.JPG

IMG_2545.JPG

Happy saturday everyone! In lieu of my gathering coming up, I thought it appropriate to show you how to make your own napkins! You can use any type of fabric you like, but linen napkins add a sophisticated yet simple look to your table. Add a little sprig of green to your napkins, tie a little bow of twine and you’re all set!

If you’re planning on a simple, cheap gathering it can soon get expensive. Linen particularly is on the pricier end of fabric, and if you buy linen napkins from a store it can start to stack up.

Now I don’t have a sewing machine and my mom’s sewing machine is currently broken SO I had to find an alternative. Though my mom was skeptical, it turns out fabric adhesive works just fine! I think it’s easier than having to worry about needles and thread (especially if you’re not an avid sewer), but if you have a sewing machine handy and you think it’s easier go ahead!

What you need:

– 2 yards of linen fabric
– ruler
– scissors (preferably fabric scissors)
– steam activated fabric adhesive tape
– an iron

Directions:

Cut your fabric into 20.5″ squares. This makes 6 napkins. Start by placing adhesive tape on each corner sticky side down, peel off the top strip, fold the corner over and iron for 10-20 seconds to activate the adhesive.

After you’re done with the corners, do the same thing to each side of the square. After you’re all finished, fold your napkin into a long rectangle (optional: wrap in twine and garnish with a sprig of green).

And that’s it! Pretty simple right?? Gatherings don’t need to be complicated or expensive. You just have to know what you want, and know how you’re going to get it at a reasonable price – even if it means making something yourself.

I hope you enjoyed this tutorial! What are some of your favorite DIY projects for dinners? I’d love to hear from you!

How To Make Hydrangea Christmas Wreaths

IMG_2380


IMG_2379


IMG_2381


IMG_2377


IMG_2376

When my boss told me we were making wreaths with dried hydrangea I thought, “What? How’s that going to look?” But after it was all said and done it looked great! This isn’t my only wreath tutorial this season, but I thought it was interesting enough to show you in case you wanted to try it! It’s pretty simple and you only need a few things to make it work.

– dried hydrangeas (it’s okay if not all of it is dry)
– straw wreath outline (you can find these at any craft store)
– scissors
– hot glue gun
– spray paint in green or any color of your choice (optional)

The process is pretty straightforward and simple. You’re going to take pieces of the hydrangea and cover every inch of the front, so you can’t see anymore straw. There is no need to cover the back side. If you don’t have a hot glue gun you can stick the pieces in the straw or the wire that’s wrapped around the straw. (Just be careful when you’re cutting the wrapping off that you don’t cut the wire).

After that how it looks is up to you! You can leave it brown like it is which I think is a really pretty and rustic look. It looks nice too if you spray paint it green. Then you can add pine cones, berries, etc. to give it an even more festive look!

I hope you enjoyed this tutorial and that you try it yourself. Let me know how it turns out if you do!

I’m looking forward to showing you more festive wreath ideas for your holiday season!

Simple Home

Last winter my boyfriend Andrew bought a house. His first home, and our first home when we get married. The house was a fixer-upper and took four months until it was livable! Of course I was excited to decorate and implement some of the ideas I had for the house, along with a compost pile and garden (which we haven’t gotten to yet). Here are some before and after pictures! Enjoy!

We got rid of the ugly wood paneling, put in new countertops, and new tile flooring. With plants and a few decorative touches, it already feels more cozy.

My favorite part of the house is the kitchen opening up to the living room. We added a bar area on the living room side of the counter and mason jar lights now hang where the outdated fixture used to be. It all adds to the rustic and simple feel we were going for.

IMG_0902

We ripped up the carpet to find there was hardwood floors underneath! They are in pretty good condition, too! The finishing touch will be a rug for  the living room and kitchen. I want an oriental rug, and I am kind of holding out because rugs are so expensive!

I hope this gave you a general idea of the work we’ve done to the house. I will post more detailed pictures later, but for now I just wanted to show the basics. Obviously, everyone has different styles. I am personally not a fan of the cookie cutter housing developments. To be able to make a house personalized and unique is a gift in itself. If you do it this way, the cheaper and more unique way, you will find your dream house won’t come overnight. But it will be a fun journey adding pieces here and there, tweaking and adjusting to see what you like best.

Stay tuned for my next post where I give you some tips on antiquing!

Cheers!

Adele